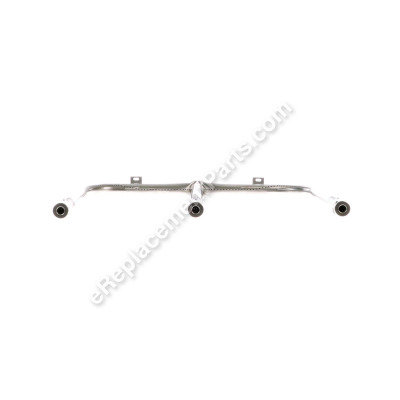
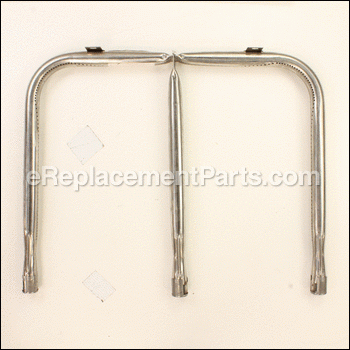
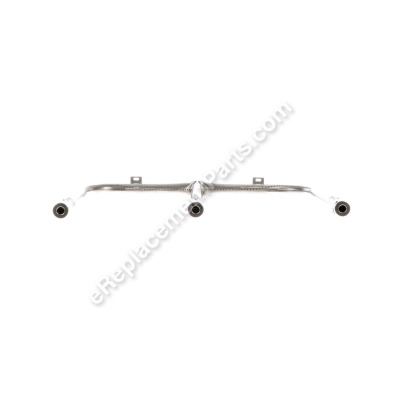
This is an authentic replacement burner assembly sourced from original equipment manufacturer. Designed for use with Napoleon grills. The shape and position of this assembly creates an even cooking area for the best results. It is made out of stainless steel and it includes left, right, center burner.
To complete this repair no tools are needed.
• Make sure to disconnect the gas tank
• Disconnect the electrode
• Remove old burner and an electrode
• Secure the new burner with an electrode
• Re-connect and test the grill
Assembly, Burner, Stn Stl Main N010-0693
OEM part for: Napoleon
Part Number: N010-0693
Jump To:
Product Description ?
- Classification: Part
- Weight: 1.81 lbs.
- Shipping: Ships Worldwide
Frequently Purchased Together ?
Compatibility
This part will fit the following 5 machines
Napoleon
This item works with the following types of products:
This part replaces obsolete part #: N100-0021, n010-0693, N100-0022
Repair Videos ?
|
Having trouble getting your grill to light up? A common cause of this issue is a defective ignition switch. We'll sho...
November 08, 2012
|
Customer Part Reviews ?
- 1
Questions & Answers ?
Our customer Service team is at the ready daily to answer your part and product questions.

Ask our Team
We have a dedicated staff with decades of collective experience in helping customers just like you purchase parts to repair their products.
Does this fit my product?Questions & Answers for Assembly, Burner, Stn Stl Main
Customer Repair Instructions ?
All our customer repair instructions are solicited directly from other customers just like you who have purchased and replaced this exact part.
Nothing
Tool Type
Outdoor Grill
Difficulty
Easy
Time
Less than 15 minutes
Tools Used
Socket set
Parts Used
Burner had rusted out
Tool Type
Outdoor Grill
Difficulty
Easy
Time
Less than 15 minutes
Tools Used
Socket set
Parts Used
Remove the 2 screws located at 1/4 and 3/4 the way across and then pop out the burner from the rear first. They are hidden by a shield that covers the back of the burner.
Install the new burner, just lead the front tubes into their holes by the burner controls. It slips together easily. Replace screws and put everything else back on.
I would test the burner before putting the grates on, to make sure it burns evenly.
The burner on my grill was cracked, creating hot spots.
Tool Type
Outdoor Grill
Difficulty
Easy
Time
15-30 minutes
Tools Used
Screwdriver, Socket set
Parts Used
Burner eroded
Tool Type
Outdoor Grill
Difficulty
Easy
Time
15-30 minutes
Tools Used
Socket set
Parts Used
Burner was rusted out from 10 years of use.
Tool Type
Outdoor Grill
Difficulty
Medium
Time
15-30 minutes
Tools Used
Screwdriver
Burners and sear plates rusted out
Tool Type
Outdoor Grill
Difficulty
Easy
Time
15-30 minutes
Tools Used
Power Drill, Nutdriver
Burner and sear plates were corroded and had some holes in them.
Tool Type
Outdoor Grill
Difficulty
Easy
Time
15-30 minutes
Tools Used
Nutdriver
2. Removed grates, old sear plates, and burner assembly.
3. Cleaned the grill compartment.
4. Installed the new burner and sear plates.
5. Put the grates back in.
6. Opened the gas supply valve and tested for proper operation, ok.
Burner and heat shield rotted out.
Tool Type
Outdoor Grill
Difficulty
Easy
Time
Less than 15 minutes
Tools Used
Socket set
Burner was rusted and cracked after 15 years of use time to replace it
Tool Type
Outdoor Grill
Difficulty
Easy
Time
Less than 15 minutes
Tools Used
Socket set
Parts Used
Burner and sear plates were burned out.
Tool Type
Outdoor Grill
Difficulty
Easy
Time
Less than 15 minutes
Tools Used
Screwdriver
Parts Used
2. Lifted the old burner up and out.
3. Slid in the new burner.
4. Started the screws about halfway.
5. Slid the burner shield in place.
6. Tighten the screws.
OEM stands for Original Equipment Manufacturer and means the part you’re buying is sourced directly from the manufacturer who made your product. At eReplacementParts, we sell only genuine OEM parts, guaranteeing the part you’re purchasing is of better design and of higher quality than aftermarket parts.
Our product descriptions are a combination of data sourced directly from the manufacturers who made your product as well as content researched and curated by our content & customer service teams. This content is edited and reviewed internally before being made public to customers.
Our customer service team are at the ready daily to answer your part and product questions. We have a dedicated staff with decades of collective experience in helping customers just like you purchase parts to repair their products.
All our part reviews are solicited directly from other customers who have purchased this exact part. While we moderate these reviews for profanity, offensive language or personally identifiable information, these reviews are posted exactly as submitted and no alterations are made by our team.
All our customer repair instructions are solicited directly from other customers just like you who have purchased and replaced this exact part. While we moderate these reviews for profanity, offensive language or personally identifiable information, these reviews are posted exactly as submitted and no alterations are made by our team.
Based on data from past customer purchasing behaviors, these parts are most commonly purchased together along with the part you are viewing. These parts may be necessary or helpful to replace to complete your current repair.
All our installation videos are created and produced in collaboration with our in-house repair technician, Mark Sodja, who has helped millions of eReplacementParts customers over the last 13 years repair their products. Mark has years of experience in selling and repairing both commercial and residential products with a specialty in gas-powered equipment.
This data is collected from customers who submitted a repair instruction after replacing this exact part. Customers can rate how easy the repair was to complete and how long it took. We aggregate this data to provide a repair rating that allows customers to quickly determine the difficulty and time needed to perform their own repair.


