
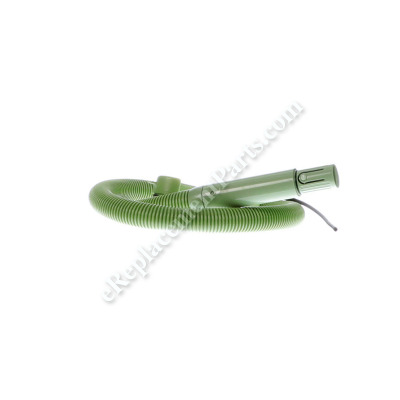

Flex Hose And Handle Assy B-203-7152
Part Number: B-203-7152
Order within the next 6 hours
and your part ships today!
and your part ships today!
*This part replaces obsolete part #: B-603-5035, B-203-5027 and 203-7152.
Product Information
Description:
| This is an authentic replacement part manufactured for use with Bissell proheat carpet cleaners. The flex hose assembly includes the hose duct and is used to link the cleaning attachments. This hose and handle assembly is available as an individual replacement part, please see model diagram for associative parts. |
Compatibility
This part is compatible with the following machines:
the 10 compatible machines
Questions & Answers for Flex Hose And Handle Assy
part B-203-7152how is it installed?
Patty
for model number 1425 7
asked on 2023-04-27
Hi Patty,
Thank you for your question. Before performing this repair make sure that the vacuum has been unplugged from the electrical outlet. You will need a Phillips head screwdriver for this repair. First remove both the waste and fresh water tanks from the vacuum. Then turn the vacuum over and unthread the screws securing the bottom cover. Next, turn the vacuum over and unthread the screws securing the top housing cover and disconnect the switches. Set aside the top housing and the switches. Take note of how the wires are connected to the switches before removing them. Next, gently remove the fresh water hose from the pump using a pair of needle nose pliers to squeeze the clamp securing it, so you can pull it out. You will then need to pull the hose to the rear of the steamer from where it comes from underneath and then turn the vacuum over and remove it from the top. Then unscrew the 2 screws securing the flex hose assembly. With the old flex hose removed, screw the new hose into place. Follow the steps in reverse to reassemble the vacuum. We hope this helps!
eReplacementParts Team April 27, 2023
Product Information