
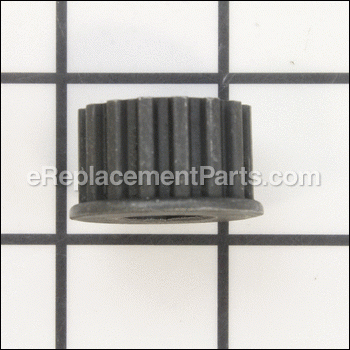
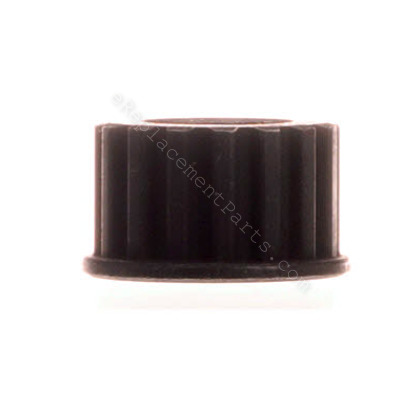

Driving Pulley BD46076
Part Number: BD46076
Leaves our warehouse within
7 - 12 business days
7 - 12 business days
Product Information
Description:
| This part is an OEM sourced directly from the manufacturer for use in Ryobi disc sanders. The driving pulley goes between the motor and the washer. It might require a screwdriver to replace this item if it becomes broken. Keep in mind that this high-quality part is made of metal and is sold individually. |
Compatibility
This part is compatible with the following machines:
Products Compatibility
This item works with the following types of products:
- • Sander
Questions & Answers for Driving Pulley
No questions have been asked yet
Repair Instructions: Submitted by Customers Like You
Tool Type:
Sander
Parts Used:
Repair Difficulty:
Easy
Time Spent Repairing:
15-30 minutes
Tools Used:
Screwdriver, Pliers, Straight Razor Blade Tool
Preventative maintenance.
1. Released sanding belt tension lever, removed old belt, replaced with new belt, placed tension lever back.
2. Turned on sander and adjusted new belt to center with adjusting knob.
3. Pealed off old sandpaper disk, removed old disk glue with razor tool and cleaned off disk mounting surface with the old disk.
4. Pealed backing off of new disk and properly adhered it evenly on to the disk mounting surface.
5. Removed the 4 Phillips head screws from the miter gauge and Allen wrench holders.
6. Installed both new holders with the 4 screws and inserted the tools into their holders.
7. Removed drive belt plastic cover (2 Philips screws).
8. Removed both Idler pulley and driver pulley (Philips screws - left handed tread).
9. Slid both pulleys and drive belt off at the same time.
10. Installed both pulleys back on the shafts they came off on in the same orientation with out the belt.
11. Placed the new belt onto the new idler pulley and partially on to the drive pulley. While holding the belt partially on a few teeth of the drive I pushed on the sanding belt in order to spin the drive belt completely on to the drive belt.
12. Tightened both pulley screws (left handed tread), making sure both pulleys were seated on their perspective shafts. I used locking pliers to hold each pulley so not to turn while tightening screws.
13. Making sure the area was free of dirt and other debris, I put the plastic drive belt cover back on properly with the two mounting Philip head screws.
14. Turned on the sanding machine and inspected both the sanding belt and sanding disk were turning true and centered.
15. The total replacement time for all the new parts took me under 30 minutes.
Did you find this story helpful?
Thanks for voting and helping fellow customers!
Tool Type:
Sander
Repair Difficulty:
Easy
Time Spent Repairing:
Less than 15 minutes
Tools Used:
Screwdriver
Part of the lip on the idler pull had broke off causing the belt to slip off.
Took off the outer belt shroud.
Removed old pulley and replaced with new.
Adjusted the belt tension screw to install the new belt.
Replaced the outer shroud and started sanding!
Removed old pulley and replaced with new.
Adjusted the belt tension screw to install the new belt.
Replaced the outer shroud and started sanding!
Did you find this story helpful?
Thanks for voting and helping fellow customers!
Product Information