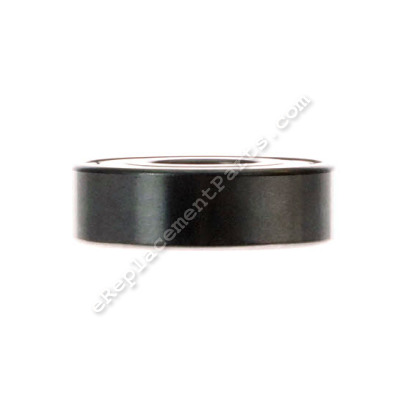
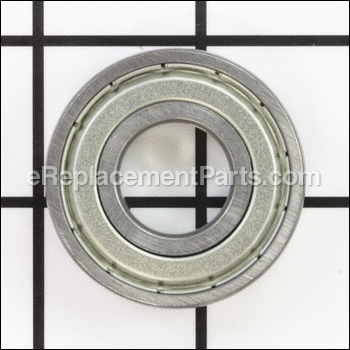
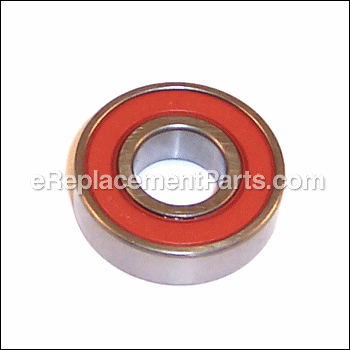
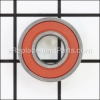
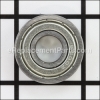
This is a genuine replacement part sourced from the original manufacturer for use with edgers, sanders, and miter saws. The special ball bearing is commonly used to reduce friction between a rotating shaft and fixed part assembly. This ball bearing is available as an individual replacement please see model diagram for associative parts.
Ball Bearing (6203zz) 089210136012
OEM part for: Ryobi, Ridgid, Powermate, Homelite, Craftsman, Southland, Airstream
Part Number: 089210136012
7 - 12 business days
Jump To:
Frequently Purchased Together ?
Compatibility
This part will fit the following 36 machines
Ryobi
Ridgid
Powermate
Homelite
Craftsman
Southland
Airstream
This item works with the following types of products:
- Planer Parts
- Drill Parts
- Drill Press Parts
- Miter Saw Parts
- Saw Parts
- Jointer Parts
- Compressor Parts
- Sander Parts
- Edger Parts
- Table Saw Parts
This part replaces obsolete part #: 089240012009 (10-4-18 (Rev:04)), 089240012009, 79027013007, 825541, 079027007046, 089140200039, 079027005023, 089170109066, 971803001, A50062030045, 820722-5, 080035003021, A100498
Customer Part Reviews ?
- 1
Questions & Answers ?
Our customer Service team is at the ready daily to answer your part and product questions.

Ask our Team
We have a dedicated staff with decades of collective experience in helping customers just like you purchase parts to repair their products.
Does this fit my product?Questions & Answers for Ball Bearing (6203zz)
Customer Repair Instructions ?
All our customer repair instructions are solicited directly from other customers just like you who have purchased and replaced this exact part.
Bearing went out on the planer
Tool Type
Planer
Difficulty
Hard
Time
More than 2 hours
Tools Used
Screwdriver, Pliers, Socket set, Drimmel
I opened up the slot for the original shaft installation slightly top and bottom to allow the race to slide through the opening so the fused Inner race could be removed with a small Dremel bit. Once the inner race was removed. I cleaned all of the associated parts and mounts and reassembled the shaft with the new bearings and chains.
Bad ball bearing on cutter head
Tool Type
Planer
Difficulty
Medium
Time
More than 2 hours
Tools Used
Screwdriver, Pliers, Socket set, Wrench Set, Adjustable Wrench, Snap ring pliers, Gear puller
Parts Used
2. Use gear puller to remove bearing.
3. Install new bearings and reassembled.
Bought a used ridgid jointer and replaced the worn out parts
Tool Type
Jointer
Difficulty
Easy
Time
30-60 minutes
Tools Used
Screwdriver, Socket set, Wrench Set, Nutdriver, Bearing puller
2. Remove the guard cutter.
3. Remove the pulley guard cover.
4. Remove the belt.
5. Lower both infeed and outfeed table.
6. Loosen both hex screws that hold the cutter head. ( lift the cutter head as you loosen the screws there is barely any room for the screw to go down).
7. Remove the cutter head ( careful don't get cut with the blades).
8. Remove pulley.
9. With a bearing puller remove both support bearing and bearing.( now is the time to upgrade your cutter head like I did)
10. Press both bearings and follow everything in reverse order to assemble back.
11. Enjoy your new parts.
Planer bearing started squealing
Tool Type
Planer
Difficulty
Medium
Time
1-2 hours
Tools Used
Screwdriver, Pliers, Socket set, Wrench Set, Hammer
Parts Used
2. Removed belt
3. Pulled cutter head from end of planer
4. Pulled both bearings off and installed new bearings
5. Reassembled
Drill press shaft bearings were becoming "rough".
Tool Type
Drill Press
Difficulty
Easy
Time
15-30 minutes
Tools Used
Screwdriver, Pliers
2.) Remove belt.
3.) Loosen shaft set screw located on pulley.
4.) Remove pulley from shaft
5.) Remove shaft and bearings assembly from drill press assembly.
6.) Remove snap rings retaining bearings and bearing spacer to shaft.
7.) Remove bearings and spacer from shaft.
8.) Assemble in reverse order using new bearings.
OEM stands for Original Equipment Manufacturer and means the part you’re buying is sourced directly from the manufacturer who made your product. At eReplacementParts, we sell only genuine OEM parts, guaranteeing the part you’re purchasing is of better design and of higher quality than aftermarket parts.
Our product descriptions are a combination of data sourced directly from the manufacturers who made your product as well as content researched and curated by our content & customer service teams. This content is edited and reviewed internally before being made public to customers.
Our customer service team are at the ready daily to answer your part and product questions. We have a dedicated staff with decades of collective experience in helping customers just like you purchase parts to repair their products.
All our part reviews are solicited directly from other customers who have purchased this exact part. While we moderate these reviews for profanity, offensive language or personally identifiable information, these reviews are posted exactly as submitted and no alterations are made by our team.
All our customer repair instructions are solicited directly from other customers just like you who have purchased and replaced this exact part. While we moderate these reviews for profanity, offensive language or personally identifiable information, these reviews are posted exactly as submitted and no alterations are made by our team.
Based on data from past customer purchasing behaviors, these parts are most commonly purchased together along with the part you are viewing. These parts may be necessary or helpful to replace to complete your current repair.
All our installation videos are created and produced in collaboration with our in-house repair technician, Mark Sodja, who has helped millions of eReplacementParts customers over the last 13 years repair their products. Mark has years of experience in selling and repairing both commercial and residential products with a specialty in gas-powered equipment.
This data is collected from customers who submitted a repair instruction after replacing this exact part. Customers can rate how easy the repair was to complete and how long it took. We aggregate this data to provide a repair rating that allows customers to quickly determine the difficulty and time needed to perform their own repair.

