


Why Read This Article?
Finish Nailer Repair - Replacing the Driver Guide (Ridgid Part # 79004001022)
Article Breakdown
Finish Nailer Repair - Replacing the Driver Guide (Ridgid Part # 79004001022)
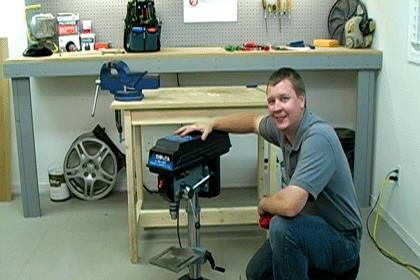
Video
Tools & Materials
- Allen wrench
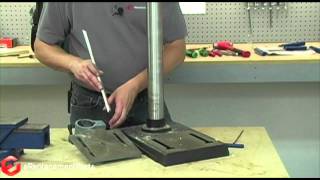
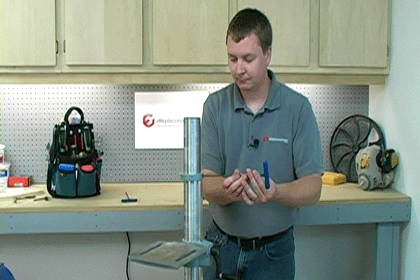
You can repair a drill press rack yourself in about 15 minutes using only an Allen wrench. To ensure you have the right replacement rack, remember to use eReplacementParts.com's handy power tool part finder.
Replace the Adjusting Rack
Replacing an adjusting rack is an easy, straightforward repair. You simply break the drill press down then reassemble it with the new adjusting rack in place.
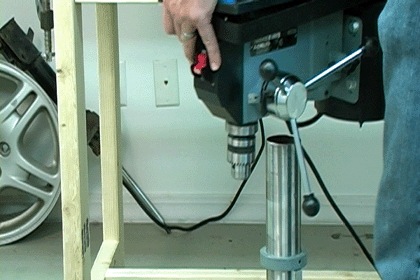
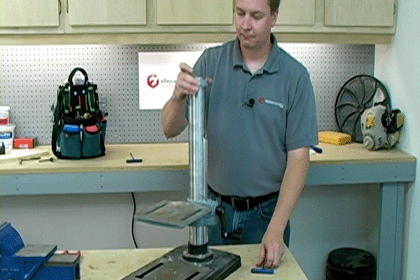
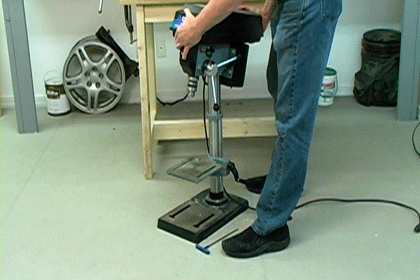
1. Remove the drill press head
Loosen the set screw that keeps the drill press head secure. There may be more than one set screw, depending on your drill press.

Remove the drill press head. The drill press head is heavy, so use caution while removing it.
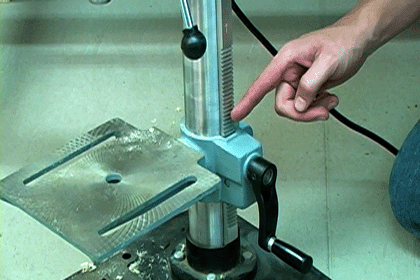
2. Remove the rack collar
Loosen the adjusting rack collar set screw.
Slide it off the drill press column.
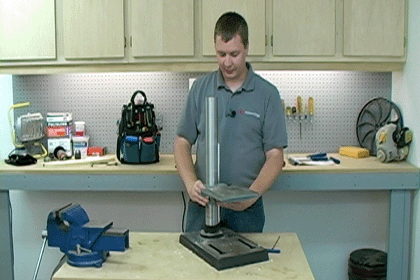
3. Remove the table and rack
Loosen the table lock. Slide the table and rack off the column.
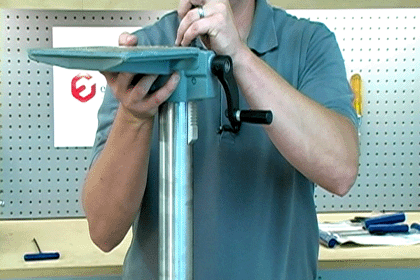
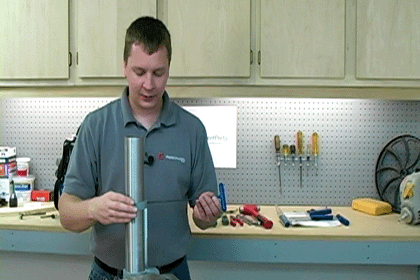
4. Install the new adjusting rack
Once you have removed the table, you can remove and replace your adjusting rack. Keep in mind that adjusting racks are directional, so find the arrow and make sure it is pointing up. Then align the adjusting rack with the table assembly gears.
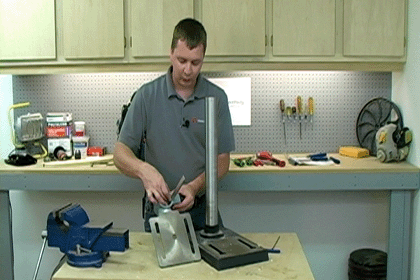
5. Install the table
Slide the table assembly onto the drill press column until the rack touches the base of the press.
6. Re-install the rack collar
Slide the adjusting rack collar down the column until it rests atop the rack, then tighten the set screw.
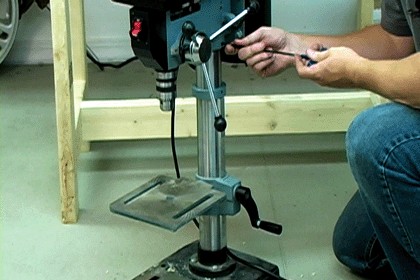
7. Re-mount the drill press head
Place the drill press head back on top of the column.
Line it up with the drill press table and tighten the set screw.
 [Back to Top]
Conclusion
Replacing your drill press adjusting rack is an easy repair that you can perform yourself in about 15 minutes. Fixing the rack yourself will save you money at the repair shop and will get you back to precision drilling in no time.
With our power tool parts finder, you can rest assured that you'll get the part you need for your press. And since our huge inventory of in-stock parts ship within 24 hours, you can know you'll get the right part fast.
[Back to Top]
What we're about.
