


Why Read This Article?
Finish Nailer Repair - Replacing the Driver Guide (Ridgid Part # 79004001022)
Article Breakdown
Finish Nailer Repair - Replacing the Driver Guide (Ridgid Part # 79004001022)
Video

Tools & Materials
- a socket wrench (for the spark plug)
- a flat head screwdriver
- a shop mallet (or hammer)
- a piece of clean rope or shoe string
- a #T25 torx driver
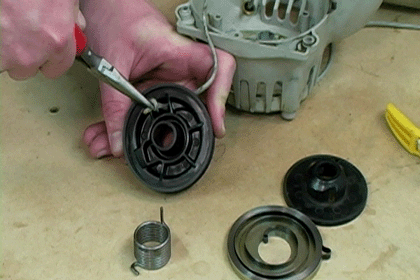
- a pair of needle nose pliers
 The steps in this article explain exactly how to dismantle a Ryobi trimmer starter assembly, replace its spring, and rebuild the assembly.
Although we perform this procedure on a Ryobi trimmer, these steps are similar for rebuilding the starter on many trimmer makes and models.
The steps in this article explain exactly how to dismantle a Ryobi trimmer starter assembly, replace its spring, and rebuild the assembly.
Although we perform this procedure on a Ryobi trimmer, these steps are similar for rebuilding the starter on many trimmer makes and models.
 To find a replacement trimmer starter spring for your trimmer model, type your trimmer's model number in the search field at the top-left of this page.
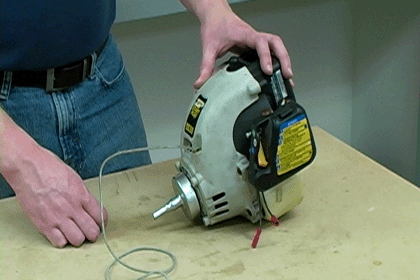
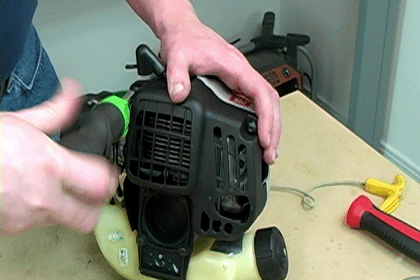
Remove the Trimmer Shaft from the Motor Housing
To find a replacement trimmer starter spring for your trimmer model, type your trimmer's model number in the search field at the top-left of this page.
Remove the Trimmer Shaft from the Motor Housing
1. Remove the screws that hold the shaft to the motor.
Screws and other fasteners that hold the motor to the trimmer shaft must be removed.
For this Ryobi trimmer, this means unscrewing four #T25 torx screws.
 [Back to top]
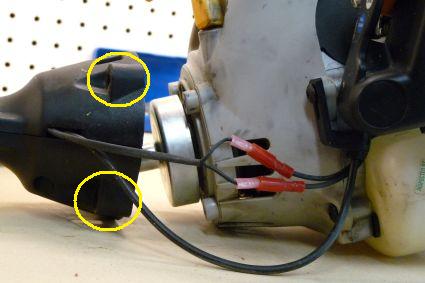
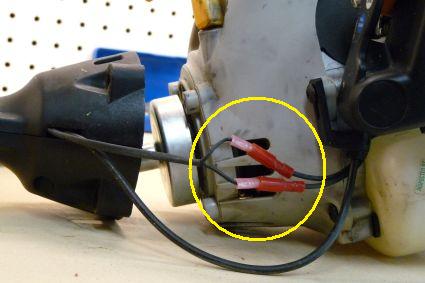
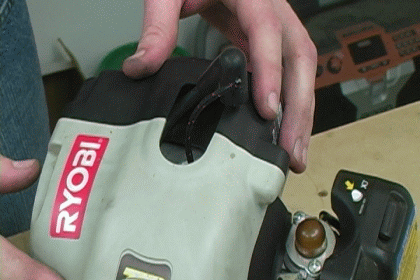
2. Disconnect the motor wires leading to the switch.
Motor wires leading to the trimmer starter must also be disconnected to completely remove the shaft from the motor assembly.
Disconnecting the wires is easily done with a pair of needle nose pliers.
 [Back to top]
3. Disengage the throttle cable from the carburetor.
This trimmer's throttle cable is connected to its carburetor with a pin and a screw.
Remove the retaining screw with a screwdriver.
Free up the pin by removing it from its hole with a pair of needle nose pliers.
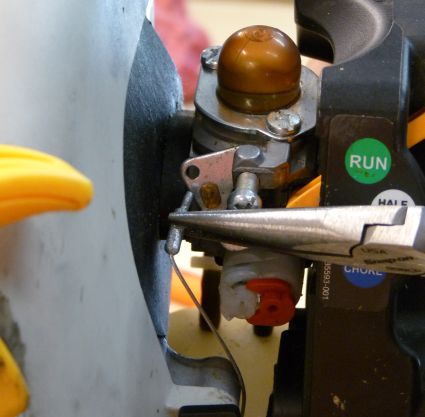
The trimmer shaft will now be free of the motor area.
[Back to top]
Access and Disassemble the Starter Assembly
The trimmer's starter assembly is located in the motor housing. The first step to access the starter assembly is to remove the trimmer's clutch drum and clutch plates.
Removing the trimmer clutch can be easy with the help of a couple professional repair tips explained in this section. These techniques for removing the clutch are similar for many Ryobi trimmer models.
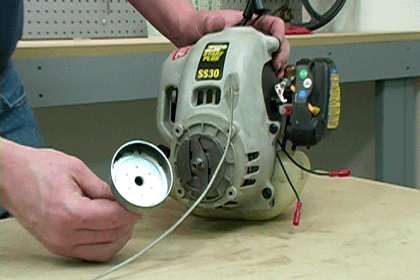
1. Bind the trimmer's piston.
There's a screw inside the clutch drum that must be unscrewed in order to remove the drum. Without first binding the piston, trying to unscrew the clutch drum screw will only turn the screw and the piston.
The trick in this step is to first bind the piston without damaging it. This is easily done with a piece of clean rope or shoe lace.
Access the piston by removing the spark plug boot and the spark plug.
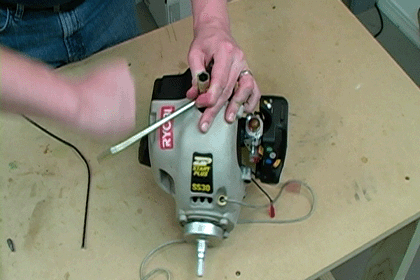
Then, gently stuff a few inches of clean rope or shoe lace in the open cylinder.
Make sure to leave enough of the material hanging out so that it can be easily removed at the conclusion of the repair.
[Back to top]
2. Remove the clutch screw and the clutch drum.
With the piston bound, the clutch screw can now be removed. For this Ryobi trimmer, the clutch screw is a #T25 torx fastener.
Because the clutch screw is a regular thread screw, it should be turned counter-clockwise to remove it.
After removing the screw, the clutch drum can be pulled from the motor housing easily.
 [Back to top]
3. Remove the clutch plates.
The clutch plates will be screwed tightly to the trimmer motor, so the best way to remove them is with a flat head screwdriver and a shop mallet (or hammer).
Position the edge of the screwdriver on the inside edge of the first clutch plate. Place the screwdriver so that striking it will turn the clutch plate counter-clockwise.
Once in position, sharply tap the end of the screwdriver with a hammer or shop mallet. The clutch plate will spin right off of the motor assembly.
Repeat this procedure with the second clutch plate.
 [Back to top]
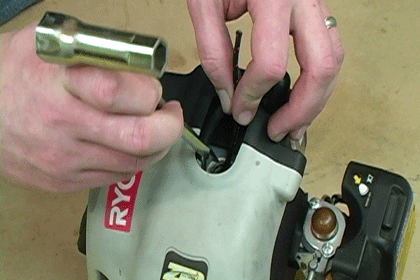
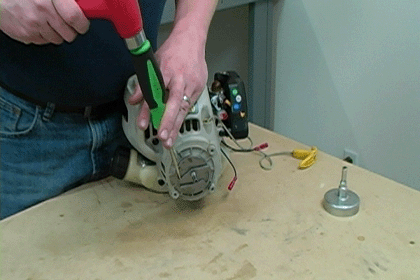
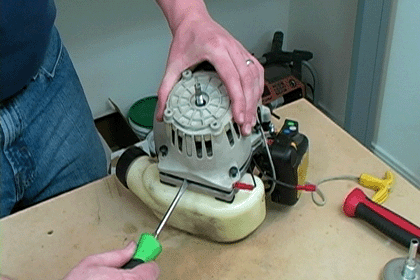
4. Remove six motor housing screws.
The starter assembly is inside the trimmer's motor housing, so, the housing must also be freed up from the motor in order to access the starter.
Remove all fasteners connecting the trimmer's motor and motor housing.
For our example model pictured in this article, there are six torx screws holding the motor and the housing together.
[Back to top]
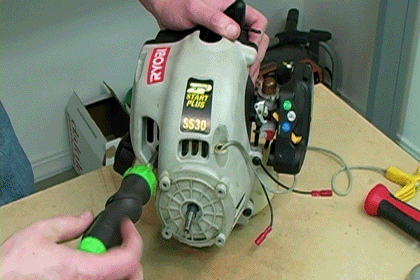
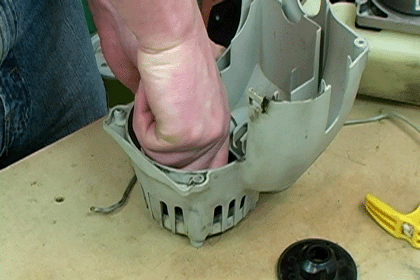
5. Pry the motor housing off of the trimmer motor.
Wedge the tip of a flat head screwdriver between the housing and motor to fully separate them.
 [Back to top]
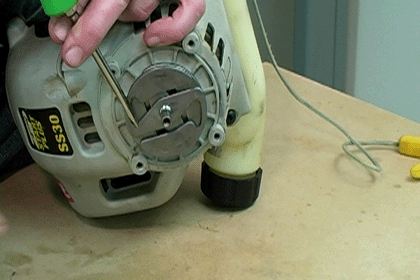
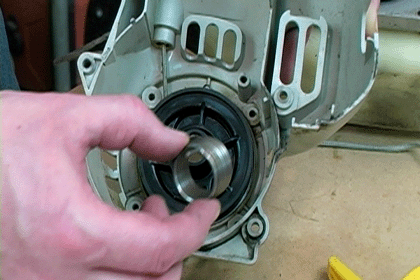
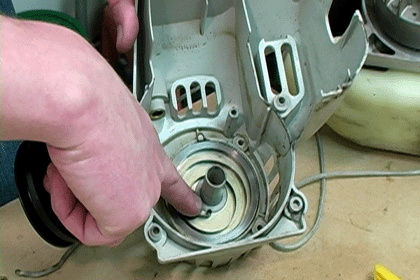
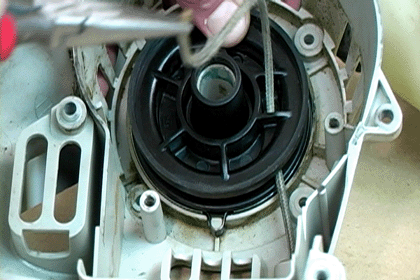
6. Remove the starter assembly retaining plate.
The last step to access the pulley and other pieces of the starter is to remove a retaining plate that secures the assembly in position.
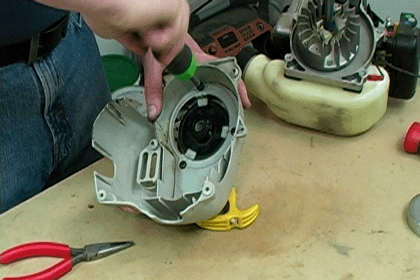
To free up the retaining plate, remove the three torx screws holding it down.
[Back to top]
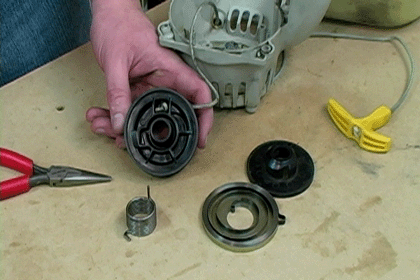
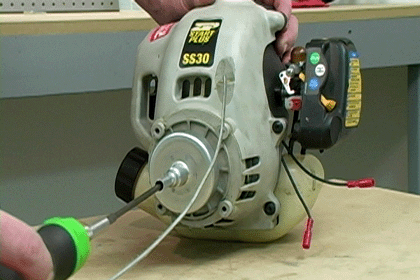
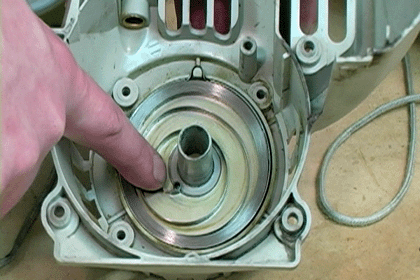
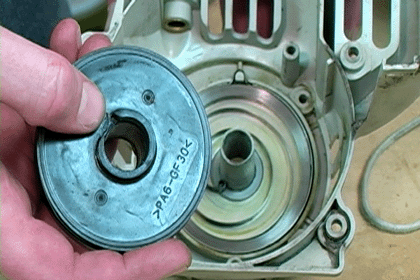
7. Remove the pulley assembly.
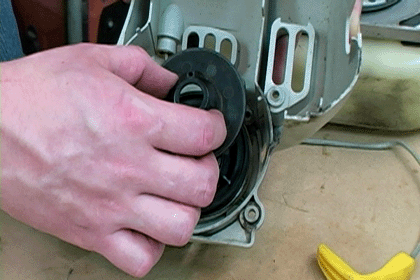
Remove the pulley cap, a pulley spring located underneath the cap, and then remove the pulley itself.
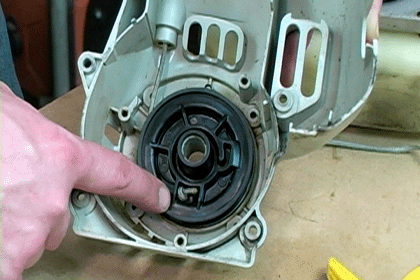
The starter spring will be resting underneath the pulley.
The starter spring is the part of the assembly that fails most often. For most assembly repairs, the starter spring should be discarded at this point.
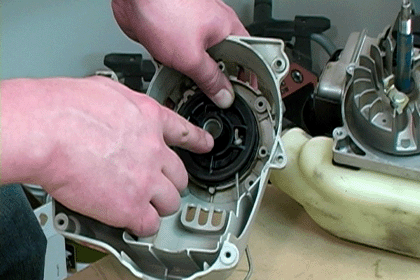
Untie the knot in the end of the starter rope and pull the rope from the pulley and motor housing.
 The starter assembly is now disassembled.
[Back to top]
Rebuild the Starter Assembly
Now it's time to install the new starter spring and rebuild the assembly.
For the assembly to be rebuilt correctly, tension must be put on the spring by carefully rewinding the pulley.
After re-tensioning the starter spring, pressure must be held on the pulley until the starter assembly is completely rebuilt.
Pay close attention to each step in this section. Our professional tips can make this otherwise tricky part of the repair much more straightforward.
1. Install the new starter spring.
Simply place the new spring in the same position as the old spring.
 [Back to top]
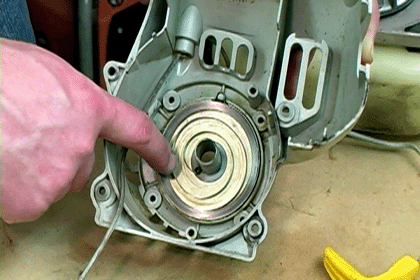
2. Install the starter pulley.
The starter pulley must be carefully oriented on top of the new spring.
The pulley has a gap on its underside that must be lined up with the round, coiled end of the starter spring.
[Back to top]
3. Re-tention the starter spring.
Turn the pulley counter-clockwise to re-tension the spring underneath.
It usually takes 6-7 total revolutions of the pulley to properly rewind the assembly.
Be careful to keep pressure on the pulley during the following steps until the assembly is completely rebuilt.
[Back to top]
4. Reinstall the starter rope.
Downward pressure on the pulley must be maintained during this step. This means that the starter rope must be reinstalled and tied with just one hand.
Use a pair of needle nose pliers to thread the rope through the motor housing and into the pulley.
Then, tie a knot in the end of the rope. Also make sure to seat the knot inside of the pulley.
It may be helpful to get an extra pair of hands to hold pressure on the pulley during this step.
[Back to top]
5. Replace the pulley spring.
Reinstall the pulley spring from where it was removed earlier (right on top of the pulley).
[Back to top]
6. Replace the pulley top cap.
The pulley top cap must also be replaced while maintaining downward pressure on the assembly.
[Back to top]
7. Rewind the rope into the pulley assembly.
This is the part where we finally get to release the tension wound into the pulley spring.
While maintaining downward pressure on the assembly, allow the starter rope to slowly recoil back into the starter.
When re-tensioned correctly, the starter rope handle will recoil all the way back to touch the motor housing.
[Back to top]
8. Reinstall the pulley assembly retaining plate.
Replace the assembly's retaining plate and the three screws that hold it down.
The trimmer's starter assembly is now rebuilt.
[Back to top]
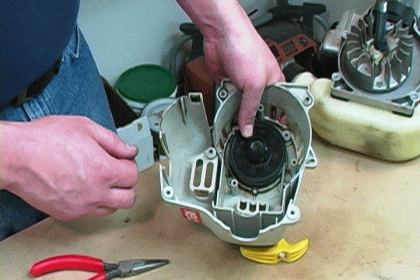
Reassemble the Motor Housing and Trimmer Shaft
1. Affix the motor housing to the motor.
Reattach the motor housing and return the six screws that hold it in place.
[Back to top]
2. Replace the clutch plates.
Spin each clutch plate back into position on the trimmer.
After the last clutch plate is in position, it will be necessary to tighten it down.
Tighten down the last clutch plate by striking its edge with a flat head screwdriver and a mallet. Make sure to position the screwdriver so that striking it will turn the clutch plate clockwise.
[Back to top]
3. Replace the clutch drum and the clutch screw.
The clutch drum will twist into position easily, and because the trimmer's piston is still bound, the clutch screw will tighten down normally in a clockwise direction.
[Back to top]
4. Remove the rope from the cylinder.
This is the part of the repair where you'll thank yourself for leaving some of the binding material sticking out of the piston.
 [Back to top]
5. Replace the spark plug and spark plug boot.
[Back to top]
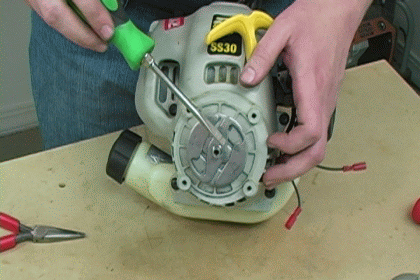
6. Reattach the trimmer shaft to the motor.
Reassemble the trimmer shaft by connecting its parts in reverse order that they were disassembled.
Remember to reconnect the throttle cable and retaining pin, reconnect the motor wires, and return the screws that affix the shaft to the motor assembly.
[Back to top]
Conclusion
Knowing how to rebuild a trimmer stater can be a great money-saver because you can replace just the damaged parts of the assembly, like the starter spring.
Although this repair has a lot of steps, it can easily be completed--believe it or not--in twenty minutes or so, making the time spent well-worth the investment.
To get started with your trimmer's starter spring replacement, type your trimmer's model number in the search field at the top of this page, or visit our Ryobi Trimmer Parts page.
[Back to top]
What we're about.
