Why Read This Article?
Finish Nailer Repair - Replacing the Driver Guide (Ridgid Part # 79004001022)
Article Breakdown
Finish Nailer Repair - Replacing the Driver Guide (Ridgid Part # 79004001022)
Tools & Materials
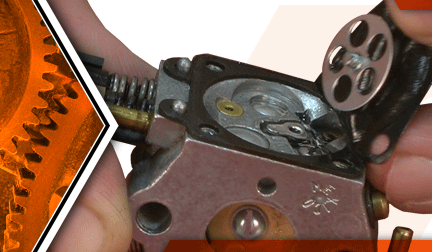

String trimmer out of whack? It's time to face the fix. Whether you are a legendary landscaper or a weekend weed whacker, eReplacementParts.com provides the parts, procedures and facts you need to fearlessly fix what fails you.
The gasket and diaphragm kit contains all of the gaskets used inside your trimmer's carburetor, as well as the reed valves and the rubber diaphragm. Because these components are constantly exposed to fuel, they will eventually harden and break down. This process is accelerated whenever the trimmer is left sitting (unused) with fuel in it.
Difficulty starting, rough idle, high idle, false-start, no-start, excessive fuel consumption, fuel leakage: These are the signs of a carburetor in decline. Fortunately, the diaphragm and gasket kit contains of all of the parts you will need to rebuild, revive and reignite the steel heart of your device.
This article provides step-by-step instructions for installing the diaphragm and gasket kit on a Ryobi trimmer.
Let's get started.
 REMOVING THE CARBURETOR [top]
1. Remove the rear cover.
Remove the (4) screws from the rear cover.
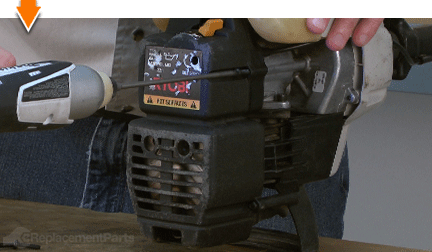
Remove the rear cover from the engine.
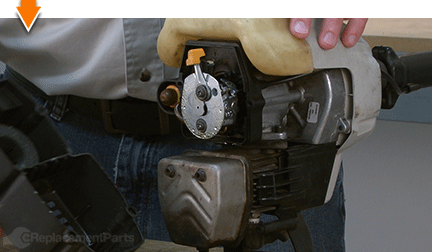
2. Remove the carburetor.
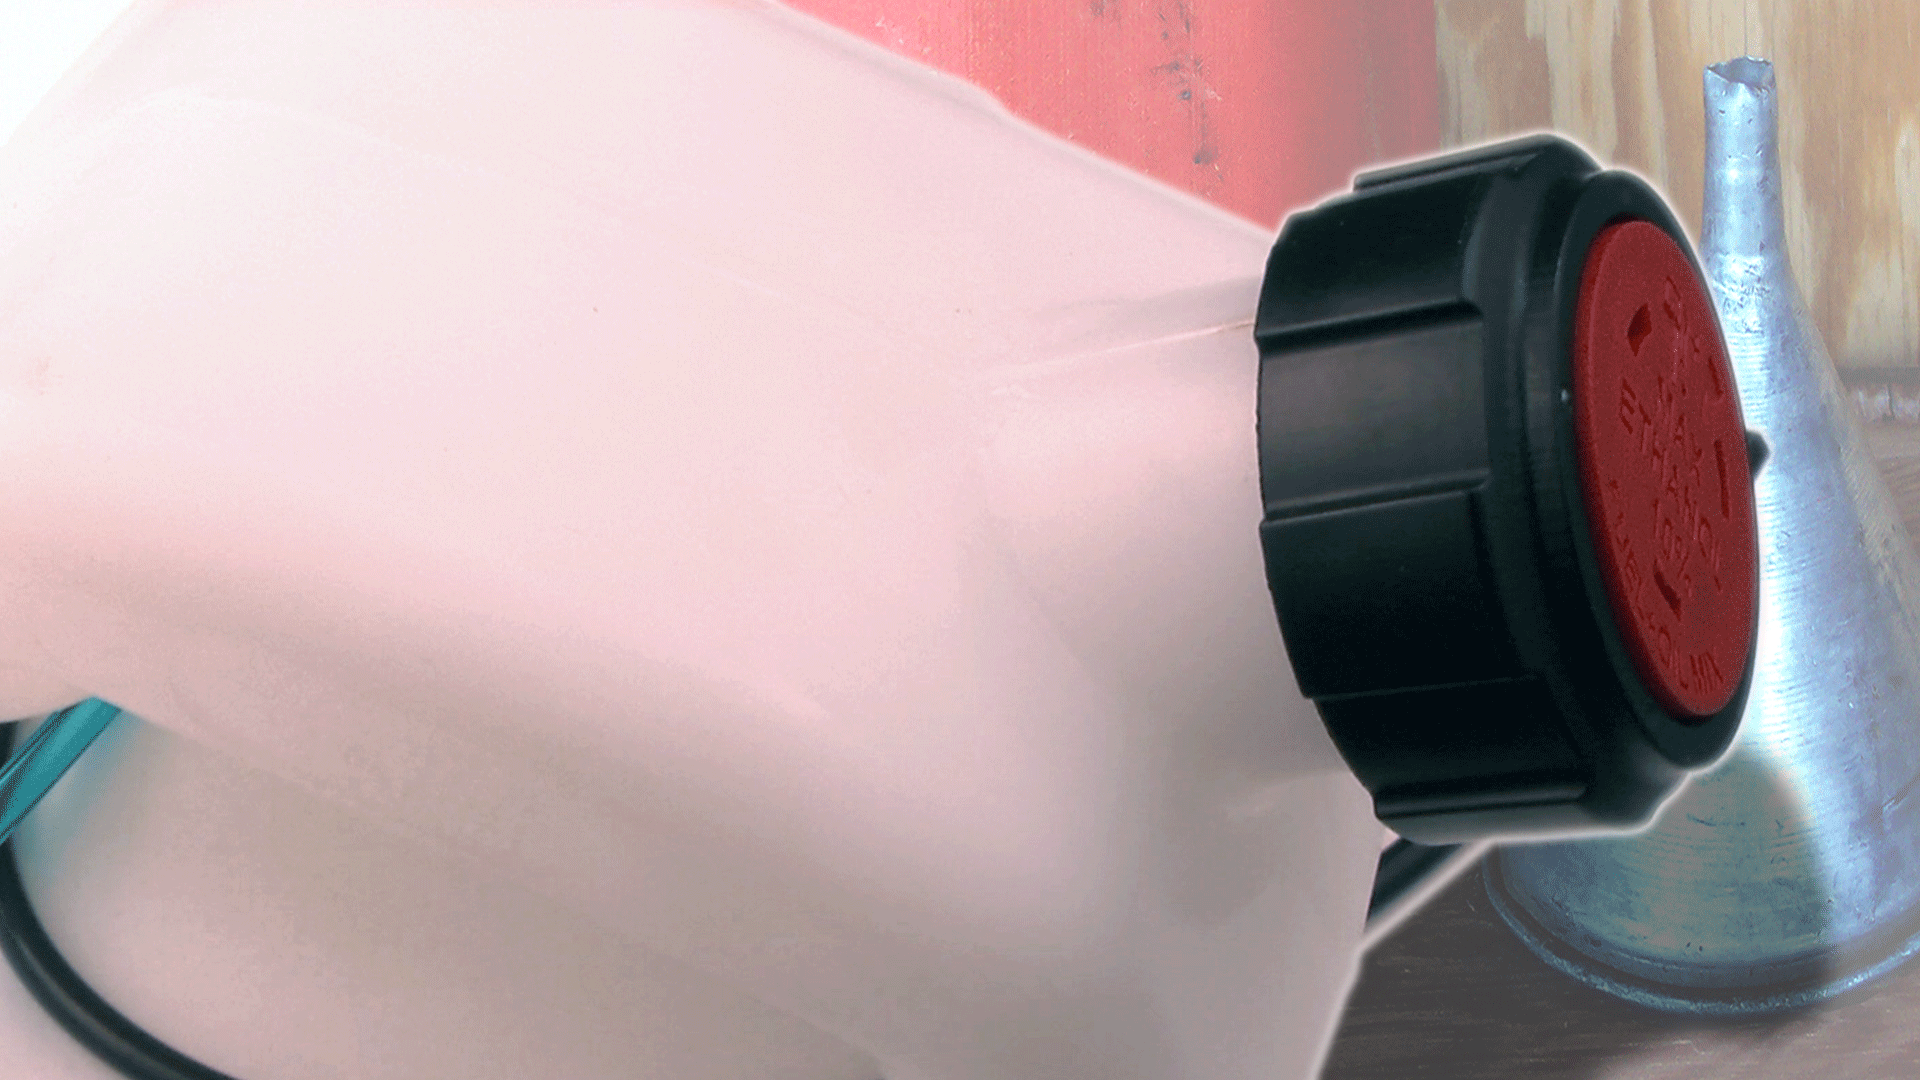
Drain any excess fuel from the fuel tank prior to servicing the carburetor or the fuel lines.
Remove the (2) screws from the carburetor assembly.
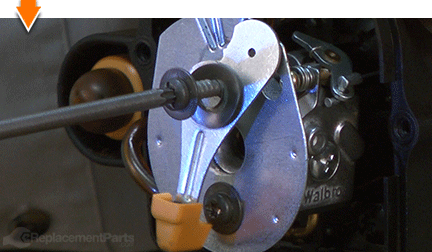
Remove the choke plate and choke assembly from the carburetor.
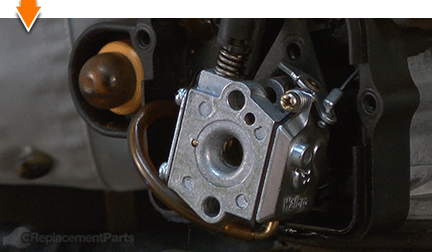
Disconnect the throttle cable from the carburetor (this is accomplished using a lift-and-twist motion).
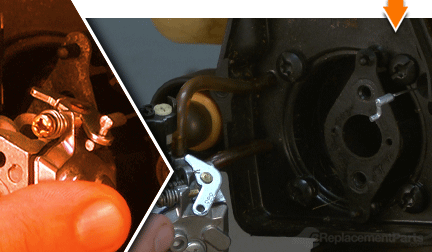
Remove the (2) fuel lines from the carburetor. These lines should pull away from the carburetor inlets relatively easily (by hand); however, small pliers may be used as necessary to disconnect the fuel lines from the carburetor.
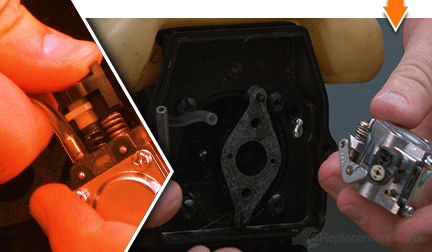
Remove the carburetor from the engine.
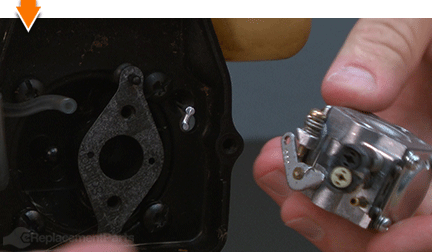
DISASSEMBLING THE CARBURETOR [top] 3. Remove the reed valve and gasket.
Remove the (1) screw from the fuel pump cover.
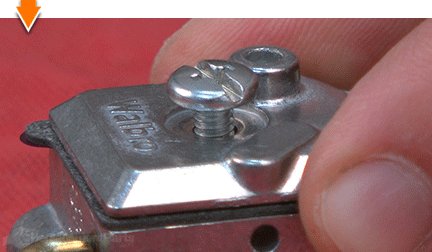
Remove the fuel pump cover from the carburetor.
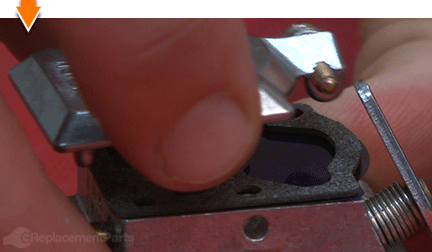
Remove the reed valve from the cover (or the carburetor).
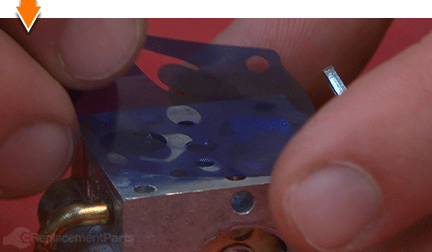
Remove the reed valve gasket from the cover (or the carburetor).
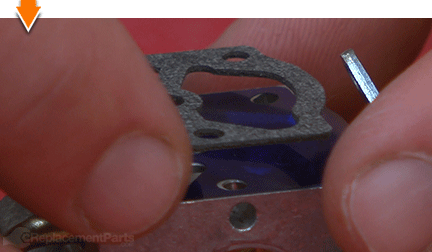
Use a pick or small screwdriver to remove the metal filter from the carburetor.
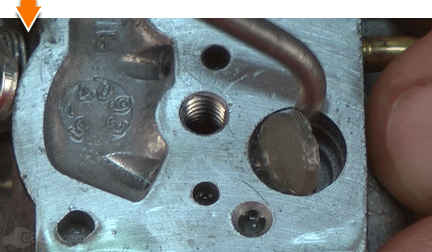
4. Remove the diaphragm and gasket.
Remove the (4) screws from the diaphragm cover.
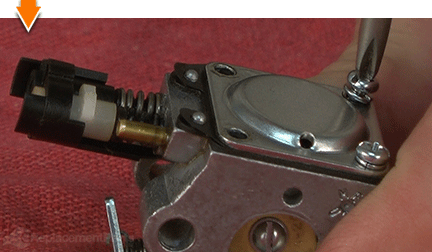
Remove the diaphragm cover from the carburetor.
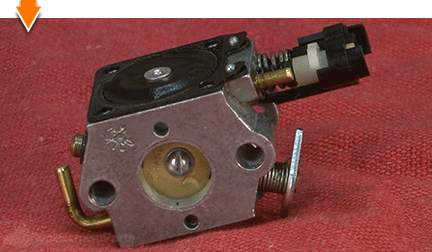
Remove the diaphragm from the carburetor.
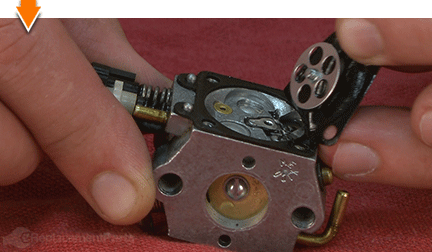
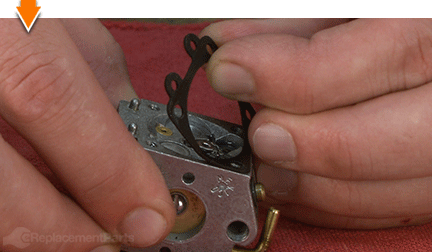
Remove the diaphragm gasket from the carburetor.
5. Remove the metering lever and needle.
Remove the metering lever screw. Note: The metering lever is spring-loaded; place your finger over the lever to prevent the assembly from springing out of the carburetor as you remove this screw.
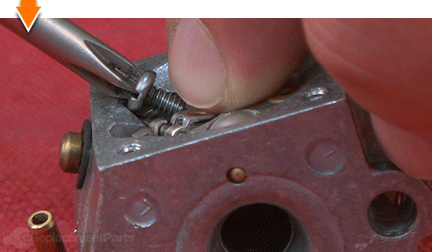
Slowly release tension from the metering lever.
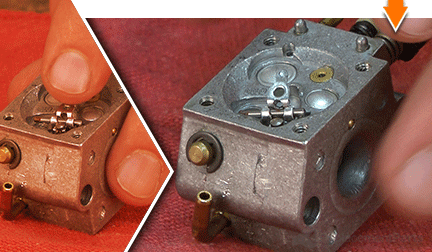
Remove the metering lever and needle from the carburetor.
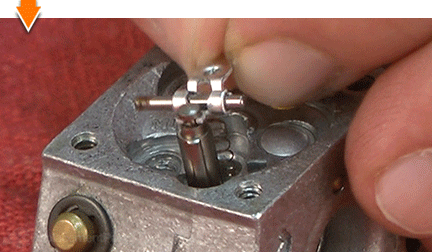
Remove the lever spring from the carburetor.
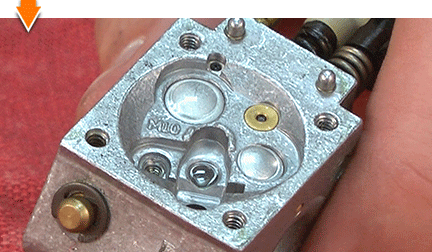
CLEANING THE CARBURETOR [top]
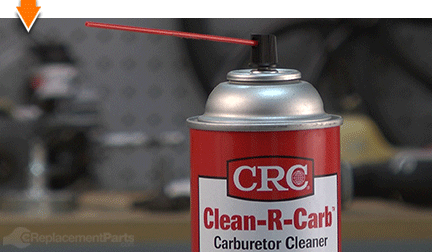
There are two general methods for cleaning the carburetor. The traditional (chemical) method uses carburetor cleaner spray to dissolve grime, varnish and carbon residue.
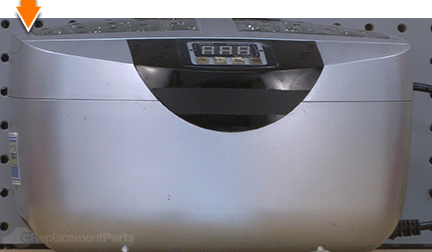
The alternative method requires an ultrasonic cleaner, which uses ultrasonic shockwaves (and water) to clean carburetor components. Both methods are described below.
6(a). Cleaning with chemical spray.
Liberally spray/clean the metal body of the carburetor (according to the directions on your specific brand of carburetor cleaner).
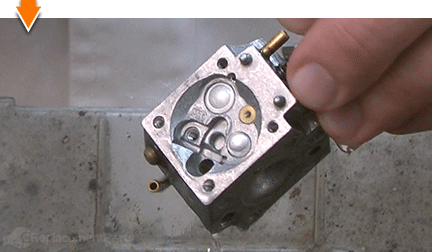
Use the long plastic nozzle to direct the spray into of each of the tiny openings on the carburetor body. However, do not force the nozzle (or any metal objects) into the openings. Doing so may damage the carburetor. Fishing line may be used to safely clear/clean badly obstructed passages.
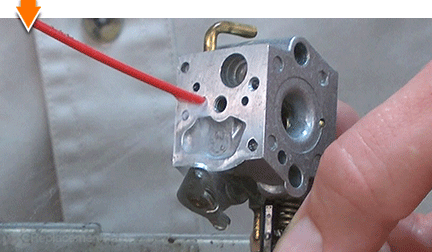
Liberally spray/clean the smaller components (needle, lever, etc.).
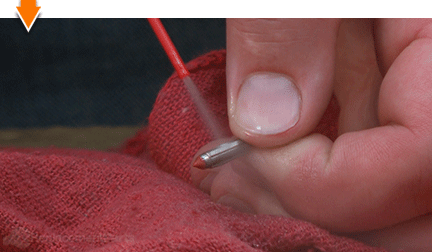
6(b). Ultrasonic cleaning.
Insert the carburetor and fuel pump cover into the cleaning tank.
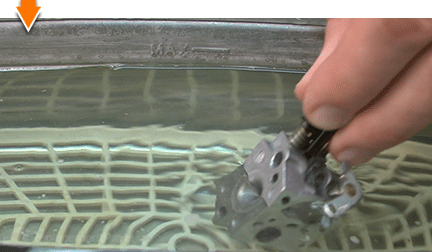
Activate the ultrasonic cleaner (according to the directions on your specific model).
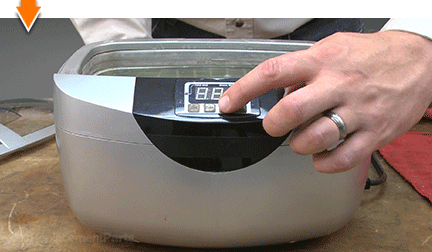
Watch the grease, grime and gunk dissolve.
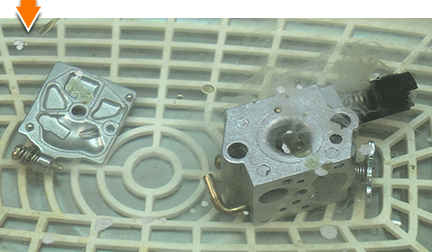
Remove the components from the cleaning tank.
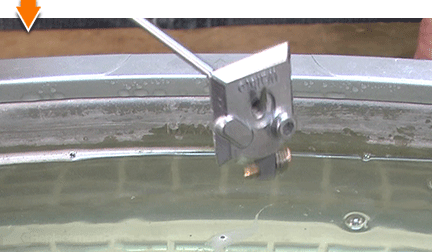
7. Rinse and dry the cleaned components.
After cleaning (regardless of the method used), rinse all of the parts with clean water.
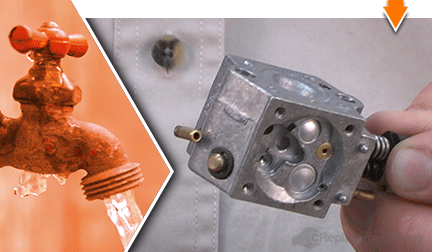
Use compressed air (with a blower nozzle) to remove excess water (or cleaner) from the carburetor and fuel pump cover.
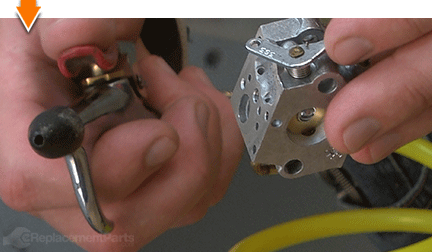
REBUILDING THE CARBURETOR [top] 8. Install the metering lever assembly.
Slide the pivot shaft through the metering lever.
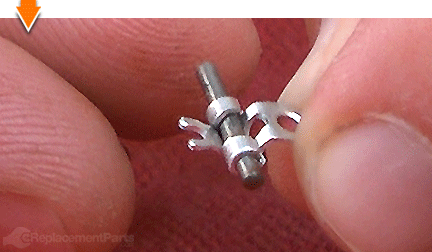
Install the metering needle onto the lever fork.
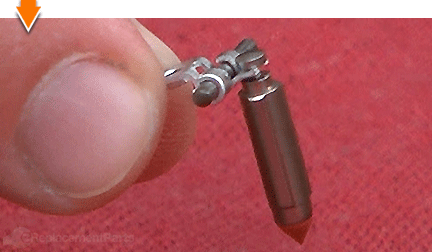
Insert the valve spring into the mounting hole on the carburetor body.
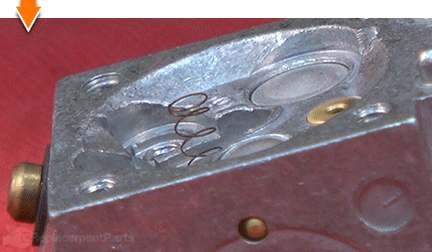
Install the metering needle and lever assembly into the carburetor body. The needle should slide smoothly into the hole.
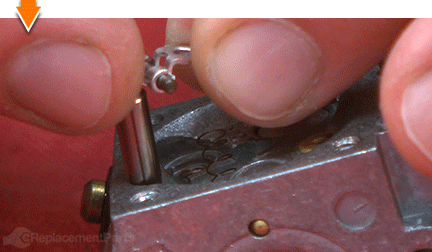
Align the metering lever above the spring.
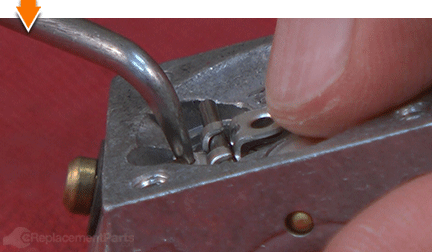
Secure the metering lever and needle assembly with the screw.
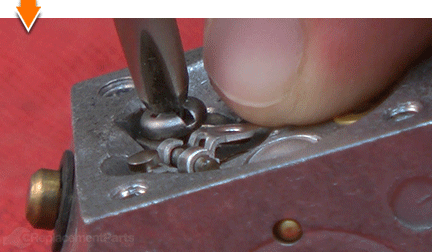
9. Install the new diaphragm and gasket.
Place the new gasket on the carburetor body and align the mounting tabs.
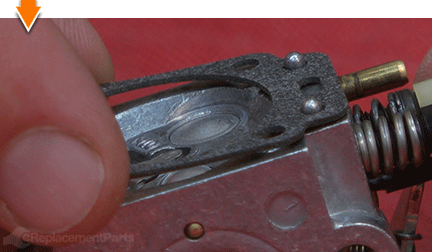
Place the new diaphragm OVER the gasket and align the mounting tabs. The metal portion of the diaphragm should face down.
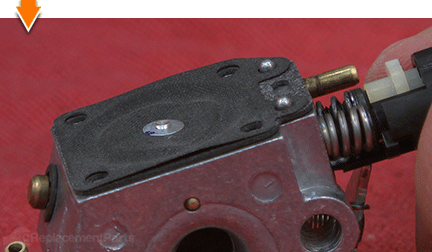
Place the metering cover over the new diaphragm and gasket.
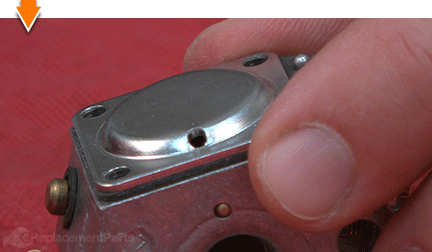
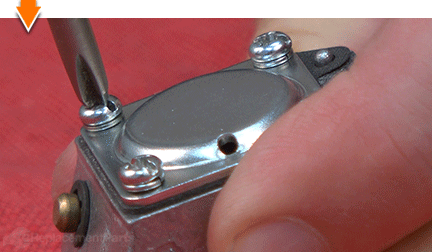
Secure the metering cover with the (4) screws.
10. Install the new reed valve and gasket.
Install the inlet screen into the recess on the carburetor body. (The rounded end of a Sharpie marker works well to press the screen into the body.)
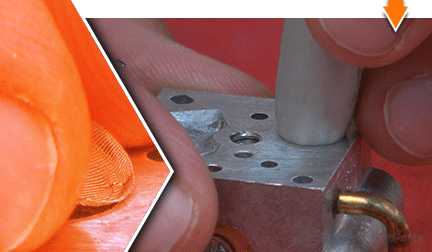
Place the new reed valve on the carburetor body and align the mounting holes.
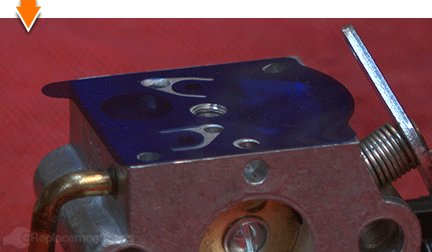
Place the new gasket OVER the reed valve and align the mounting holes.
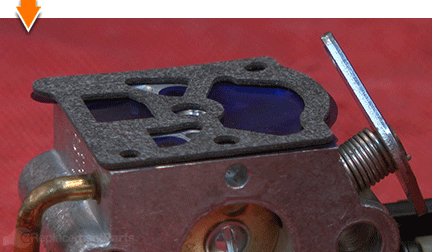
Install the fuel pump cover over the gasket.
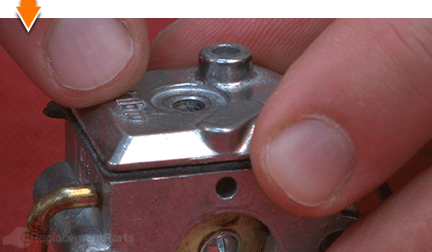
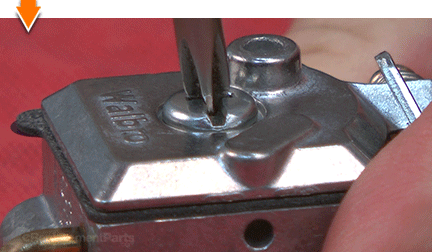
Secure the fuel pump cover to the carburetor with the (1) screw.
REASSEMBLING THE UNIT [top] 11. Reinstall the carburetor
Install the carburetor gasket (if necessary).
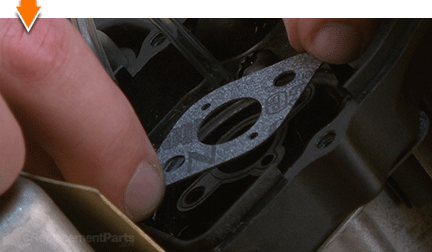
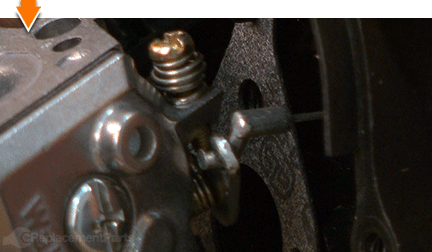
Install the throttle cable onto the throttle linkage of the carburetor.
Install the incoming fuel line to the lower carburetor inlet.
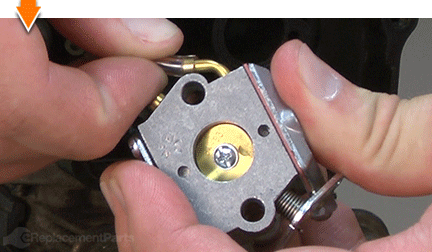
Install the (primer) fuel line to the upper carburetor inlet.
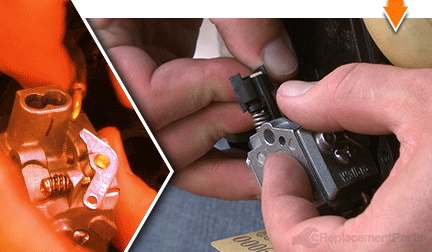
Install the carburetor mounting screws onto the choke plate and lever.
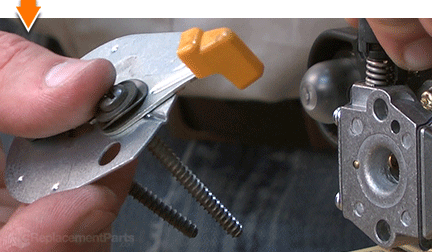
Secure the carburetor (and choke plate) to the engine with the (2) screws. Note that the choke lever and the wavy washer must be properly aligned before tightening the upper screw.
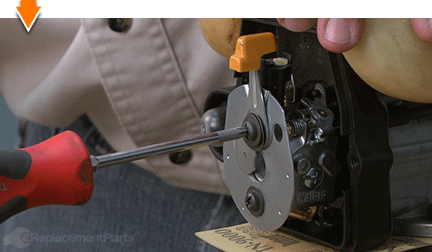
12. Reinstall the rear cover.
Reinstall the rear cover onto the engine.
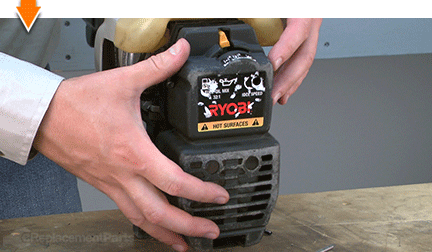
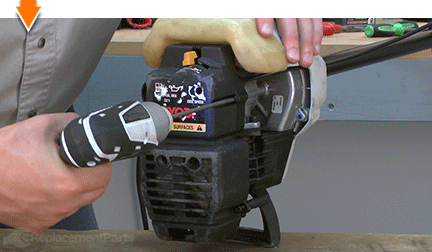
Secure the rear cover with the (4) screws.

You don't have to leverage your savings to level your lawns. As you just learned, repairing your own equipment is easy when you follow our step-by-step guides. Not only did you restore trimmer functionality at a fraction of the cost of replacement; you have taken the edge off of future repairs, wherever you may find them.


