


Why Read This Article?
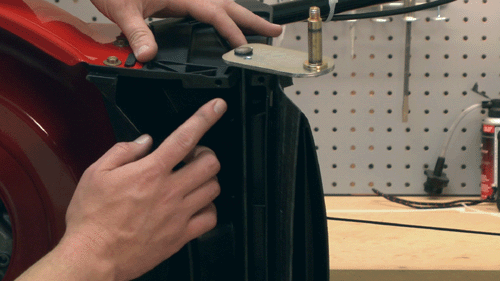
Finish Nailer Repair - Replacing the Driver Guide (Ridgid Part # 79004001022)
Article Breakdown
Finish Nailer Repair - Replacing the Driver Guide (Ridgid Part # 79004001022)
Video

Tools & Materials
- Socket Wrench
- Screwdriver
Purchase the rear axle assembly used in this video by clicking here. Removing the Rear Axle Assembly
1. Prop up the rear end of the mower
We use a 2 x 4 to lift up the rear of the mower.
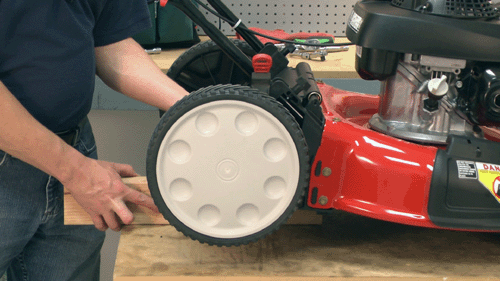
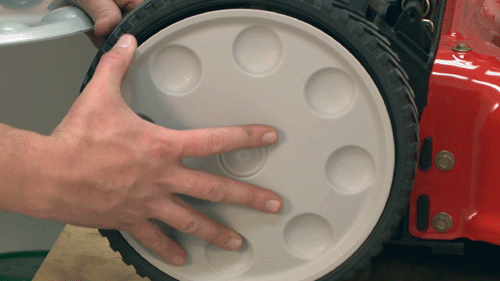
2. Remove the rear wheels
First pop off the hubcaps with a screwdriver.
Then use a socket wrench to remove the center nut on each of the rear wheels, then set the wheels aside.
3. Pull down the wheel adjuster
Pull the wheel adjuster lever all the way down so it passes off of the track.
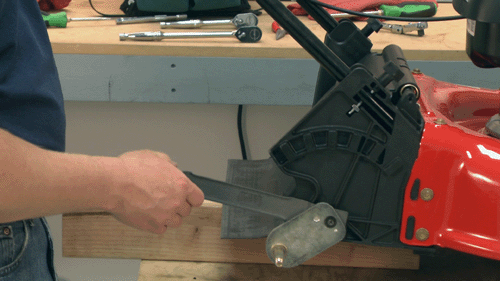
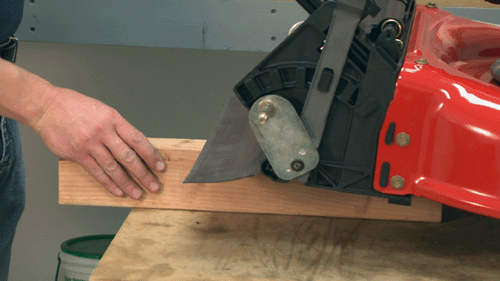
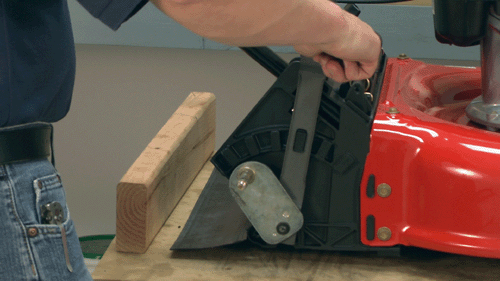
4. Tip the lawnmower on its side
To prevent fuel spillage, make sure the carburetor is facing up when tipping the lawn mower.

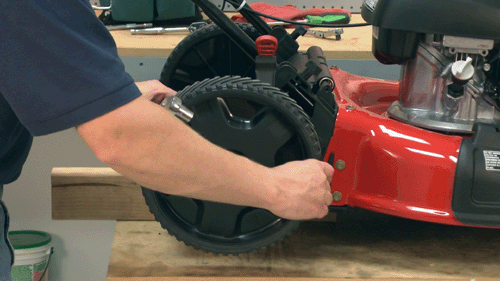
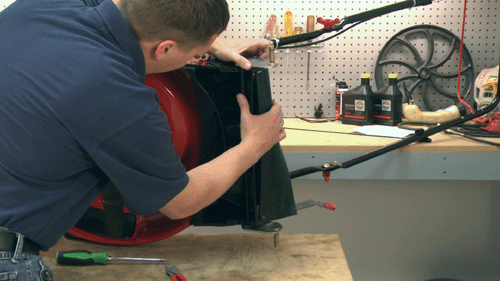
5. Remove the rear axle assembly
There are two tabs that secure the axle to the mower. We recommend using a pair of snap ring pliers to spread the two tabs apart, then proceed to pull the axle away from the mower.

[Back to Top] Installing the Rear Axle Assembly
1. Install the new rear axle assembly
You can just snap the new axle through the clips on the bottom of the mower to secure it.
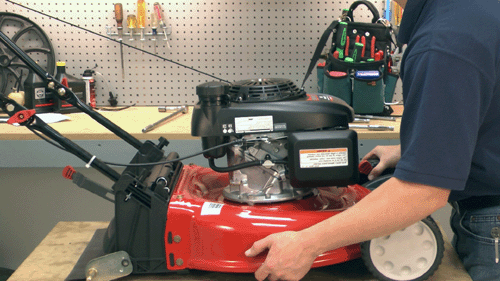
2. Tip the mower back down
Gently place your mower back into the upright position.
3. Prop up the rear of the mower
You'll need some space to work with again.
4. Reset the wheel adjuster to its original setting
Push the adjuster lever back to its original location on the track.
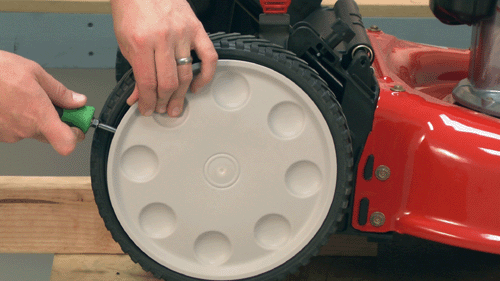
5. Replace the rear wheels
Slide the rear wheels back onto the rear axle, secure them with the center nut, and snap the hubcaps back onto the wheels.
 [Back to Top]
Conclusion
It's just that easy to replace your rear axle assembly on your Troy-Bilt TB130 lawn mower. Performing similar repairs to this will help you keep your lawn mower running like new for years to come while saving tons of money.
Don't forget to browse our complete lineup of Troy-Bilt TB130 parts!
[Back to Top]
[Back to Top]
Conclusion
It's just that easy to replace your rear axle assembly on your Troy-Bilt TB130 lawn mower. Performing similar repairs to this will help you keep your lawn mower running like new for years to come while saving tons of money.
Don't forget to browse our complete lineup of Troy-Bilt TB130 parts!
[Back to Top]
What We're About
