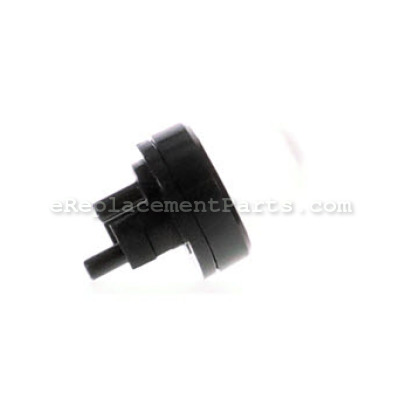
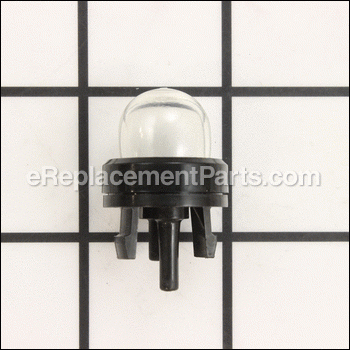
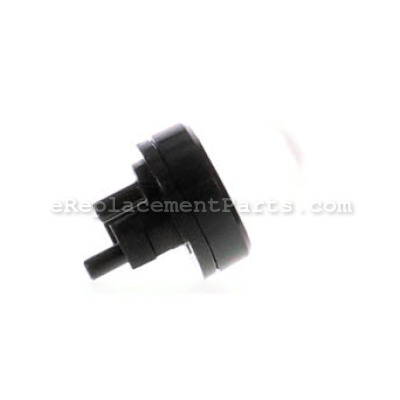
This is a genuine OEM replacement part designed for use with Makita power tools. It is made out of rubber and it is sold individually. By pressing on the purge bulb, it will force fuel into the fuel line from the fuel tank into the carburetor. Once the carburetor is full of fuel, the excess fuel will be purged back into the tank in the fuel return line.
At some time the primer will lose its elasticity or crack and need to be replaced.
Primer Pump 168398-2
OEM part for: Makita
Part Number: 168398-2
Jump To:
Product Description ?
- Classification: Part
- Weight: 0.01 lbs.
- Shipping: Ships Worldwide
Frequently Purchased Together ?
Compatibility
This part will fit the following 47 machines
Makita
This item works with the following types of products:
- Trimmer Parts
- Edger Parts
- Blower Parts
- Chain Saw Parts
- Saw Parts
This part replaces obsolete part #: 010-155-010, 523-65043-00
Repair Videos ?
|
Replacing primer bulbs in small engines is one of the most common types of tool repairs, and this article explains profe...
June 25, 2010
|
Customer Part Reviews ?
- 1
Questions & Answers ?
Our customer Service team is at the ready daily to answer your part and product questions.

Ask our Team
We have a dedicated staff with decades of collective experience in helping customers just like you purchase parts to repair their products.
Does this fit my product?Questions & Answers for Primer Pump
Customer Repair Instructions ?
All our customer repair instructions are solicited directly from other customers just like you who have purchased and replaced this exact part.
Primer Bulb Leak on 21 Year Old Makita
Tool Type
Grass Trimmer
Difficulty
Medium
Time
15-30 minutes
Tools Used
Screwdriver, Pliers
Recommend wrapping unit with a rag to absorb any minor spillage.
Removed casing around pull cord using medium Philips screwdriver. The pull cord mechanism comes off with the casing.
Note position of fuel lines. You can gently pull the tight one out from the tank to get some slack.
Remove two fuel lines from the bulb.
Remove bulb from casing by twisting or squeezing on-bulb clips to pull it off.
Attach new bulb to casing by pressing it into mounting hole.
Reattach fuel lines.
Gently reposition casing into its original position. You may need to tug on pull cord to get it to realign.
Test bulb before tightening screws by pressing once or twice. It should fill with no leaks.
Tighten casing screws.
Test for leaks
Get that woolly lawn back in shape!
Primer bulb was leaking
Tool Type
Blower
Difficulty
Easy
Time
15-30 minutes
Tools Used
Screwdriver, Pliers
Parts Used
Used a screwdriver to pry out the assembly.
Pinched fuel lines with needle nosed pliers.
Snapped new bulb assembly in.
Re attached fuel lines to new assembly.
Put back cover and replaced with the two screws removed.
Easy project …..very low skill level required
Primer Bulb Cracked
Tool Type
Grass Trimmer
Difficulty
Easy
Time
Less than 15 minutes
Tools Used
Screwdriver
Installed new bulb.
Put in new air cleaner filter.
Reassembled cover.
Started Trimmer and it Worked Great!!!!
Thanks ereplacement parts!!
Primer bulb had dry rotted
Tool Type
Grass Trimmer
Difficulty
Easy
Time
Less than 15 minutes
Tools Used
Screwdriver
Parts Used
Worn out primer pump
Tool Type
Blower
Difficulty
Easy
Time
15-30 minutes
Tools Used
Screwdriver, Pliers
Parts Used
Primer bulb cracked from age,
Tool Type
Blower
Difficulty
Easy
Time
15-30 minutes
Tools Used
Screwdriver, 1/2\\
Parts Used
2) Disconnected fuel lines and snapped primer pump out.
3) Used a 1/2" 12 point socket which fit over the bulb and makes contact with the bulb base to press the primer bulb unit into the blower side. This method allows the primer bulb unit to be inserted straight, without putting any pressure on the bulb.
4) Reconnected the fuel lines and attached the blower side.
The primer Bulb cracked
Tool Type
Grass Trimmer
Difficulty
Easy
Time
Less than 15 minutes
Tools Used
Screwdriver, Needle nose Pliers
Parts Used
Fuel cap was cracked and leaking fuel, and the primer pump bulb had hardened and was not working properly.
Tool Type
Grass Trimmer
Difficulty
Easy
Time
Less than 15 minutes
Tools Used
Screwdriver
Parts Used
Primer ball was split.
Tool Type
Grass Trimmer
Difficulty
Easy
Time
15-30 minutes
Tools Used
Screwdriver, Pliers
Parts Used
Primer bubble dry rotted / trimmer head just wore out
Tool Type
Grass Trimmer
Difficulty
Easy
Time
15-30 minutes
Tools Used
Screwdriver, Channel locks
Parts Used
The trimmer head came with more than enough parts and was easy swap. not sure why I waited so long to replace? Machine is 16 yrs old and wore the plastic "bump" head until the spring came through. The trimmer head includes installation instructions.
OEM stands for Original Equipment Manufacturer and means the part you’re buying is sourced directly from the manufacturer who made your product. At eReplacementParts, we sell only genuine OEM parts, guaranteeing the part you’re purchasing is of better design and of higher quality than aftermarket parts.
Our product descriptions are a combination of data sourced directly from the manufacturers who made your product as well as content researched and curated by our content & customer service teams. This content is edited and reviewed internally before being made public to customers.
Our customer service team are at the ready daily to answer your part and product questions. We have a dedicated staff with decades of collective experience in helping customers just like you purchase parts to repair their products.
All our part reviews are solicited directly from other customers who have purchased this exact part. While we moderate these reviews for profanity, offensive language or personally identifiable information, these reviews are posted exactly as submitted and no alterations are made by our team.
All our customer repair instructions are solicited directly from other customers just like you who have purchased and replaced this exact part. While we moderate these reviews for profanity, offensive language or personally identifiable information, these reviews are posted exactly as submitted and no alterations are made by our team.
Based on data from past customer purchasing behaviors, these parts are most commonly purchased together along with the part you are viewing. These parts may be necessary or helpful to replace to complete your current repair.
All our installation videos are created and produced in collaboration with our in-house repair technician, Mark Sodja, who has helped millions of eReplacementParts customers over the last 13 years repair their products. Mark has years of experience in selling and repairing both commercial and residential products with a specialty in gas-powered equipment.
This data is collected from customers who submitted a repair instruction after replacing this exact part. Customers can rate how easy the repair was to complete and how long it took. We aggregate this data to provide a repair rating that allows customers to quickly determine the difficulty and time needed to perform their own repair.


