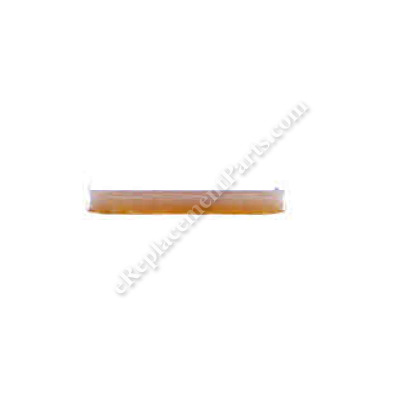
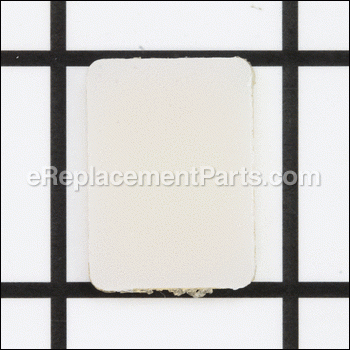
This pad is an OEM part direct from Powermatic. Constructed of soft material, this item is compatible with several band saw devices. The pad is fitted onto the fence, providing protection from abrasion. The pad is sold individually. No tools are required for the replacement.
Pad JWBS18-434
OEM part for: Powermatic, Jet
Part Number: JWBS18-434
Jump To:
Frequently Purchased Together ?
Compatibility
This part will fit the following 14 machines
Powermatic
Jet
This item works with the following types of products:
- Band Saw Parts
- Saw Parts
This part replaces obsolete part #: 6295198
Questions & Answers ?
Our customer Service team is at the ready daily to answer your part and product questions.

Ask our Team
We have a dedicated staff with decades of collective experience in helping customers just like you purchase parts to repair their products.
Does this fit my product?Questions & Answers for Pad
Customer Repair Instructions ?
All our customer repair instructions are solicited directly from other customers just like you who have purchased and replaced this exact part.
One it the plastic pads was missing from the fence causing it to unable to lock in place.
Tool Type
Band Saw
Difficulty
Medium
Time
15-30 minutes
Tools Used
, Razor saw
Parts Used
2. The Powermatic pads was thicker than the Jet pad so it did not have enough clearance to go on.
3. I used a razor saw to cut the pad in half. I am not sure if it is made of nylon or polyethylene plastic but it could not be filed.
4. Having reduced the thickness by razor sawing, the fence was fixed.
missing the part that were ordered
Tool Type
Band Saw
Difficulty
Easy
Time
Less than 15 minutes
Tools Used
, No tools needed
Parts Used
Lower guide wheel assembly set screw was stripped. Guide bearings were seized. Back side trunnion was broken.
Tool Type
Band Saw
Difficulty
Hard
Time
1-2 hours
Tools Used
Pliers, Socket set, Wrench Set, Adjustable Wrench, Metric Allen Wrenches, long and short
2. Removed throat plate, table pin and blade from machine. Set aside.
3. Unscrewed table clamp knobs completely. Set aside.
4. Lifted table from machine and put on solid flat surface upside down.
5. Unscrewed trunnions from bottom of table with socket and wrench. Saved bolts. discarded old trunnions.
6. Checked to see if new trunnions were exact fit. They were. Applied new scale decal to front side trunnion after cleaning off machining oils with acetone.
7. Checked fit of trunnion clamp shoes. Had to grind my old ones because they were mushroomed and wouldn't fit in new trunnions. After grinding and filing, they fit nicely and slid nicely with lubricating oil.
8. Loosely bolted new trunnions to table, remembering to keep trunnion clamp shoes and trunnion clamp bolts inside trunnions.
9. Removed lower guide guide bracket along with the lower guide wheel housings and the lower guide wheel assemblies from machine using allen wrench. Saved bolts. Placed on bench to work.
10. Removed bolts from lower guide wheel assemblies and lower guide bracket using metric allen wrench. Removed wing screws from lower guide wheel assemblies. Discarded old lower guide wheel assembles and old lower guide bracket. Saved bolts and wing screws.
11. Pushed new lower guide wheel assemblies into new lower guide wheel housings. Secured loosely with old wing screws. Lubricated shafts and wing screw threads with oil.
12. Pushed new blade support shaft w/ bearing into lower guide bracket. Secured loosely with new wing screw. Lubricated shaft and wing screw threads with oil.
13. With blade support shaft w/ bearing installed in lower guide bracket, and with both lower guide assemblies installed in lower guide wheel housings, bolt lower guide wheel housings to lower guide bracket using old bolts and allen wrench. Tighten securely.
14. Loosely bolted lower guide assembly back onto machine, sandwiching the old lower blade guard between the machine and the lower guide assembly.
15. Put oil on trunnion support bracket (still installed on machine) where new trunnions will ride.
16. Placed table back onto machine sliding trunnion clamp bolts into holes in trunnion support bracket and nesting new trunnions into trunnion support bracket.
17. Spun on both old table lock knobs and loosely secured table.
18. Centered trunnions (front to back) in trunnion support bracket, making sure table tilted freely and smoothly. Securely tighten lock knobs to capture trunnions.
19. Install blade back on machine. Adjusted to run centered on tires. Made sure all new bearings were out of the way of blade.
20. Adjusted lower guide bracket and blade support shaft with bearing and blade support shafts with bearings around blade. Secured all fasteners tightly.
21. Utilizing slop in trunnion bolt holes, adjusted table to be "parallel" with blade.
22. Tightened trunnion to table bolts, all six, securely. Loosened table lock knobs and tested table motion for smoothness. Retightened table lock knobs.
23. Plugged bandsaw back in and started it. Made sure blade was supported correctly with new parts.
24. Replaced pads on rip fence with new pads. Put rip fence on table. Made test rip cuts.
25. Satisfied and thrilled!
Stick pad was lost
Tool Type
Band Saw
Difficulty
Easy
Time
Less than 15 minutes
Tools Used
, None
Parts Used
Worn out pads
Tool Type
Band Saw
Difficulty
Easy
Time
Less than 15 minutes
Tools Used
, None
Parts Used
OEM stands for Original Equipment Manufacturer and means the part you’re buying is sourced directly from the manufacturer who made your product. At eReplacementParts, we sell only genuine OEM parts, guaranteeing the part you’re purchasing is of better design and of higher quality than aftermarket parts.
Our product descriptions are a combination of data sourced directly from the manufacturers who made your product as well as content researched and curated by our content & customer service teams. This content is edited and reviewed internally before being made public to customers.
Our customer service team are at the ready daily to answer your part and product questions. We have a dedicated staff with decades of collective experience in helping customers just like you purchase parts to repair their products.
All our part reviews are solicited directly from other customers who have purchased this exact part. While we moderate these reviews for profanity, offensive language or personally identifiable information, these reviews are posted exactly as submitted and no alterations are made by our team.
All our customer repair instructions are solicited directly from other customers just like you who have purchased and replaced this exact part. While we moderate these reviews for profanity, offensive language or personally identifiable information, these reviews are posted exactly as submitted and no alterations are made by our team.
Based on data from past customer purchasing behaviors, these parts are most commonly purchased together along with the part you are viewing. These parts may be necessary or helpful to replace to complete your current repair.
All our installation videos are created and produced in collaboration with our in-house repair technician, Mark Sodja, who has helped millions of eReplacementParts customers over the last 13 years repair their products. Mark has years of experience in selling and repairing both commercial and residential products with a specialty in gas-powered equipment.
This data is collected from customers who submitted a repair instruction after replacing this exact part. Customers can rate how easy the repair was to complete and how long it took. We aggregate this data to provide a repair rating that allows customers to quickly determine the difficulty and time needed to perform their own repair.


