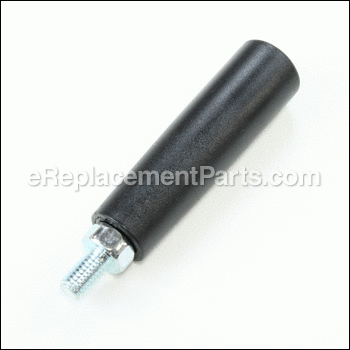
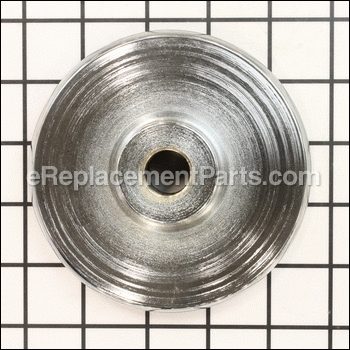
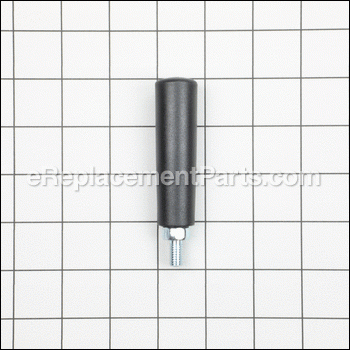
This is a genuine OEM sourced part which is specially designed for Jet and Powermatic demolition hammers. The handle provides a user with a comfortable grip to operate the unit. It is an identical replacement for a missing or a damaged handle that was installed on a new unit. This high-quality handle is made of durable material and is sold as an individual item. Make sure to refer to the appropriate diagrams for your model to ensure the proper repair procedure.
Handle 6294199
OEM part for: Powermatic, Jet
Part Number: 6294199
Compatibility
This part will fit the following 28 machines
Powermatic
Jet
This item works with the following types of products:
- Band Saw Parts
- Saw Parts
- Lathe Parts
- Table Saw Parts
This part replaces obsolete part #: JWL1442-111, JWL1442-211, JWBS20-103A, 6295313, 200076
Customer Part Reviews ?
Questions & Answers ?
Our customer Service team is at the ready daily to answer your part and product questions.

Ask our Team
We have a dedicated staff with decades of collective experience in helping customers just like you purchase parts to repair their products.
Does this fit my product?Questions & Answers for Handle
Customer Repair Instructions ?
All our customer repair instructions are solicited directly from other customers just like you who have purchased and replaced this exact part.
Jet JWTS-10JF table saw missing both trunnion crank wheels (up/down, left/right)
Tool Type
Table Saw
Difficulty
Medium
Time
1-2 hours
Tools Used
, rat tail file, flat file, drill press
Parts Used
1. File a slot in the back of the wheels to engage the pin on the shaft that cranks the trunnions up/down and left/right. Otherwise you must replace the 3x30 spring pin with a 3 x 25 pin. Those are a press fit, and you do not want to bend the shaft.
2. If you use a JET handle, instead of the more expensive Powermatic 64A handle, you will need to carefully bore a hole in the back of the wheel, just deep enough to attach a nut to the handle's threaded shaft. Were I to do it again, I would buy the Powermatic 64 handle for the Powermatic 64 wheel, even if you have to wait a month for arrival.
3. The JET locking knobs were a perfect fit.
Needed a tail stock wheel
Tool Type
Lathe
Difficulty
Easy
Time
Less than 15 minutes
Tools Used
, Allen wrench
Parts Used
I was repairing a 40 plus year old metal cut-off saw with a broken hand crank on the vise .
Tool Type
Band Saw
Difficulty
Easy
Time
15-30 minutes
Tools Used
Power Drill, Allen wrench
Arbor bracket stripped worm gear
Tool Type
Table Saw
Difficulty
Medium
Time
30-60 minutes
Tools Used
Screwdriver, Socket set, Wrench Set, Drift pin, wooden mallet
2. Removed pulley, bearings and drive shaft.
3. Installed pulley, bearings and drive shaft.
4. Installed newly assembled bracket.
OEM stands for Original Equipment Manufacturer and means the part you’re buying is sourced directly from the manufacturer who made your product. At eReplacementParts, we sell only genuine OEM parts, guaranteeing the part you’re purchasing is of better design and of higher quality than aftermarket parts.
Our product descriptions are a combination of data sourced directly from the manufacturers who made your product as well as content researched and curated by our content & customer service teams. This content is edited and reviewed internally before being made public to customers.
Our customer service team are at the ready daily to answer your part and product questions. We have a dedicated staff with decades of collective experience in helping customers just like you purchase parts to repair their products.
All our part reviews are solicited directly from other customers who have purchased this exact part. While we moderate these reviews for profanity, offensive language or personally identifiable information, these reviews are posted exactly as submitted and no alterations are made by our team.
All our customer repair instructions are solicited directly from other customers just like you who have purchased and replaced this exact part. While we moderate these reviews for profanity, offensive language or personally identifiable information, these reviews are posted exactly as submitted and no alterations are made by our team.
Based on data from past customer purchasing behaviors, these parts are most commonly purchased together along with the part you are viewing. These parts may be necessary or helpful to replace to complete your current repair.
All our installation videos are created and produced in collaboration with our in-house repair technician, Mark Sodja, who has helped millions of eReplacementParts customers over the last 13 years repair their products. Mark has years of experience in selling and repairing both commercial and residential products with a specialty in gas-powered equipment.
This data is collected from customers who submitted a repair instruction after replacing this exact part. Customers can rate how easy the repair was to complete and how long it took. We aggregate this data to provide a repair rating that allows customers to quickly determine the difficulty and time needed to perform their own repair.


