


Why Read This Article?
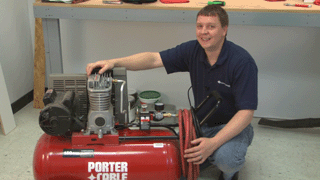
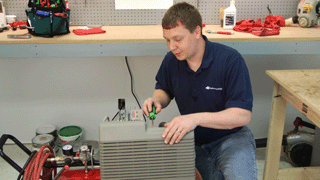
Finish Nailer Repair - Replacing the Driver Guide (Ridgid Part # 79004001022)
Article Breakdown
Finish Nailer Repair - Replacing the Driver Guide (Ridgid Part # 79004001022)
Video

Tools & Materials
- Phillips-head screwdriver
- Wrench
Remember to use our Porter Cable parts finder for any spare air compressor parts you may need.
Replace the air filter
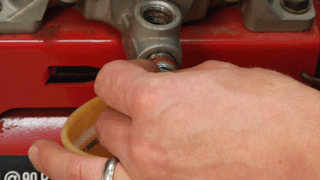
1. Pull the old filter away from the compressor
It may be jammed into the air box, so use a little force and it should come right out.
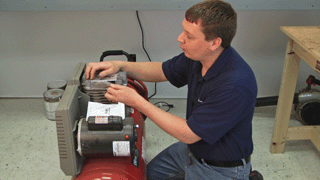
2. Install the new air filter
The new filter will be installed the same way the old one was removed-- use your fingers to evenly place the air filter back into the air box.

[Back to Top]
Change the oil
1. Warm up the oil
Turn on the compressor for a few minutes to heat up the oil so it drains easier.
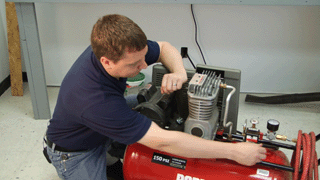
2. Remove the fill-cap
This allows air to enter the tank for easier drainage.
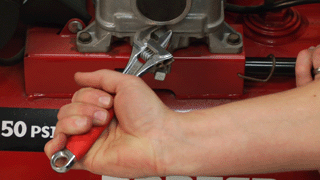
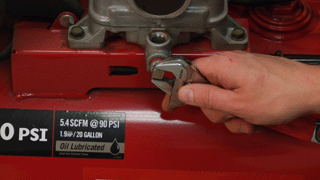
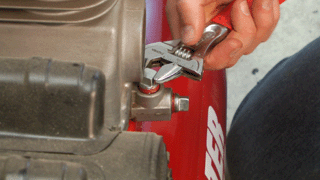
3. Remove the drain plug
Use a wrench to loosen and remove the drain plug. Make sure to have a container ready to catch the old oil that will drain after removing the plug.
4. Replace the drain plug
Once the oil has drained, replace the drain plug securely.
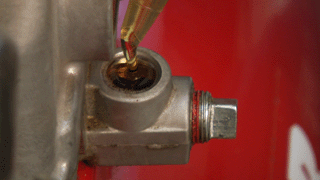
5. Add new oil to the compressor
Consult your compressors owners manual to find out how much oil you need to add -- then add the appropriate amount of oil to the compressor.
6. Replace the fill cap
This will be screwed back into its original location where the oil was just added.
[Back to Top]
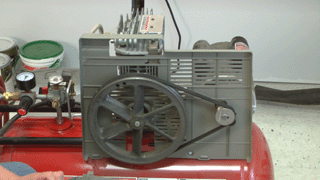
Replace belt as needed
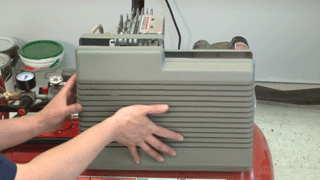
1. Remove the belt cover
Remove the bolts or tabs that fasten the cover and set the cover aside.
2. Slide the old belt off of the pulleys
You'll now have access to the belt. If the belt is worn or damaged you can replaced it by simply sliding it off of the pulleys.
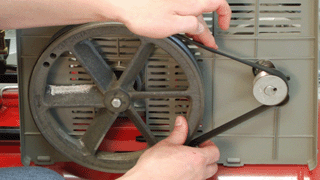
3. Install the new belt
Install the new belt the same way it was removed -- slide the belt onto the pulleys.
4. Reinstall the belt cover
Set the belt cover back into its original location and fasten it with the bolts or tabs that were removed earlier.
[Back to Top]
Conclusion
With a little help from this guide, you should have no problem ditchin' the repair shops for do-it-yourself maintenance. Saving money will never feel so rewarding.
Find parts for all of your power tool maintenance needs on our page here.
[Back to Top]
What We're About
