Why Read This Article?
Finish Nailer Repair - Replacing the Driver Guide (Ridgid Part # 79004001022)
Article Breakdown
Finish Nailer Repair - Replacing the Driver Guide (Ridgid Part # 79004001022)
Tools & Materials
- Phillips-head screwdriver
- Snap-ring pliers
- Bearing press

Even though we used a Porter Cable model for this repair, the steps should apply to most other models.
Find more parts for your Porter Cable 333 Series.
Removing the Pad Support:
1. Remove the three screws holding the pad to the sander
A small phillips-head screwdriver will be required to remove these screws. Then remove the pad.

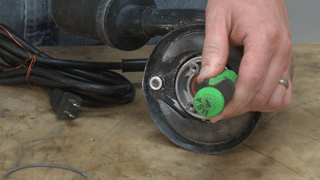
2. Remove the screw and washer in the center of the pad support
Use a screwdriver in the cooling fan to keep the pad support from rotating--then remove the screw and washer holding the pad support to the sander.

3. Pull the pad support out of the sander
Partially thread the screw back into the shaft--then hold the sides of the support and use a screwdriver handle to tap the support loose from the shaft.


4. Remove the split retaining ring
Use a pair of snap-ring pliers to remove the retaining ring from the pad support.

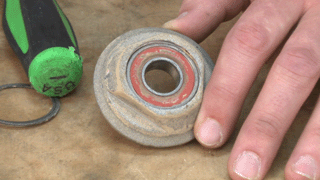
5. Remove the bearing from the pad support
Tap the bearing out of the pad support using a blunt object such as the handle on a screwdriver.

A bearing press may be required if you are having trouble removing the bearing.

[Back to Top]
Installing the new pad support:
1. Insert the bearing into the new pad support
Note: We recommend replacing the old bearing if it shows sign of damage or wear.
Use a bearing press to insert the bearing into the new pad support.

2. Reinstall the retaining ring
Use snap-ring pliers to install the retaining ring on the new pad support.

3. Reinstall the pad support onto the sander
Set the new pad support onto the sander and secure it by jamming the cooling fan with a screwdriver and reinstall the washer and screw that were removed earlier.


4. Install the new clutch belt
Note: We recommend replacing the old clutch belt if it is damaged or worn.
Stretch the belt onto the spindle and around the new pad support.

5. Reinstall the pad
Place the pad back onto the sander and fasten it using three self tapping screws.
Conclusion:
And that's how easy it is to replace the pad support in an electric sander. Doing repairs yourself will save you time and money.
Check out all of the power tool replacement parts we offer on our power tool page.


