


Why Read This Article?
Finish Nailer Repair - Replacing the Driver Guide (Ridgid Part # 79004001022)
Article Breakdown
Finish Nailer Repair - Replacing the Driver Guide (Ridgid Part # 79004001022)
Video

Tools & Materials
- Torx driver
- Shop rag
- Magnetized flat screwdriver
Safety Guidelines
 Remember to check out our Delta planer parts page if you need new blades and other planer parts.
Removing the Knives
Remember to check out our Delta planer parts page if you need new blades and other planer parts.
Removing the Knives
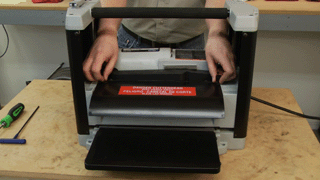
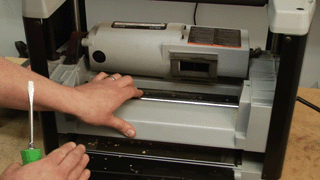
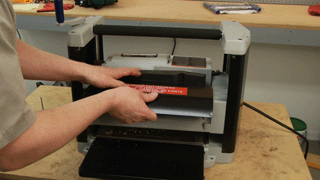
1. Remove the dust cover
Remove the two thumb screws that secure the dust cover. Then remove the dust cover.
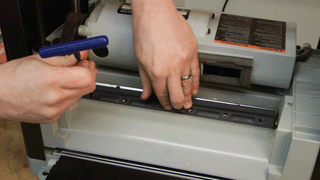
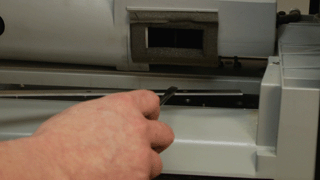
2. Remove the knife locking plate
Remove the six screws that secure the blade locking plate. The two springs beneath the plate will lift it up away from the knife, making it easier to remove.
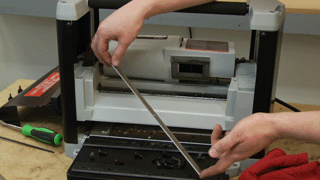
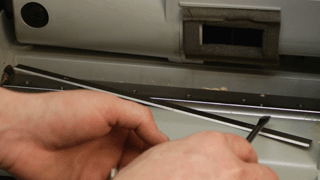
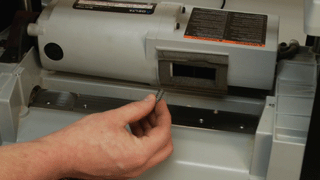
3. Remove the knife
Now you can remove the knife from the planer. We recommend using a magnetized screwdriver to help lift it away from the assembly. This will help prevent cuts and give you better control of the blade.
4. Repeat the process on the other side
Now turn the knife assembly over and complete these steps with the second blade.
[Back to Top]
Installing the New Knives
Most planer knives are double sided. So if you haven't used both sides of the knife yet, you can turn it around to get a sharp cutting edge. If you've used both sides of your knives, you'll need a new set.
1. Remove any debris
You'll want to wipe the knives, locking plate, and cutter head down with a good shop rag. Any sawdust left on these areas can actually warp the cutter head and knives over time, resulting in an uneven planer.

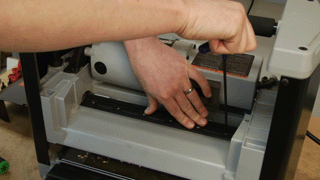
2. Install the new knife
Use your magnetized screwdriver to set the new knife into place on the cutter head.
3. Install the springs and locking plate
Set the springs into position on the two outer holes. Then add the locking plate and secure the two outer screws.
4. Tighten the remaining screws
Once the locking plate is properly aligned you can fasten the remaining screws. Once all the screws are in, give one last tighten to each of them.
5. Repeat this process on the other side
Now flip the cutter assembly over and repeat this process on the other side. Then replace the dust hood to finalize the repair.
[Back to Top]
Conclusion
And that's how you can replace and maintain the knives in your Delta planer. Remember to check out our planer parts page for other planer parts.
[Back to Top]
What We're About
