


Why Read This Article?
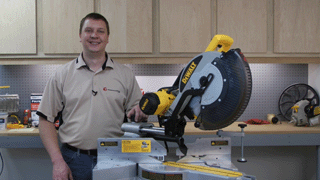
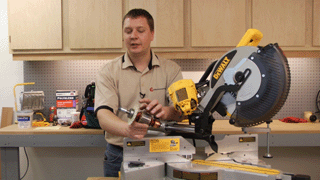
Finish Nailer Repair - Replacing the Driver Guide (Ridgid Part # 79004001022)
Article Breakdown
Finish Nailer Repair - Replacing the Driver Guide (Ridgid Part # 79004001022)
Video

Tools & Materials
- Torx wrenches in a variety of sizes
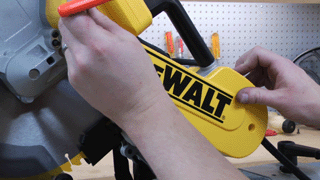
 Remember to use our DeWalt parts finder to find the right armature--and other parts--for your DeWalt saw.
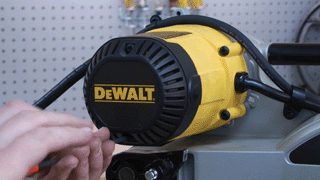
Removing the Armature
Remember to use our DeWalt parts finder to find the right armature--and other parts--for your DeWalt saw.
Removing the Armature
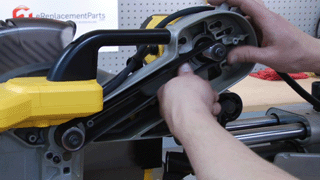
1. Remove the belt
Remove the three screws that secure the belt cover and remove the cover.
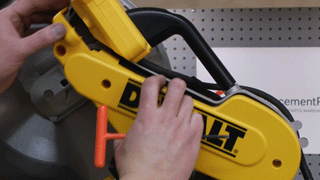
Then work the belt off the pulleys. You can read our article on removing a DW708 miter saw belt for additional help on this process. The 718 has an extra screw in the cover, but the process of removing the belt is otherwise identical.

2. Remove the end cap and brushes
Remove the two screws that secure the end cap.
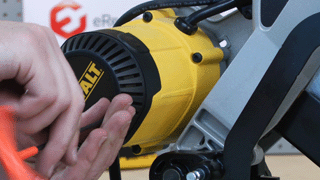
Now you can remove the brushes. You don't have to separate them from the saw--just take them out of their holders.
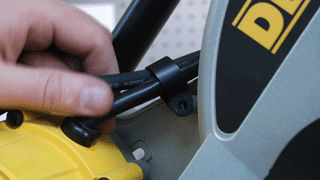
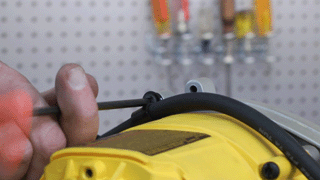
3. Remove the cord mount screws
There are two brackets that help route the saw's wires. Remove the screws that secure these brackets to get the wires out your way.

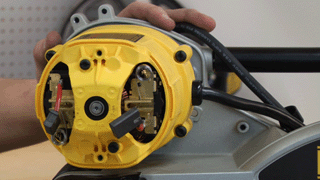
4. Remove the motor assembly screws
Remove the four screws from the motor assembly.
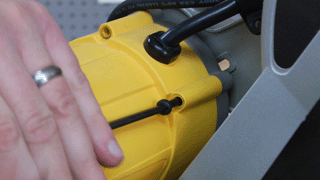
5. Remove the motor assembly
Now you can slide the motor assembly away from the saw, giving you access to the armature.
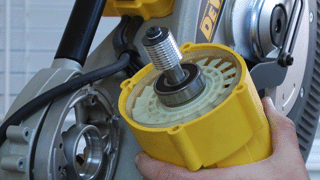
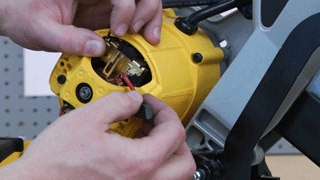
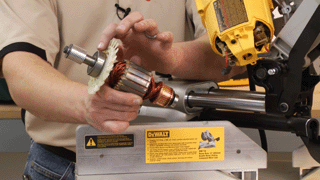
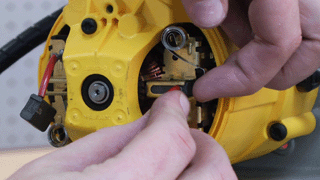
6. Remove the armature
Pull the armature out of the assembly.
 [Back to Top]
Installing the new Armature
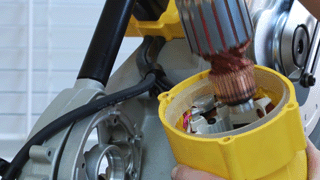
When you go to install the armature, be very careful of the fan. This is not sold as an individual part, and damaging it will require you to purchase a new armature.
 If you need to remove the larger bearing from the armature, check out our article on removing a DeWalt armature bearing.
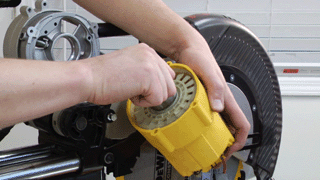
1. Position the armature in the housing
Nestle the armature back into the motor assembly.
2. Re-mount the motor assembly
Set the assembly into place and secure it with the four screws.
3. Secure the cord
Tighten down the cord-mount brackets to secure the cord.
4. Secure the brushes
Set the brushes back into their holders and secure them with the springs.
5. Install motor end cap
Set the motor end cap back into position and fasten the two screws.
6. Replace the belt
Slide the belt back onto the pulleys.
7. Secure the cover
Then secure the belt cover screws to finalize the repair.
[Back to Top]
Conclusion
And that's how you can replace the armature in your DeWalt DW718 miter saw. This straight-forward repair will save you a lot of money compared to a repair shop, and is simple enough that anyone can complete it in about 25 minutes.
Remember, you can use our power tool parts finder to find armatures, bearings, brushes, belts, and other parts for all the power tools in your arsenal.
[Back to Top]
What We're About
