Why Read This Article?
Finish Nailer Repair - Replacing the Driver Guide (Ridgid Part # 79004001022)
Article Breakdown
Finish Nailer Repair - Replacing the Driver Guide (Ridgid Part # 79004001022)
Tools & Materials
- Torx bits and a compatable screwdriver
- Clamps
- Flat-head screwdriver
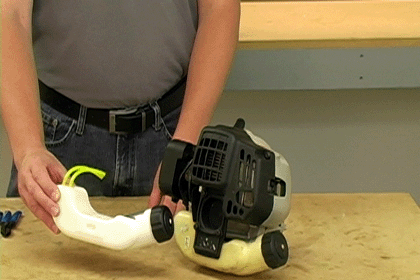
For this repair, we replaced the gas tank on a Ryobi string trimmer. Most other trimmers will follow similar steps. Before you begin the repair, be sure you have the right tank for your Ryobi trimmer by visiting our Ryobi replacement parts page.
Before you begin this repair, you should identify where the fuel lines attach to the carburetor. The easiest way to do this is to make a diagram showing where the line with the filter attaches to the carburetor so you can be sure the filtered line ends up back in the right place.
1. Remove the fuel lines
Before you remove the fuel lines, you will want to clamp each line to prevent fuel from spilling.
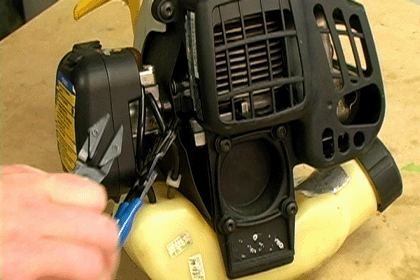
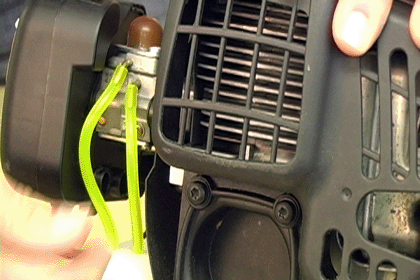
Use a flat-head screwdriver to pop the lines off the nipples.
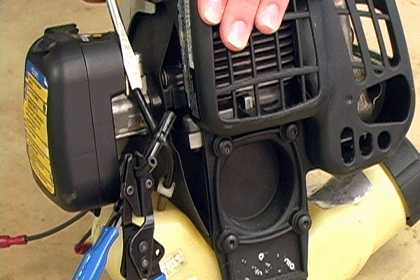
2. Remove the motor housing
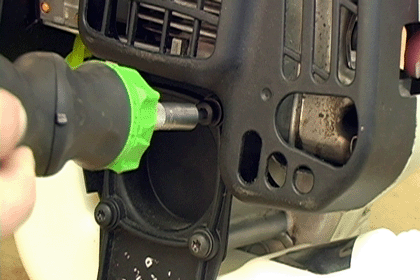
Remove the screws that hold the black housing to the trimmer motor.
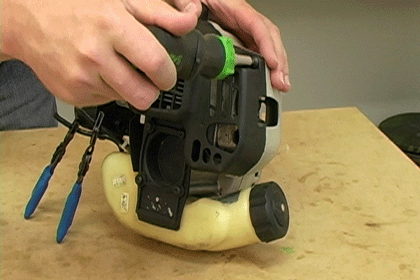
Be careful to keep debris out of the engine's crank case.
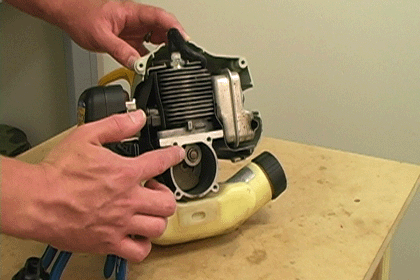
3. Slide the tank away
Now you can slide the tank away from the trimmer.
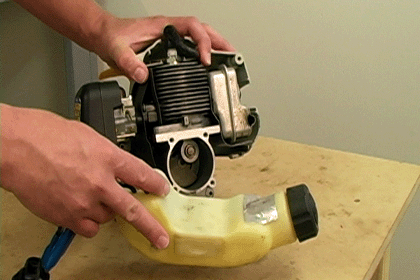
4. Identify the filtered fuel line
Before you install the new tank, you want to identify which fuel line is attached to the fuel filter. Move each fuel line back and forth while watching the filter inside the gas tank to determine which line connects to the filter.
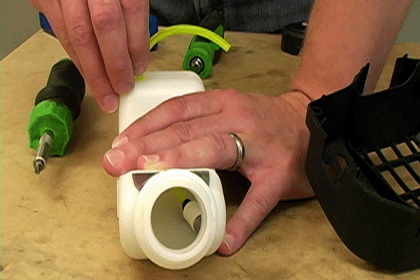
5. Mount the new tank
Slide the fuel tank back into place so the trimmer's rubber mounts align with the slots on the tank.
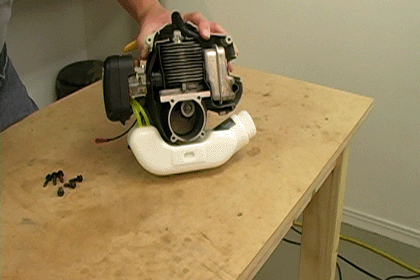
Reinstall the motor housing.
6. Reinstall the fuel lines
Reconnect the fuel lines. The filtered line should attach to the incoming side of the carburetor and the non-filtered line should attach to the return side. Check out our article, "How to Replace Fuel Lines on 2-Cycle Engines," if you are unsure of how the fuel lines should attach to the carburetor.
Conclusion
Replacing the gas tank on your Ryobi string trimmer is an easy repair you can easily complete at home. All you need are a few basic tools and about 20 minutes and you can have your string trimmer back up and running in no time.
Before you begin any repair, be sure to use our convenient model number search feature to find the right parts for all your lawn equipment repair needs.


