Why Read This Article?
Finish Nailer Repair - Replacing the Driver Guide (Ridgid Part # 79004001022)
Article Breakdown
Finish Nailer Repair - Replacing the Driver Guide (Ridgid Part # 79004001022)
Tools & Materials
- Flat-head screwdriver
- Torx bits (specifically for Karcher: Torx 30)
- Allen wrench ratchets
- Wire cutters or a box cutter
- A good set of grippy needle-nose pliers
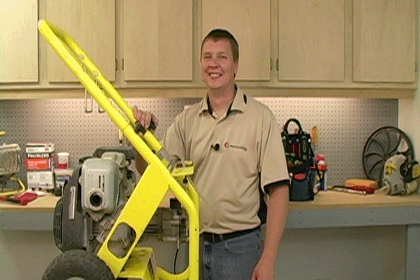 For this repair we used a Karcher pressure washer, but the repair will be similar with most pressure washer models. Before beginning this repair you will want to be sure you have a set of Torx bits and Allen wrenches or ratchets as many pressure washers incorporate these types of bolts and screws.
Remember to use eReplacementParts.com's Karcher parts search feature to ensure you get the right parts for your Karcher pressure washer.
Removing the Pump
You can access the spill valve without removing the pump from the pressure washer, but you may find it more difficult to leave the pump on because the pressure washer frame doesn't leave a lot of room for the repair. You will find it easier to remove the pump from the pressure washer before beginning the spill valve repair.
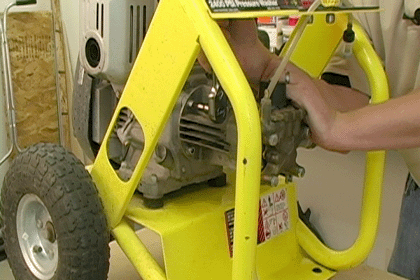
1. Remove the bolts that hold the pump to the pressure washer
Remove the four bolts that hold the pump to the pressure washer.
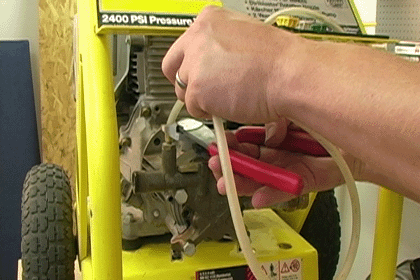
2. Cut the detergent line
Use your box or wire cutters to cut the detergent line where it attaches to the pump.
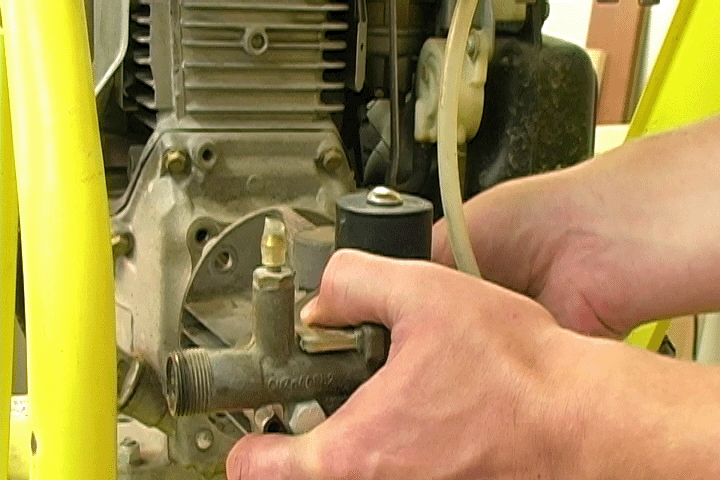
3. Separate the pump from the engine
Now you can remove the pump from the pressure washer engine. Just slide it out and away from the engine.
 [Back to Top]
Replacing the Spill Valve
Now that you've removed the pump, you can remove the spill valve without the pressure washer frame getting in your way.
1. Remove the button cap
Use a flat-head screwdriver to pry up the button cap. Then remove the black thermal valve cap.

2. Remove the thermal release valve
Remove the two screws that hold the thermal release valve to the pump. These screws may require Torx 30 bits, depending on the pressure washer. Karcher pressure washers use Torx bits to fasten the thermal release valve.
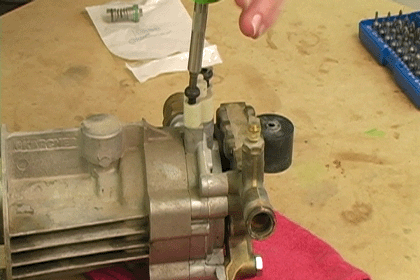
Slowly remove the thermal release valve--a spring is hiding beneath it.
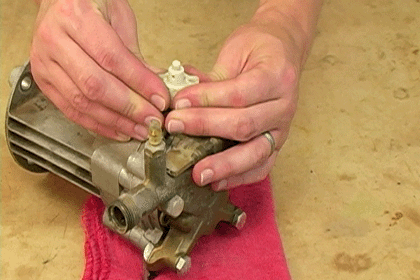
Remove the thermal release valve spring.
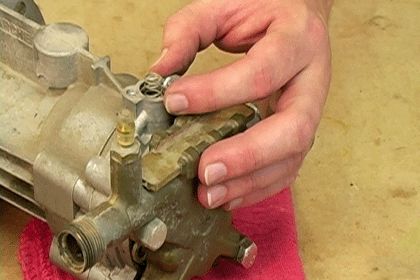
3. Remove the spill valve
Now you can remove the spill valve. You will need a good set of needle-nose pliers to grip the tab on the valve.
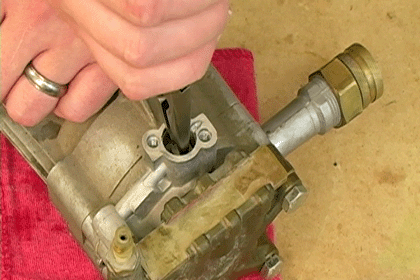
Hold the pump assembly firmly, and pull the spill valve out of the pump. It is normal for this to take a good bit of force.
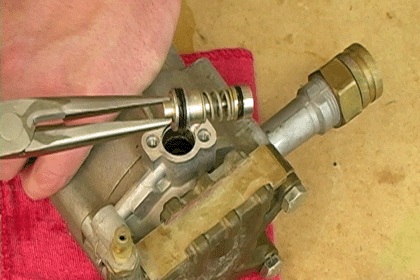
4. Lubricate the new spill valve
Before installing your new valve, you need to lubricate the top o-ring (the o-ring is green on Karcher spill valves). Do not lubricate the bottom o-ring--it holds the valve in place.
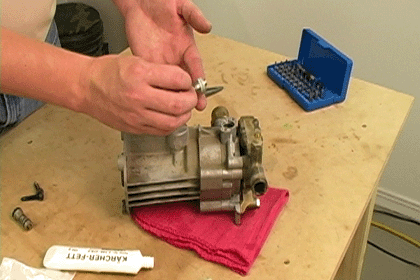
5. Install the new spill valve
Use your pliers to grasp the tab on the new valve and place it back into the pump.
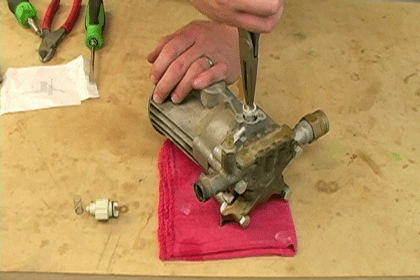
6. Reinstall the thermal release valve
Replace the thermal release valve spring.
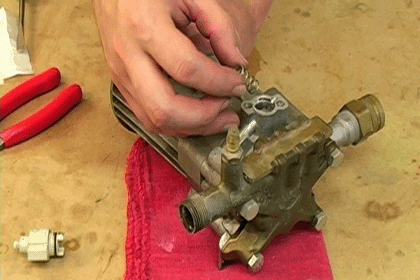
Now fasten the release valve back into place with the Torx screws.
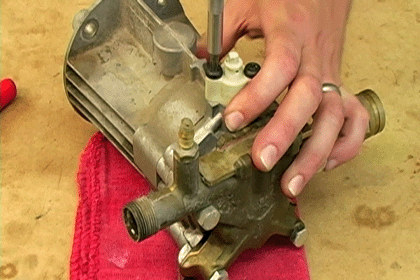
7. Fasten the button cap
Set the thermal release valve cap into place and use a screwdriver to pound the button cap back onto the assembly.
 [Back to Top]
Reinstalling the Pump
Now that your new spill valve is installed, you can reattach the pump to the pressure washer engine.
1. Cut off the old detergent hose
Cut off the leftover piece of detergent line on the pump nipple.
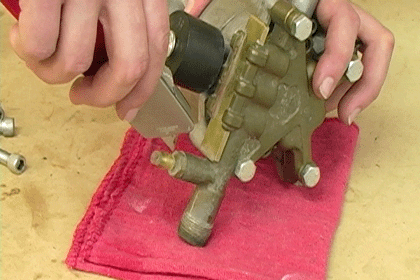
2. Install the pump on the washer engine
Slide the pump into place on the engine and begin tightening the bolts. Once the bolts become snug, tighten each one a little bit at a time so the pump creates a solid seal with the engine.

3. Fasten the detergent hose
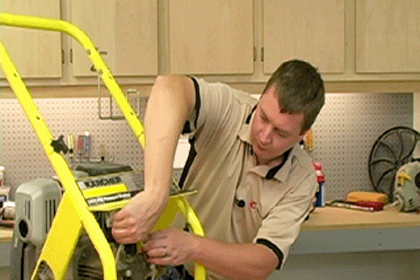
Now all you have to do is slide the detergent line onto the pump nipple.
 [Back to Top]
Conclusion
Replacing the spill valve on your pressure washer is an easy repair that you can do in under an hour. If your pressure washer has lost pressure, this is the part that's most likely responsible. With a basic tool kit you can remove the pump and gain access to the valve--and replacing it is a breeze.
With our lawn equipment parts finder, you can rest assured that you'll get the right spill valve and any other pressure washer parts you may need.And since our huge inventory of in-stock parts ship within 24 hours, you can know you'll get the right part fast.
[Back to Top]
[Back to Top]
Conclusion
Replacing the spill valve on your pressure washer is an easy repair that you can do in under an hour. If your pressure washer has lost pressure, this is the part that's most likely responsible. With a basic tool kit you can remove the pump and gain access to the valve--and replacing it is a breeze.
With our lawn equipment parts finder, you can rest assured that you'll get the right spill valve and any other pressure washer parts you may need.And since our huge inventory of in-stock parts ship within 24 hours, you can know you'll get the right part fast.
[Back to Top]
What we're about.


