


Why Read This Article?
Finish Nailer Repair - Replacing the Driver Guide (Ridgid Part # 79004001022)
Article Breakdown
Finish Nailer Repair - Replacing the Driver Guide (Ridgid Part # 79004001022)
Video

Tools & Materials
- Phillips screwdriver
- torx #20 driver
- flat head screwdriver
- a vise
- bearing separator
- bearing puller
- a shop hammer
The first and most obvious reason to replace a power tool armature is because the armature itself has failed; armatures fail most often from heat and stress when the tool is overloaded.
 Sometimes, only part of a tool's armature assembly will fail, like an armature bearing or fan.
If the tool manufacturer offers armature assembly parts separately, then replacing only the broken part is the best option.
However, many manufacturers only offer armature assembly parts with the purchase of the entire assembly. Since the entire armature assembly must be purchased anyway, replacing the whole assembly in these cases makes the most sense.
This article explains step by step instructions for how to replace the armature in a Porter Cable 4630 Drywall Driver.
Because electric power tools are constructed similarly and share common components, this repair may provide general help with other armature replacements; however, the steps listed below remain specific to the PC 4630 driver.
Remove the Old Armature Assembly
Sometimes, only part of a tool's armature assembly will fail, like an armature bearing or fan.
If the tool manufacturer offers armature assembly parts separately, then replacing only the broken part is the best option.
However, many manufacturers only offer armature assembly parts with the purchase of the entire assembly. Since the entire armature assembly must be purchased anyway, replacing the whole assembly in these cases makes the most sense.
This article explains step by step instructions for how to replace the armature in a Porter Cable 4630 Drywall Driver.
Because electric power tools are constructed similarly and share common components, this repair may provide general help with other armature replacements; however, the steps listed below remain specific to the PC 4630 driver.
Remove the Old Armature Assembly
Whatever the reason for replacing your 4630 drywall driver's armature, some disassembly of the tool is required to remove the old armature assembly.
1. Remove the driver's carbon brushes.
The carbon brushes affix to the armature from the back side of the driver underneath the rear housing plate. They must be removed to free up the armature.
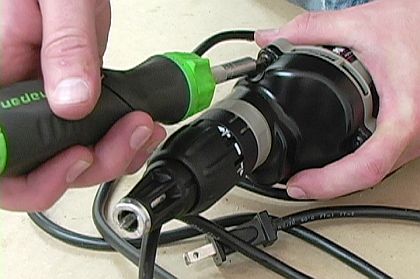
To access the brushes, first remove the driver's belt clip by unscrewing the Phillips head screw that holds it to the tool housing.
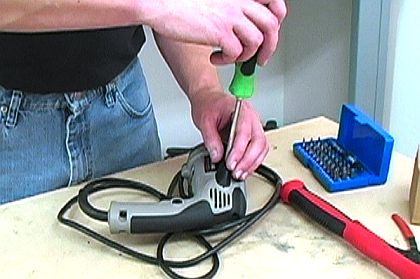
The rear housing plate can now be removed by unscrewing the three torx #20 fasteners that hold it to the tool.
There are two carbon brushes underneath the rear housing plate.
The brushes simply lift out of the tool housing.
[Back to top]
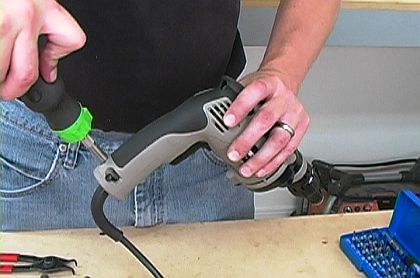
2. Separate the gear housing from the motor housing.
Three more torx #20 fasteners hold the two housings together.
The housings can be separated after removing the fasteners. Set the gear housing aside.
 [Back to top]
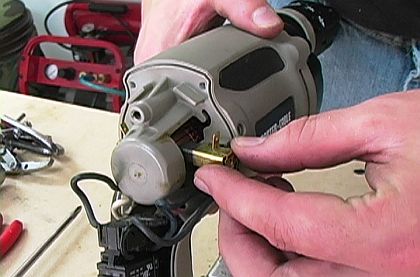
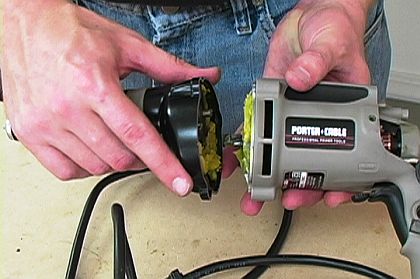
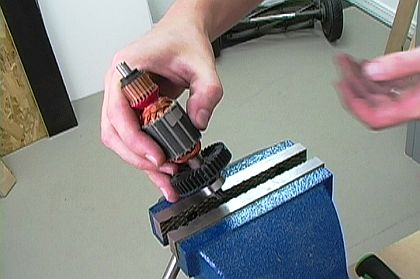
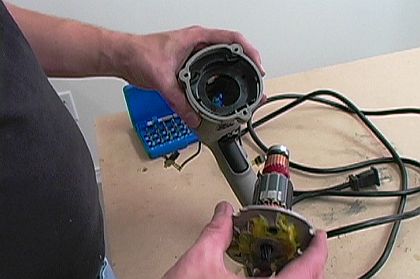
3. Pull the armature out of the motor housing.
The armature assembly is pressed onto a dividing plate that separates the motor housing from the gear housing.
It may be necessary to begin removing the assembly by prying the plate away from the housing with a flat head screwdriver.
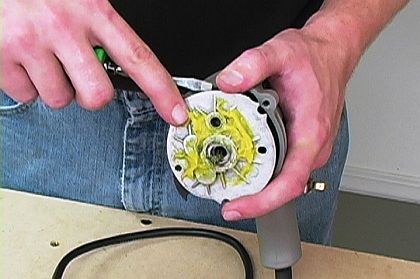
After prying the dividing plate a little, the armature should easily pull out of the motor housing the rest of the way.
 [Back to top]
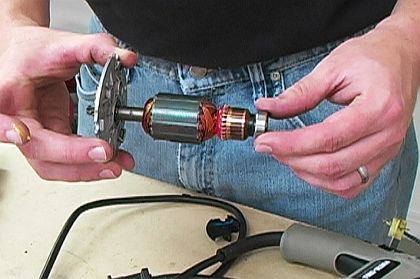
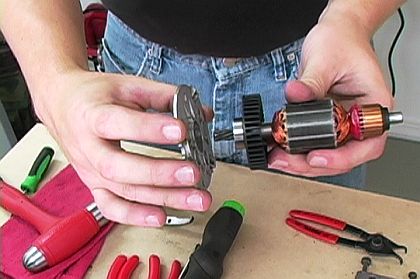
Transfer Armature Assembly Components
For this Porter Cable drywall driver model, the 4630, there are four armature assembly components that must be transferred from the old armature to the new armature.
The four components are:
- two bearings
- one snap ring, and
- the dividing plate
Use a bearing puller to pry the commutator-side bearing from the armature shaft.
 [Back to top]
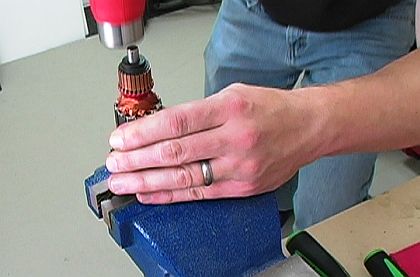
5. Remove the dividing plate with a vise and hammer.
[Back to top]
5. Remove the dividing plate with a vise and hammer.
Set the dividing plate on a vise so that the armature hangs between the vise jaws.
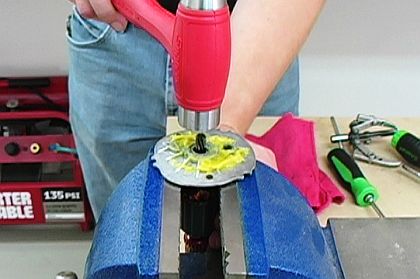
Then, strike the armature shaft with a hammer to separate the dividing plate from the fan-side bearing.
[Back to top]
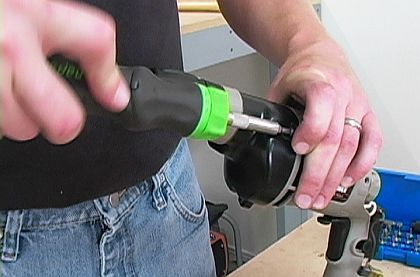
6. Remove the fan-side bearing with a bearing separator.
A bearing separator is another specialty tool for tool repair. Set the side of the separator around the armature shaft such that the fan-side bearing rests on them with the armature again hanging between the vise jaws.
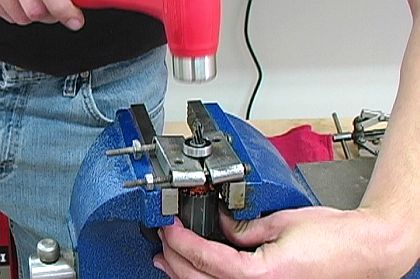
Once the bearing is in position, strike the armature shaft with a hammer to free the bearing from the assembly.
[Back to top]
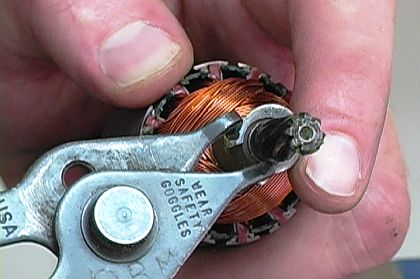
7. Remove the snap ring from the armature assembly.
Use a pair of snap ring pliers to remove the armature snap ring.
Set the snap ring aside for transfer to the new armature.
 [Back to top]
With the two bearings, snap ring, and dividing plate removed, the old armature can now be discarded.
8. Install the snap ring onto the fan side of the armature shaft.
[Back to top]
With the two bearings, snap ring, and dividing plate removed, the old armature can now be discarded.
8. Install the snap ring onto the fan side of the armature shaft.
This can be done most easily with a pair of snap ring pliers
9. Install the fan-side bearing on the new armature.
Slide the bearing onto the armature as far as it can go by hand, then position the bearing on top of the vise's jaws.
After the bearing is properly positioned, strike the other end of the armature shaft with a hammer to finish seating the bearing.
 [Back to top]
10. Install the dividing plate onto the fan-side bearing.
Press the dividing plate into position by hand over the fan-side bearing.
Then, place the dividing plate over the jaws of the vise and strike the opposite end of the armature shaft with a hammer. This will seat the dividing plate the rest of the way onto the fan-side bearing.
 [Back to top]
11. Install the commutator-side bearing.
The commutator-side bearing can be tapped right into place with a hammer.
 [Back to top]
The new armature assembly is ready for installation in the drill now that the 2 bearings, snap ring, and dividing plate have been transferred onto it.
Install the New Armature and Reassemble the Tool
12. Install the new armature assembly.
The new armature assembly will fit right back into place in the motor housing.
 [Back to top]
13. Join the motor housing and gearbox.
Now the driver's gearbox and motor housing can be reunited with the three gearbox torx fasteners removed earlier.
 [Back to top]
Conclusion
An armature repair like this one can save a power tool from a trip to the garbage at a fraction of the the cost of a new tool.
Get the armatures, carbon brushes, switches, and other drill parts you need here at eReplacementParts.com for accurate ordering, fast shipping, the professional repair information that will get your tool running again.
[Back to top]
What we're about.
