


Why Read This Article?
Finish Nailer Repair - Replacing the Driver Guide (Ridgid Part # 79004001022)
Article Breakdown
Finish Nailer Repair - Replacing the Driver Guide (Ridgid Part # 79004001022)
Video
 Because primer bulbs are made of either plastic or rubber, replacing them is one of the most common small engine repairs. Tool owners should expect primer bulbs to eventually wear out.
Steps and examples for two common types of small engine primer bulb replacements are explained and listed below.
Reasons to Replace a Primer Bulb
Because primer bulbs are made of either plastic or rubber, replacing them is one of the most common small engine repairs. Tool owners should expect primer bulbs to eventually wear out.
Steps and examples for two common types of small engine primer bulb replacements are explained and listed below.
Reasons to Replace a Primer Bulb
A cracked, worn, or broken primer bulb is the most common reason for replacing one, but there are a number of other reasons why it might be a good idea to install a new bulb when the old one has not completely worn out yet.
- When replacing fuel lines:
If you're performing a fuel line repair on your tool's engine, it's most likely because the plastic fuel lines are cracked with age or wear. Because plastic fuel lines and primer bulbs are usually the same age, they work as good barometers for each others' wear.
In other words, if one wears out and cracks, you can expect the other to follow soon.
Since a fuel line replacement requires a parts order and work in that part of the engine, it just makes sense to order a primer bulb at the same time to save money on shipping.
- When cleaning the carburetor:
Primer bulbs are often located on or near an engine's carburetor. Especially in the case of primer bulbs located on the carburetor, you can save yourself time on future repairs by replacing the bulb when dismantling and cleaning the carburetor anyway.
- When performing any other work on the engine's fuel system:
If it's been more than a season or two since your tool's engine got a new primer bulb, you'll thank yourself later for replacing it pretty much any time you have a good excuse.
[Back to top]
Primer Bulb Mount Types
It wouldn't be possible to show specific steps for every primer bulb mounting design on the market, but we can explain general repair steps for a couple of primer bulb types that are very common.
Even though small differences will exist between each specific engine's primer bulb design, primer bulb repairs share similar qualities.
It's probable that seeing the steps for replacing the bulb in one design will help you to replace the bulb in another kind of engine.
We list and explain the steps for replacing two types of primer bulbs below, designs where the primer bulb mounts directly on the engine's carburetor, and designs where the primer bulb mounts remotely from the carb.
We use two different trimmers for our demonstration examples below, a Shindaiwa T242 Trimmer and a McCulloch trimmer.
Because both demonstration models are 2-cycle trimmers, the repair steps and demonstration video in this article will be most helpful with primer bulb replacements on power tools designed with 2-cycle engines.
[Back to top]
Primer Bulb on Carburetor Repair Steps
Primer bulbs mount directly on the carburetor for many small engine designs.
Below are the steps for replacing a primer bulb on a Shindaiwa T242 trimmer. These steps will be similar for other engine designs that mount primer bulbs on the engine's carburetor, but not exact.
Reviewing these steps will likely help with primer bulb replacements on other engines.
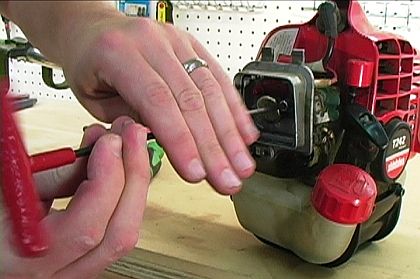
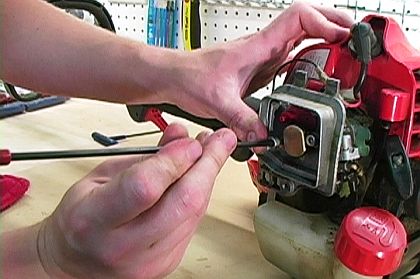
1. Access the carburetor.
To remove the old primer bulb, the trimmer's carburetor must be accessed.
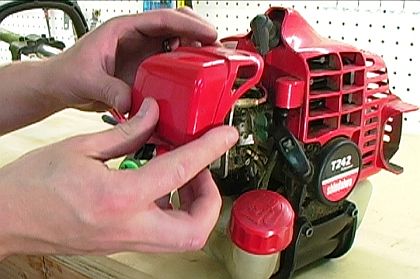
The first steps toward accessing the carburetor are to remove the air cleaner cover and the air filter. 2. Unscrew the two carburetor mount screws.
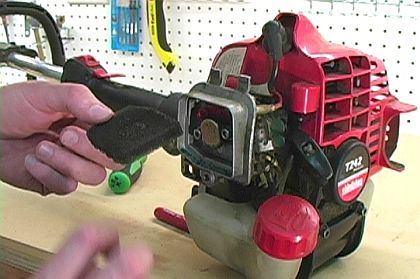
The entire carburetor assembly will pull away from the trimmer after the two mount screws are free. Pull the choke plate away from the carburetor and set it aside.
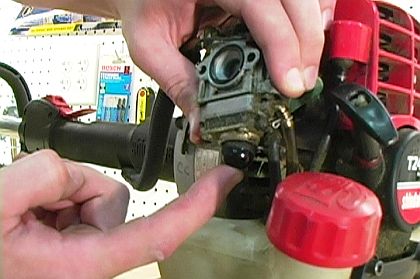
The carburetor is now completely accessible. 3. Remove the old primer bulb.
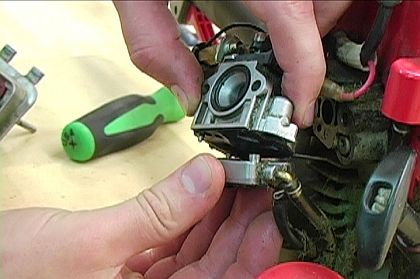
The Shindaiwa T242 has four screws that mount the primer bulb plate to the carburetor. These must be unscrewed.
Be prepared for a little gas to leak out after the fourth screw is released. Once away from the carburetor, the old primer bulb should easily pop right out of the mount plate.
The old primer bulb is now removed. 4. Clean the carburetor and primer bulb components.
Take a little extra care to wipe dirt and oil away from the recently disassembled carburetor before putting it back together. 5. Install the new primer bulb.
For the T242, the primer bulb can be pressed into place in the mount plate from which the old bulb came.
Before the primer bulb plate can be screwed back into place on the carburetor, the pieces of the disassembled carburetor must be reassembled in the correct order.
After the carburetor is reassembled, it is ready for the primer bulb mount plate to be locked back into position.
 6. Remount the carburetor.
Insert the two carburetor mount screws through the carburetor choke plate and the carburetor. Then entire assembly can then be attached to the engine.
Then entire assembly can then be attached to the engine.
Then the mount screws just need to be tightened down again. 7. Replace the air filter and air cleaner cover.
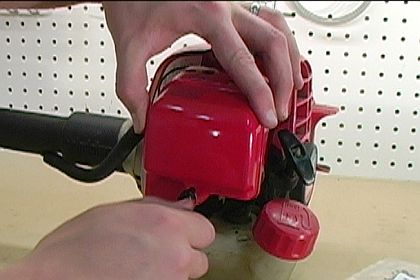 This primer bulb replacement is now complete.
[Back to top]
Remote Primer Bulb Repair Steps
This primer bulb replacement is now complete.
[Back to top]
Remote Primer Bulb Repair Steps
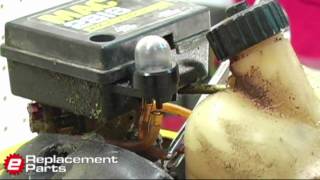
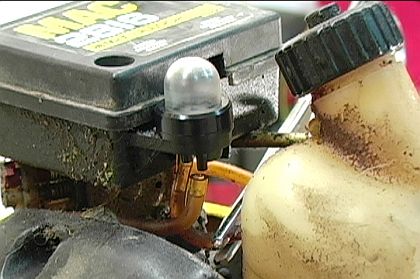
Many trimmer models mount primer bulbs separately from the carburetor. Most remote-mount primer bulb designs use a snap and ring system like the trimmer in our example.
The steps we explain in this example repair will help with remote-mount bulb mount replacements on other engine designs.
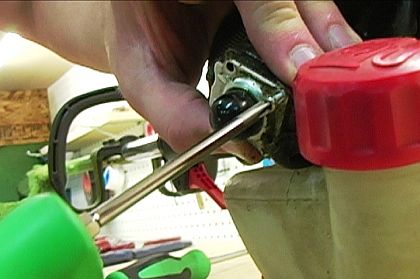
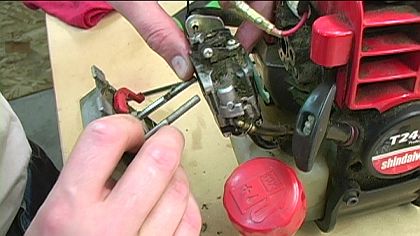
1. Clamp the return fuel line.
Clamping the fuel line leading out of the primer bulb will prevent excess fuel leaking during the repair.
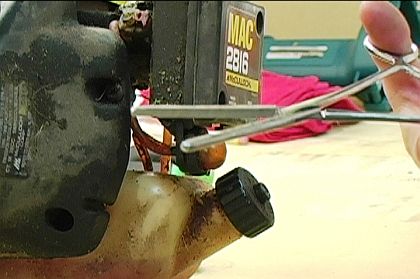
We use a pair of inexpensive hemostats, but any clamping tool that doesn't damage the fuel lines should do. 2. Remove the fuel lines from the old primer bulb with a screwdriver.
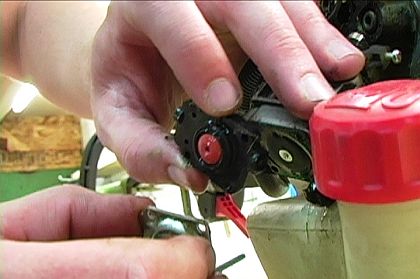
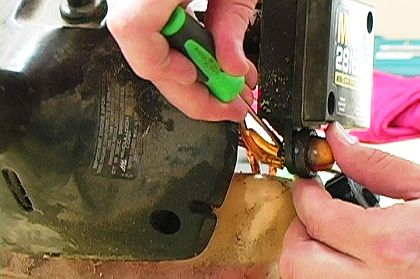 3. Remove the old bulb by squeezing its mount tabs.
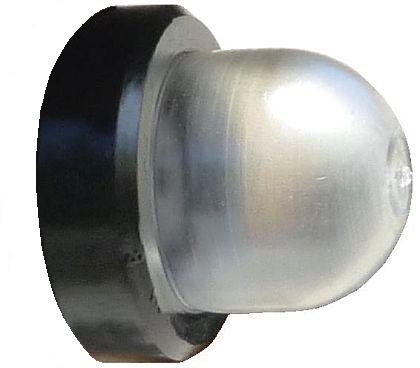
Most remote primer bulbs like this one are attached to some plastic tabs that in turn snap into a mount ring.
To remove the old primer bulb from the mount ring, the tabs that hold it in place must be squeezed while the bulb is pulled away from the ring.
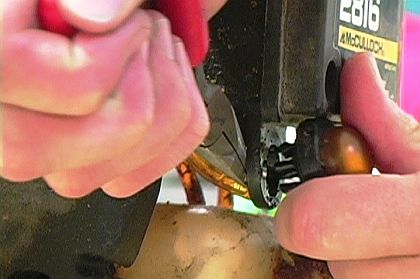
A pair of needle nose pliers works best for this. 4. Install the new primer bulb.
The mount tabs on the back of the new primer bulb should snap right into place in the mount ring.
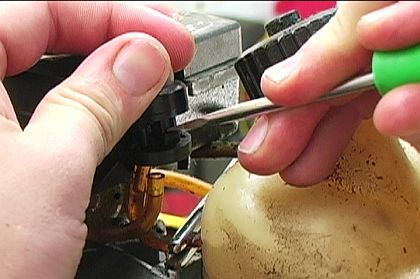
Sometimes the tabs can be a little too tight to snap in by hand. Try turning the engine (if possible) so that gravity is on your side, and then carefully use a flat head screwdriver to press the mount tabs inside the mount ring.
 5. Reinstall the fuel lines.
Press the fuel lines onto the new primer bulb by hand, and then unclamp the return line.
This primer bulb replacement is now complete.
[Back to top]
Conclusion
In only takes a few minutes to replace a primer bulb, especially after you're used to your engine's primer mount design. After getting gas on your hands a few times through a cracked bulb, a small repair like this one can make you feel like you have a whole new engine.
Start your primer bulb repair by entering your tool's model number in the Search by Model Number field at the top of the page.
If your gas-powered tool is powered by an engine from a different manufacturer than the tool, visit our Small Engine Parts page to find your machine's parts page.
[Back to top]
What we're about.
