Why Read This Article?
Finish Nailer Repair - Replacing the Driver Guide (Ridgid Part # 79004001022)
Article Breakdown
Finish Nailer Repair - Replacing the Driver Guide (Ridgid Part # 79004001022)
Tools & Materials

Running out of patience with a run-down router? It's time to face the fix. Whether you are a master carpenter or a weekend woodworker, eReplacementParts.com provides the parts, procedures and facts you need to fearlessly fix what fails you.
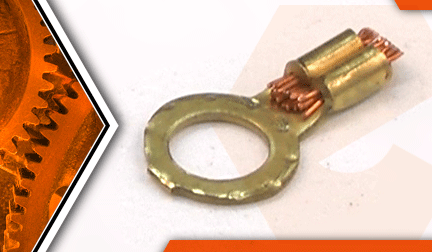
The terminal eyelet attaches to the routers ground wire, which allows you to connect the ground wire to the metal motor housing. Typically, the eyelet would only need to be replaced as part of a larger electrical repair.
Replacing the eyelet is very easy to do, but if you're not familiar with the procedure, it can seem a bit tricky. This article provides step-by-step instructions for removing and installing the terminal eyelet on a Porter Cable 690 series router.
Let's get started.
 REMOVING THE TERMINAL EYELET [top]
1. Remove the motor housing cap.
Remove the (2) screws from the motor housing cap.
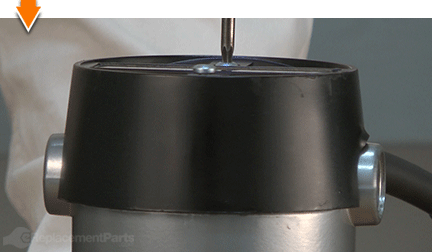
Remove the motor housing cap from the motor unit.
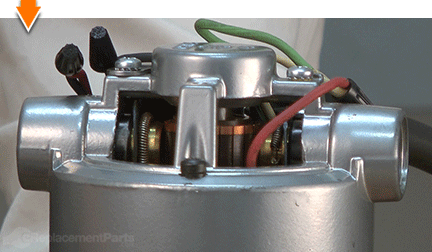
2. Remove the terminal eyelet.
Remove the screw from the top of the terminal eyelet.
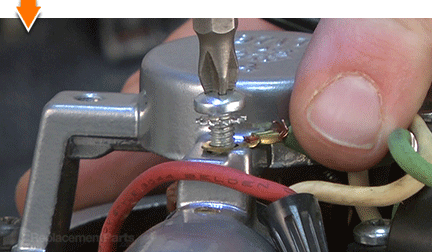
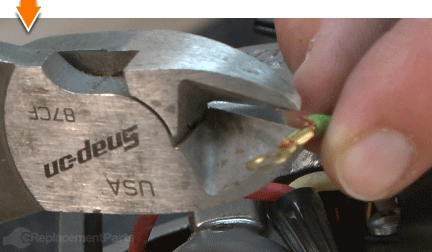
Use wire cutters to remove the eyelet from the end of the wire.
INSTALLING THE NEW EYELET [top] 3. Install the terminal eyelet.
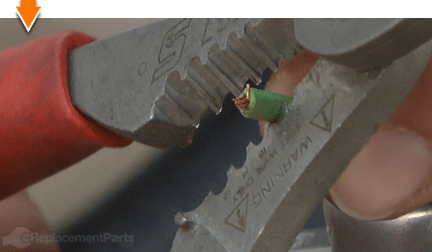
Use wire strippers to strip approximately one-quarter of an inch of insulation from the end of the wire.
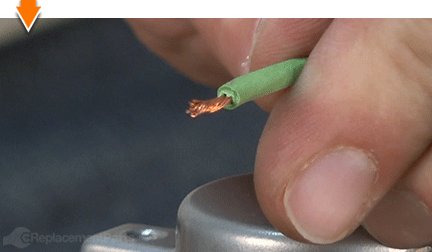
Twist the exposed wire strands together.
Install the new terminal eyelet onto the ground wire.
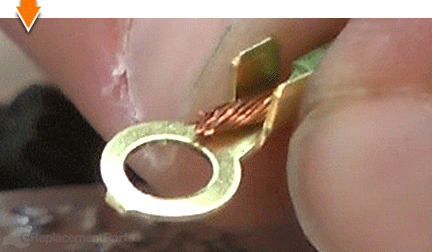
Use long-nosed pliers to carefully crimp one side of the terminal against the wire.
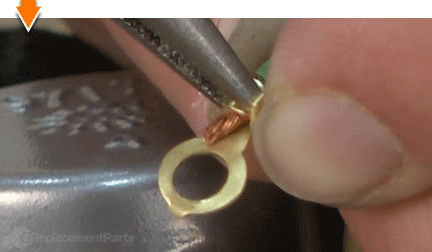
Use long-nosed pliers to carefully fold and crimp the second side of the terminal over the first.
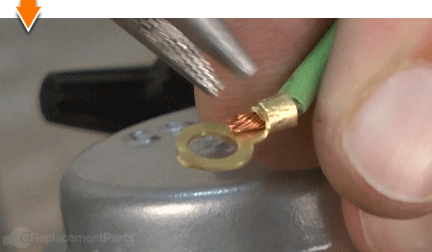
Verify that the connection is tight by pulling gently on the terminal. (Loose connections may also be soldered for increased durability).
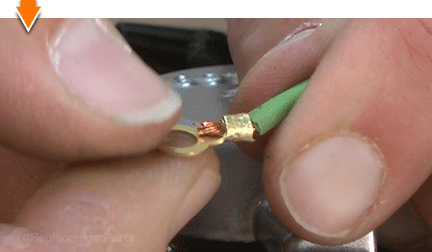
REASSEMBLING THE UNIT [top] 4. Connect the eyelet to the housing.
Align the new eyelet with the mounting hole on the motor housing.
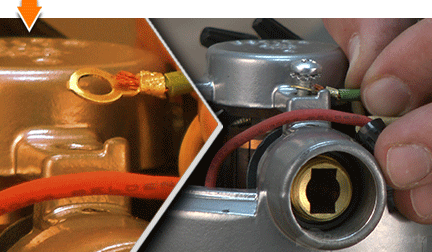
Secure the terminal to the housing with the screw.
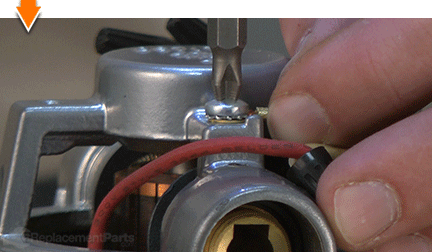
5. Reinstall the motor housing cap.
Inspect all of the wires around the power unit for potential pinch points. Adjust the wires and connectors as necessary.
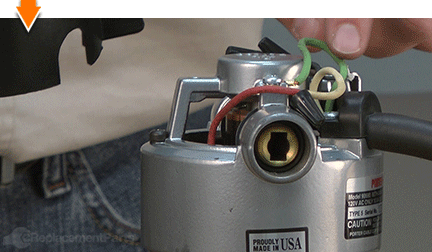
Install the motor housing cap onto the power unit.
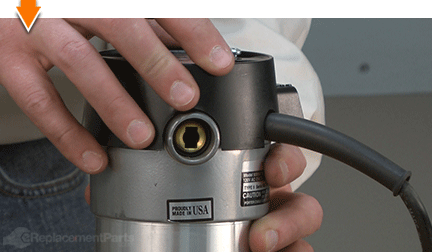
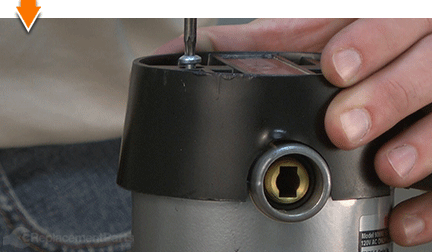
Secure the motor housing cap with the (2) screws.

Dovetails. Rabbets. Dados. Grooves: The possibilities are as priceless as machines that create them. But you don't have to be a carpenter to cut out the middle-man. Repairing your own powered equipment is easy and economical when you follow our step-by-step guides. Not only did you restore your router at a fraction of the cost of replacement; you built on your ability to face the next fix, whatever it may be.


