Why Read This Article?
Finish Nailer Repair - Replacing the Driver Guide (Ridgid Part # 79004001022)
Article Breakdown
Finish Nailer Repair - Replacing the Driver Guide (Ridgid Part # 79004001022)
Tools & Materials
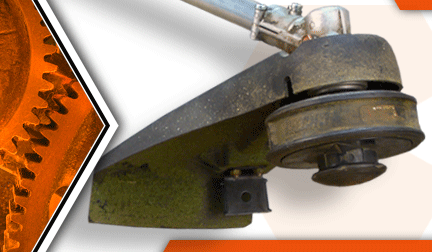

String trimmer out of whack? It's time to face the fix. Whether you are a legendary landscaper or a weekend weed whacker, eReplacementParts.com provides the parts, procedures and facts you need to fearlessly fix what fails you.
The shield kit (also known as the guard) is an important safety device on your trimmer. While its primary function is to prevent debris from scattering toward the user, the shield also helps control the length of the trimming line. If the line is allowed to exceed the specified length (which is the distance between the trimmer head and the knife), the engine will begin to bog down. Continual use under these conditions will generate excess carbon in the muffler and will eventually choke the exhaust.
While the shield is designed withstand significant abuse (in the form of flying dirt, pebbles and debris), it is not impervious to damage from larger impacts. Installing a shield kit is easy to do. This article provides step-by-step instructions for installing a shield kit on an Echo SRM-225 trimmer.
Let's get started.
 REMOVING THE SHIELD [top]
1. Remove the trimmer head.
Insert an Allen wrench (or spindle lockout tool) through the notch in the side of the shield.
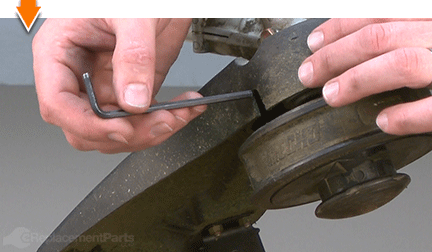
Rotate the head assembly slowly until the Allen wrench engages the lockout hole on the plate adapter.
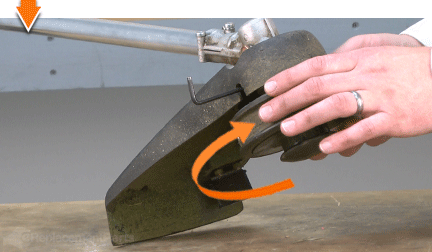
With the spindle locked, grasp and rotate the head assembly in a CLOCKWISE direction (the spindle is reverse-threaded).
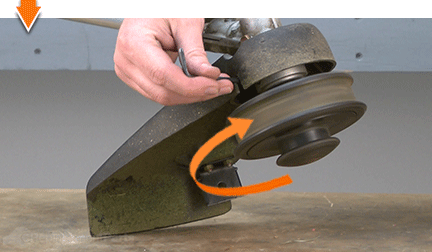
Remove the trimmer head from the spindle.
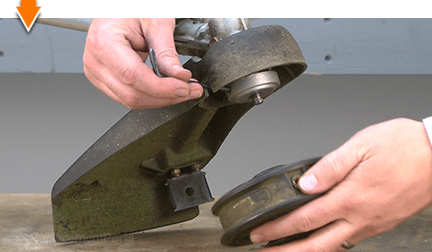
Remove the adapter plate.
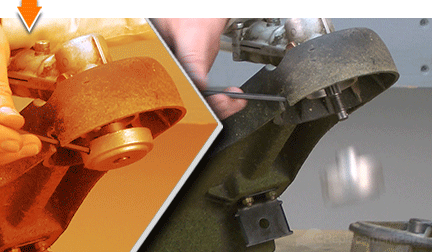
Remove the Allen wrench.
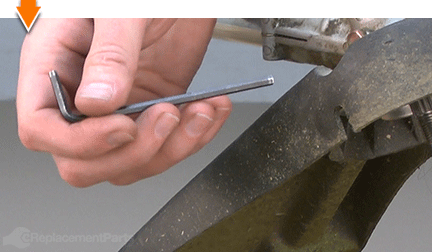
2. Remove the shield from the gear case.
Remove the (3) screws from the shield plate.
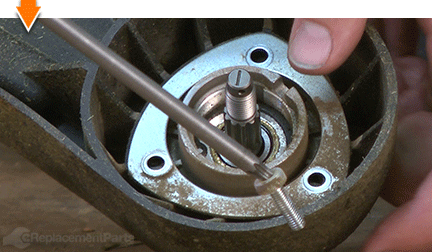
Remove the shield retaining plate.
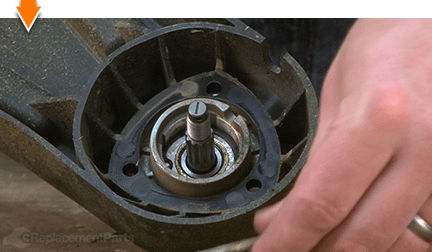
Remove the shield.
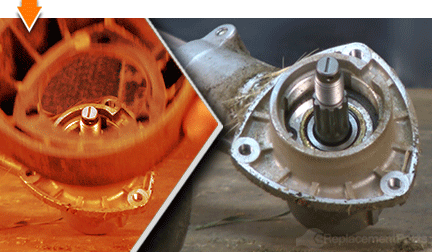
INSTALLING THE NEW SHIELD [top] 3. Install the shield onto the gear case.
Place the new shield (included in kit) on the bottom of the bearing housing flange.
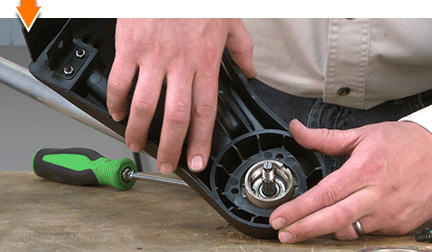
Place the new retaining plate (included in kit) on the shield.
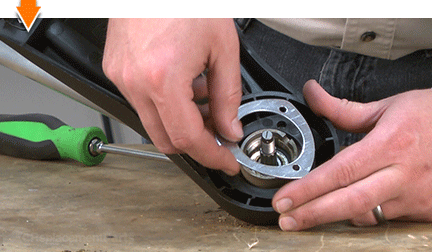
Align the mounting holes.
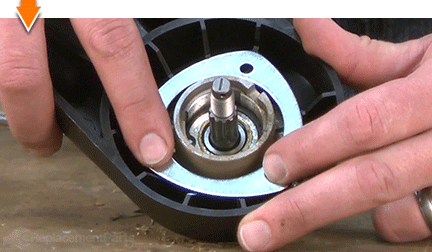
Secure the shield and retaining plate with the (3) new screws (included in kit).
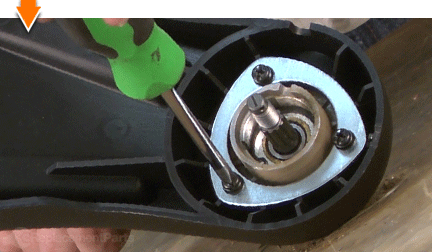
REASSEMBLING THE UNIT [top] 4. Reinstall the trimmer head
Install the plate adapter.
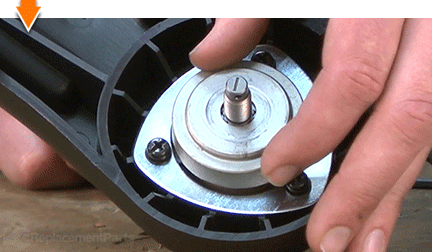
Thread the trimmer head onto the spindle in a COUNTERCLOCKWISE direction (the spindle is reverse-threaded).
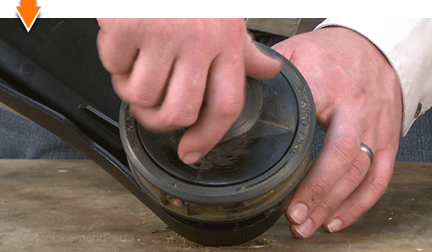
Insert an Allen wrench (or spindle lockout tool) through the notch in the side of the shield.
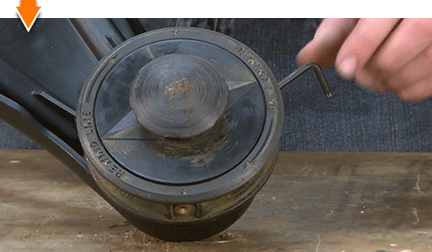
Rotate the trimmer head assembly slowly until the Allen wrench engages the lockout hole on the plate adapter.
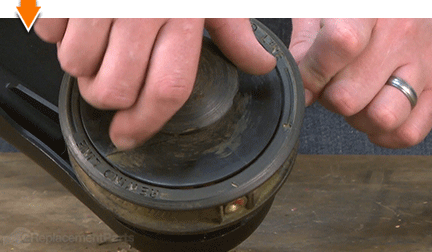
With the spindle locked, grasp and rotate the trimmer head until it is secure.
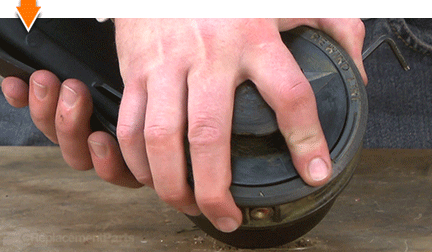
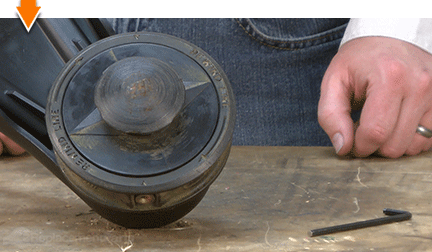
Remove the Allen wrench.

You don't have to leverage your savings to level your lawns. As you just learned, repairing your own equipment is easy when you follow our step-by-step guides. Not only did you restore trimmer functionality at a fraction of the cost of replacement; you have taken the edge off of future repairs, wherever you may find them.


