Why Read This Article?
Finish Nailer Repair - Replacing the Driver Guide (Ridgid Part # 79004001022)
Article Breakdown
Finish Nailer Repair - Replacing the Driver Guide (Ridgid Part # 79004001022)
Tools & Materials

If broken parts and faulty starts are grinding on your nerves, it's time to face the fix. Whether you are a grinding pro or seasonal grinder, eReplacementParts.com provides the parts, procedures and facts you need to fearlessly fix what fails you.
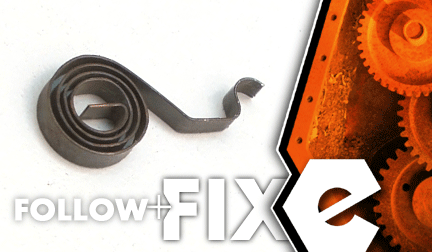
Brush springs apply pressure to the carbon motor brushes, ensuring continuous contact (and electricity) with the spinning armature. If the grinder is overloaded, an excess amount of electrical current may flow through the brush spring. The resulting heat can eventually damage (or melt) the metal spring. Symptoms of damaged brush springs include erratic or intermittent motor operation, decreased power, or a complete inability to activate the grinder. Brush springs are commonly lost or damaged during related maintenance procedures as well.
Whether lost or damaged, replacing a brush spring is easy to do. This article will show you how. Let's get started.
 REMOVING THE SPRINGS [top]
1. Remove the top half of the handle assembly.
Remove the (5) retaining screws.
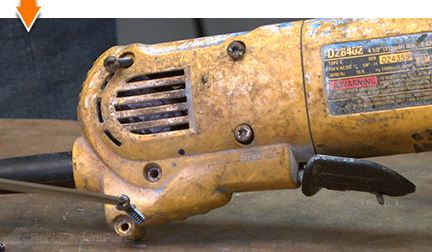
Remove the top half of the handle assembly.
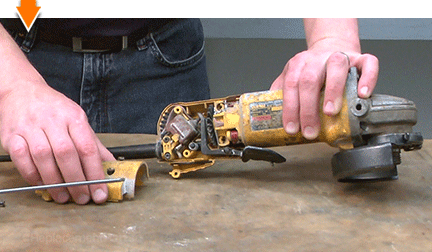
2. Separate the handle from the field case.
Remove the paddle assembly.
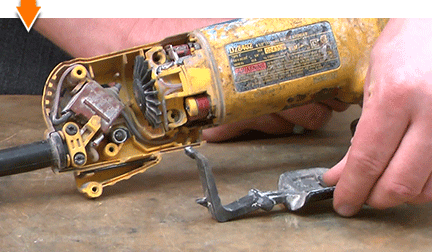
Remove the lock-on button assembly.
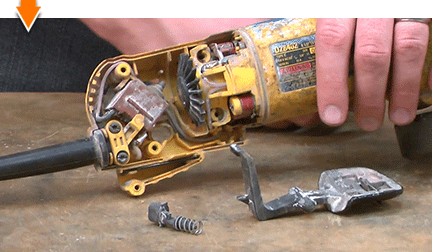
Separate the handle from the field case.
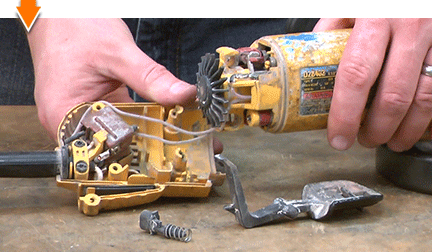
3. Remove the brushes.
Use long-nosed pliers to remove the brush wire from the terminal.
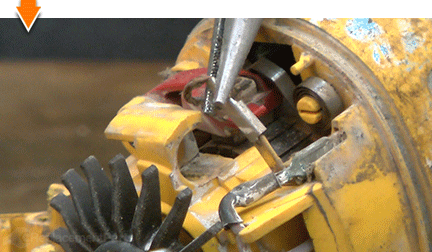
Use long-nosed pliers to lift the brush spring away from the brush arm.
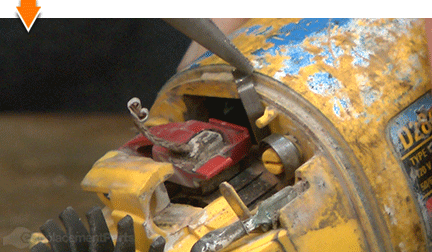
Lift (rotate) the brush arm assembly to access the brush.
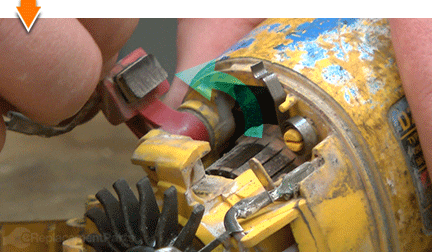
Remove the brush from the arm assembly.
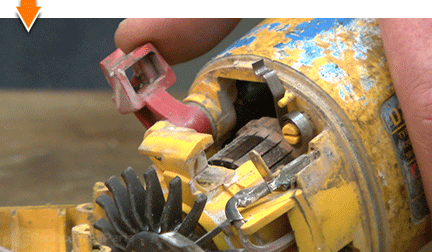
Use long-nosed pliers to remove the brush spring from the post.
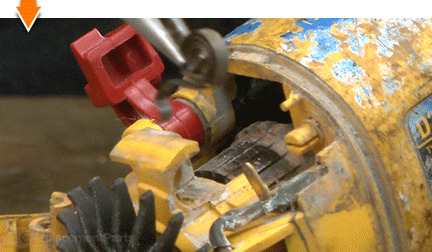
Repeat this process to remove the second brush spring (on the opposite side of the grinder).
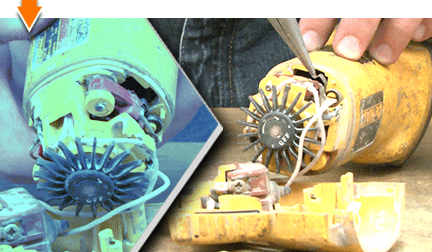
INSTALLING THE NEW SPRINGS [top] 4. Install the new brush spring.
Use long-nosed pliers to grip the tab in the center of the new brush spring.
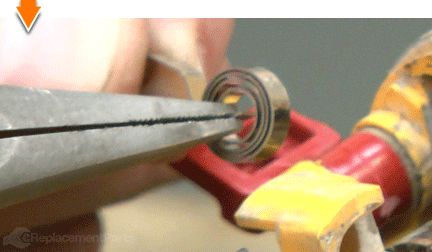
While holding the arm of the spring with your other hand, rotate the center tab 180 degrees (counterclockwise).
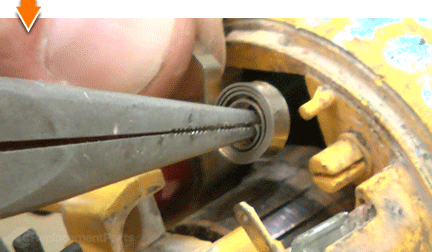
Install the new brush spring onto the post, ensuring that tab engages the slot in the post.
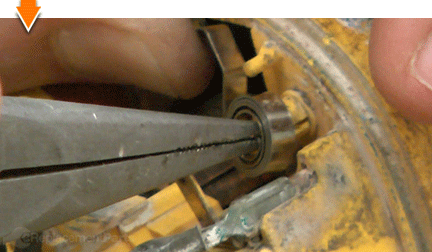
Press along the perimeter of the spring to ensure that is properly seated on the post.
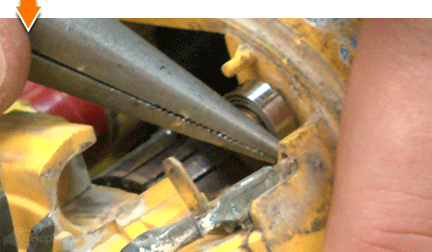
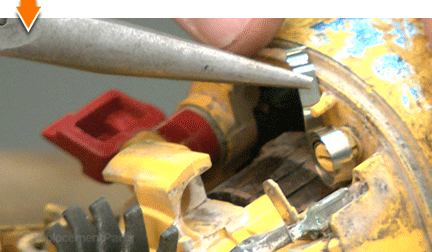
Use long-nosed pliers to retract the arm of the spring (to prepare for re-installation of the brush).
REASSEMBLING THE UNIT [top] 5. Reinstall the brush.
Insert the brush lead (wire) through the opening in the brush arm.
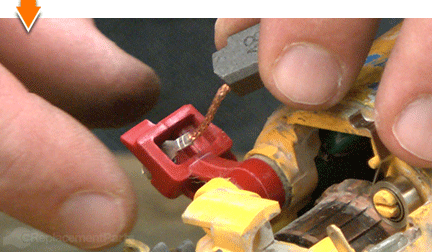
Seat the brush into the brush arm assembly.
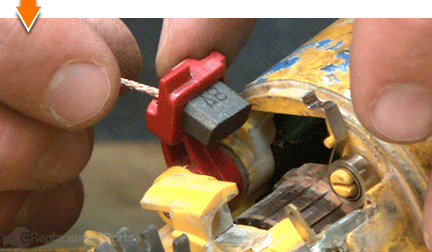
Lower (rotate) the brush arm assembly into position above the armature.
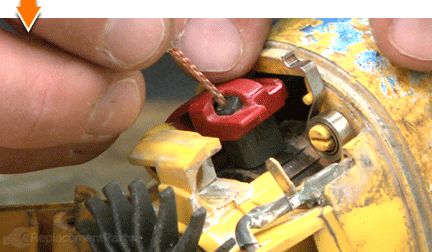
Reinstall the brush wire.
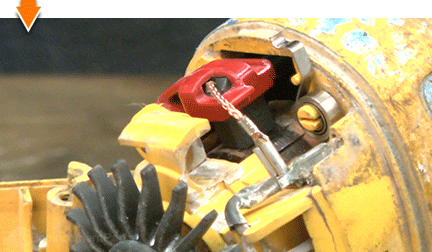
Use needle-nosed pliers to re-engage the brush spring.
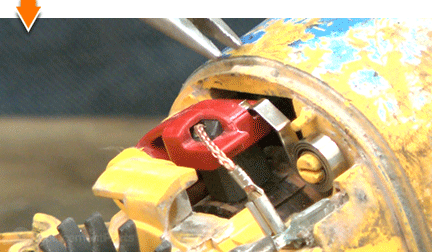
6. Reconnect the handle assembly to the field case.
Partially connect the lower half of the handle assembly to the field case.
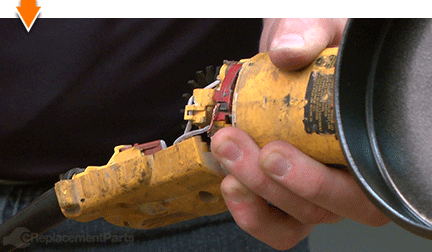
Tuck the wires into the designated slots and channels on the assembly.
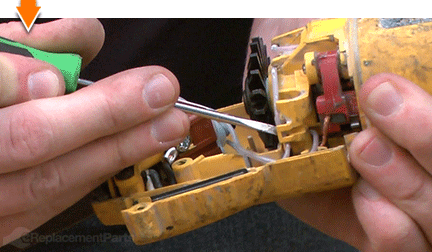
Connect the lower half of the handle to the field case (manipulate the two components until they snap into place).
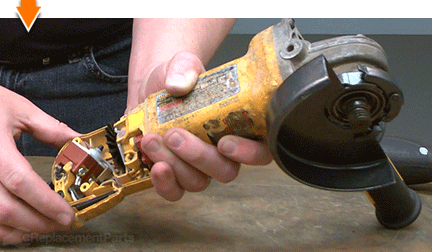
7. Reinstall the lock-on button.
One side of the lock-on button contains a small tab. This tab should be installed facing the armature.
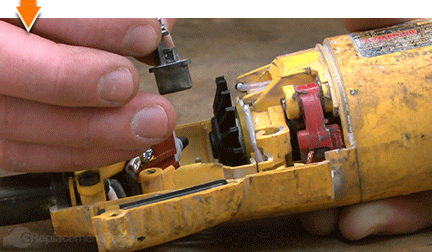
Install the lock-on button into the handle.
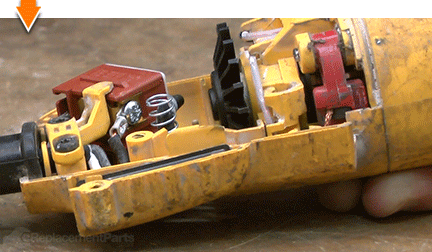
8. Reinstall the paddle assembly.
Install the paddle assembly into the handle; ensure that the tail is positioned above the switch button, and the fulcrum is seated within the recess in the handle.
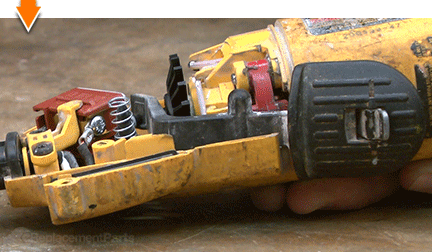
9. Reinstall the top half of the handle assembly.
Partially install the top half of the handle assembly.
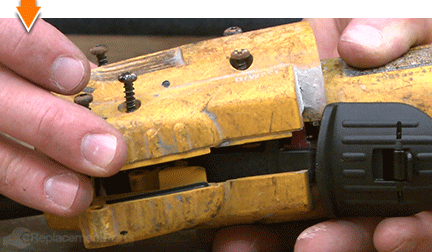
Align the posts (on the fulcrum and the lock-on button) with the recesses in the top of the handle.
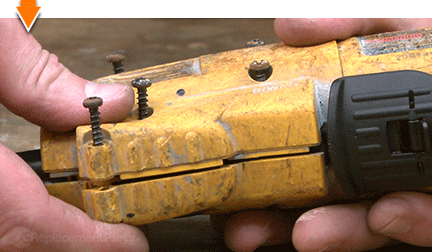
Before securing the handle with the screws, test the paddle and the lock-on button for proper functionality.
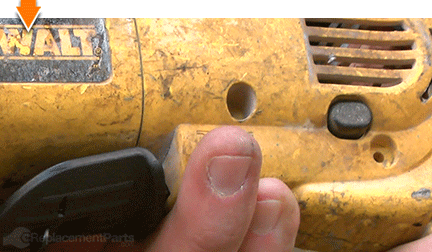
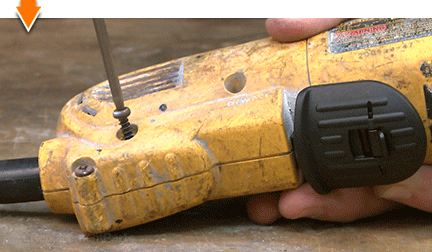
Secure the handle with the screws.

You can't place a value on a job well done, unless you did it yourself. (Which you did.) Now you can place that value back into your own pocket. (Or into your business.) Not only did you refine your grinder at a fraction of the cost of replacement; you have expanded your skills far beyond the daily grind.


