Why Read This Article?
Finish Nailer Repair - Replacing the Driver Guide (Ridgid Part # 79004001022)
Article Breakdown
Finish Nailer Repair - Replacing the Driver Guide (Ridgid Part # 79004001022)
Tools & Materials


If raised grains and elbow strains are sanding away your patience, it's time to face the fix. Whether you are a sanding pro or a seasonal sander, eReplacementParts.com provides the parts, procedures and facts you need to fearlessly fix what fails you.
Power cords take a lot of abuse. As soon as damage to your cord is noticed, it should be replaced. Most forms of damage (nicks and cuts along the insulation) can by identified by visually inspecting the power cord each time the sander is used. The cord should also be inspected for missing or damaged prongs. Less visible (but more obvious) symptoms of a damaged power cord include sparking, arcing, blown fuses, or power failures of any kind. If you're ready to pull the plug on your Porter Cable belt sander, this article will show you how to complete the repair quickly and easily.
Let's get started.
 REMOVING THE POWER CORD [top]
1. Remove half of the trigger handle.
Remove the screws from the trigger handle.

Remove half of the trigger handle.
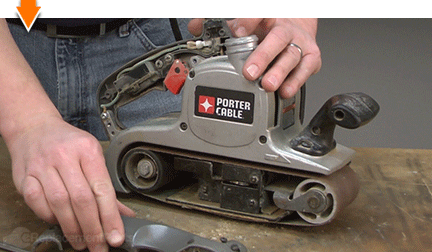
2. Remove the switch from the housing.
Remove the two retaining screws from the switch.
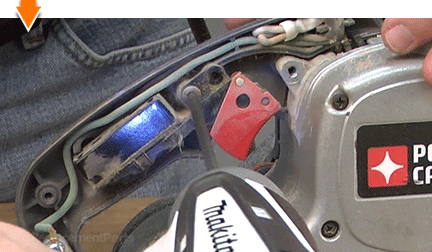
Remove the ground wire retaining screw.
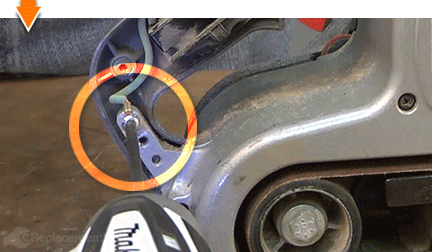
Remove the switch from the housing.
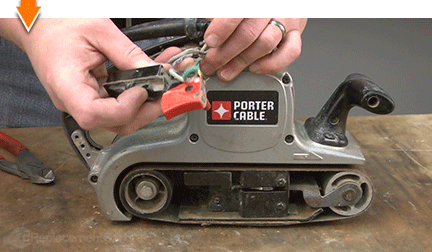
3. Remove the black wire from the switch.
Insert a pick into the terminal (where the black wire attaches to the switch). This will release the trap-door locking mechanism in the terminal.
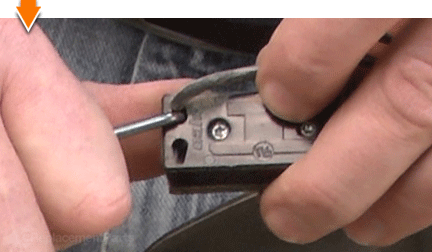
Remove the black wire from the switch.
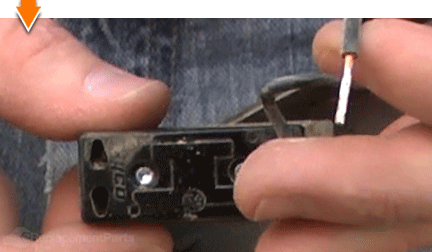
4. Remove the white wire.
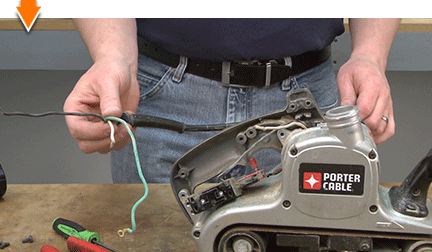
Use wire cutters to cut the terminal (where the two white wires meet).
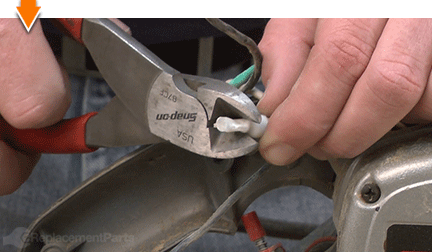
Separate the white wires.
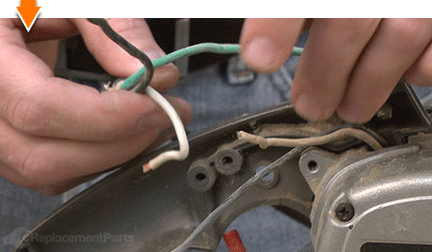
Remove the cord from the sander.
PREPARING THE NEW CORD [top]
SPECIFIX: The new cord must be prepared before it can be installed. This includes cutting the new wires to match the lengths of the original wires, crimping an eyelet onto the ground wire, and tinning the black wire for insertion into the trap door on the switch. These steps are detailed below.
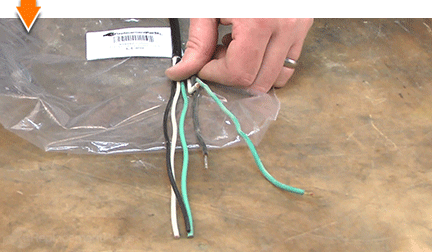
5. Cut the wires to length.
Align the ends of the two cords (at the point where the insulation stops).
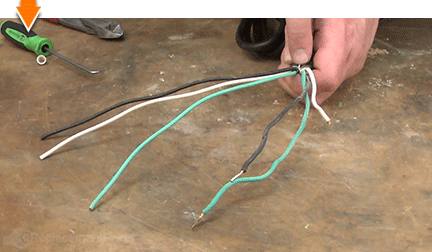
Compare the two green (ground) wires; cut the new ground wire to match the length of the original.
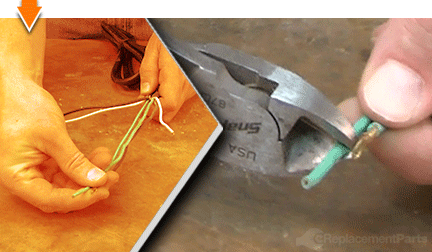
Compare the two black wires; cut the new black wire to match the length of the original.
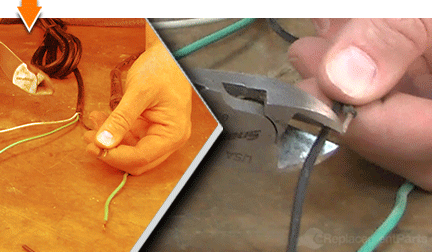
Compare the two white wires; cut the new white wire slightly longer than the original (to compensate for the wire that was removed with the terminal).
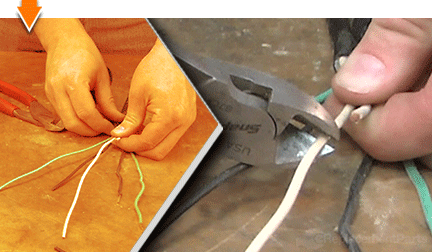
6. Transfer the strain relief.
Remove the strain relief from the old power cord.
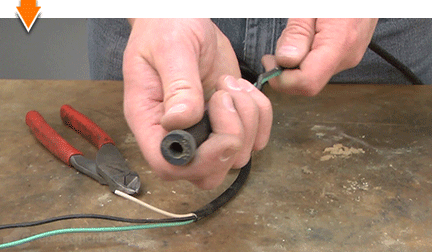
Inspect the strain relief for damage; replace as necessary.
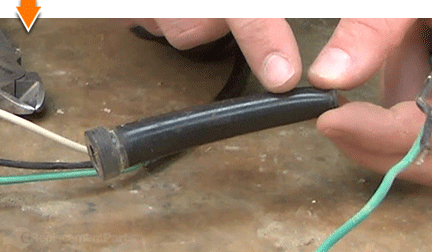
Install the strain relief onto the new power cord.
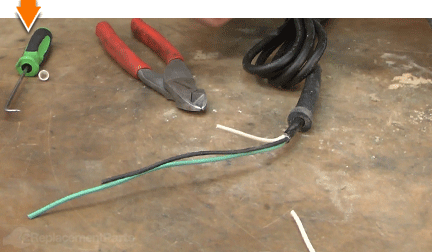
7. Prepare the green (ground) wire.
SPECIFIX: Depending on the manufacturer of the belt sander; eyelets may or may not be included with the new power cords. Eyelets can be purchased at most hardware or electronics stores.
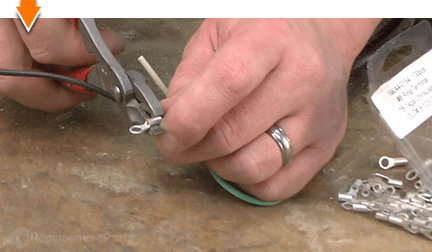
Use wire strippers to strip the end of the green wire (about a quarter-inch).
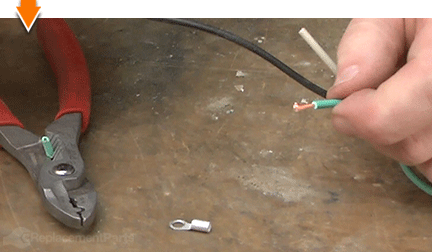
Twist the exposed wires to prepare them for installation of the eyelet.
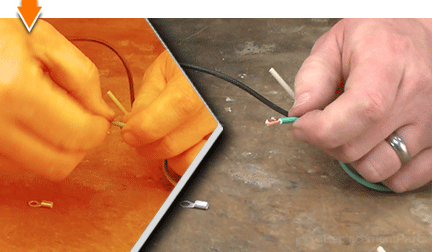
Slide the new eyelet over the exposed wires.
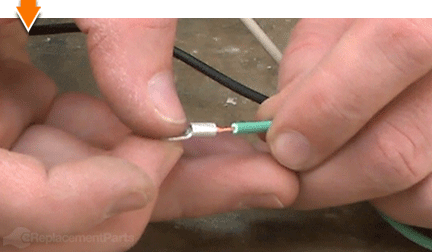
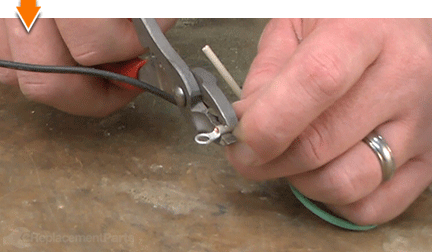
Use a crimping tool to secure the eyelet.
8. Prepare the black wire.
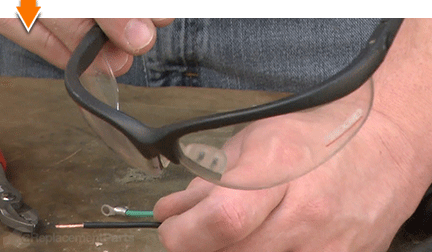
Wear safety glasses whenever using solder.
Use wire strippers to strip the end of the black wire (about 3/8-inch).
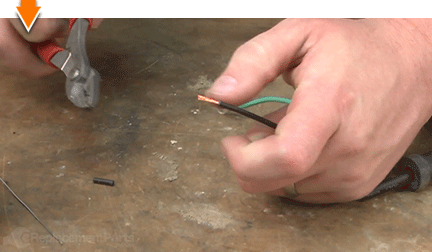
Twist the exposed wires to prepare them for tinning.
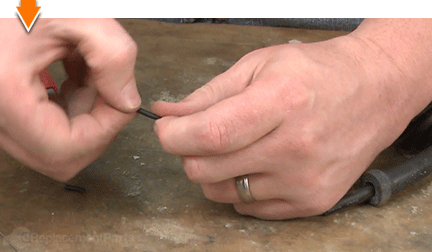
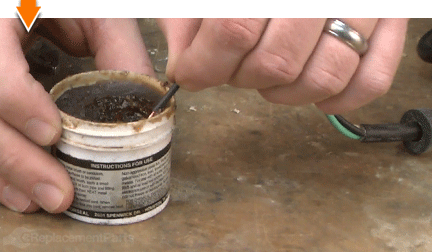
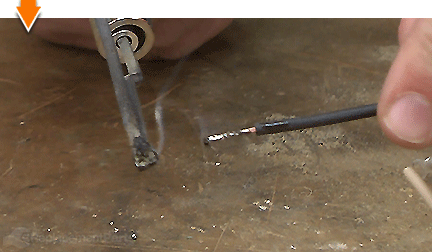
Apply paste flux to the exposed wires.
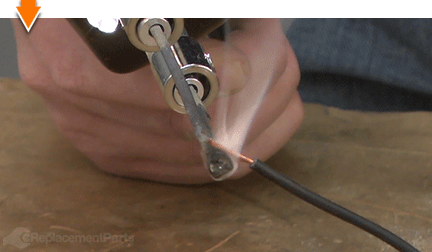
Use a soldering gun to heat the exposed wires.
Apply solder to the heated wires.
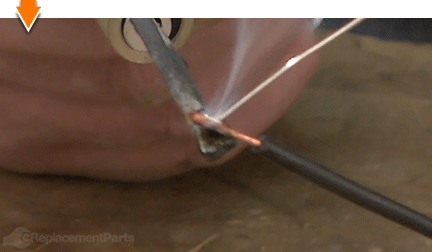
Continue applying heat with the soldering gun while rotating the wires to evenly distribute the solder and complete the tinning process.
9. Prepare the (new) white wire.
Use wire strippers to strip the end of the new white wire (about 3/8-inch).
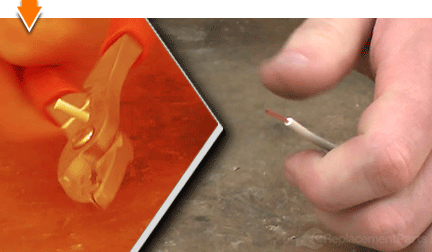
Twist the exposed wires to prepare them for installation.
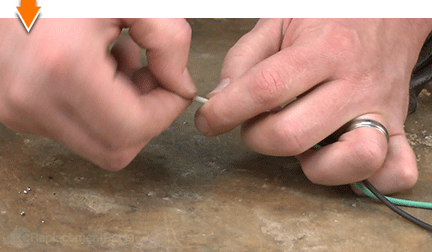
10. Prepare the (existing) white motor wire.
Use wire strippers to strip the end of the white motor wire (approximately 3/8- inch).
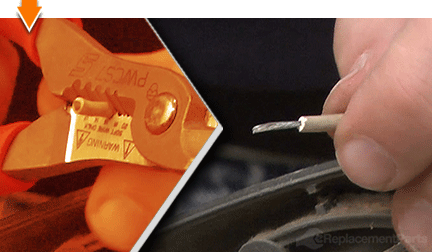
Twist the exposed wires to prepare them for installation.
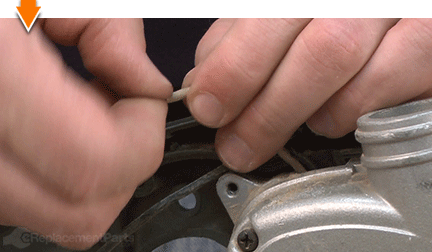
INSTALLING THE NEW CORD [top] 11. Connect the white wires.
Twist together the exposed ends of the two white wires (the motor wire and the new cord wire).
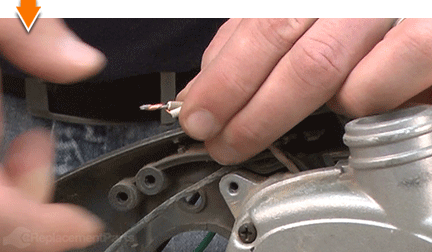
Install a new crimp connector (available at most hardware or electrical stores) over the exposed connection.
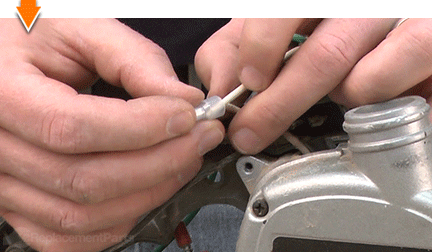
Use wire crimpers to crimp the connector and secure the connection.
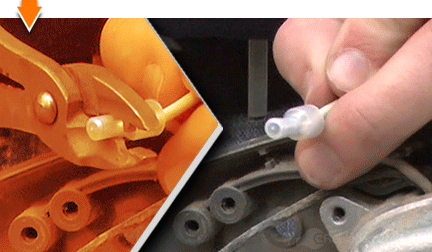 12. Connect the black wire to the switch.
Insert the black wire (the tinned portion) into the lower trap door connection on switch.
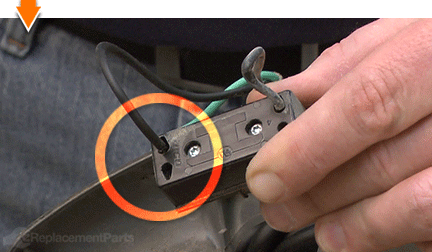 13. Connect the ground (green) wire.
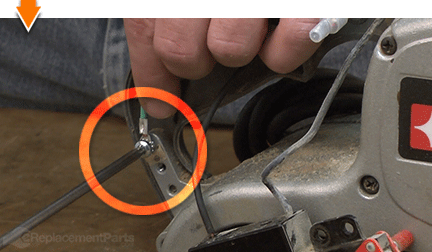
Thread the grounding screw into the new eyelet on the green wire.
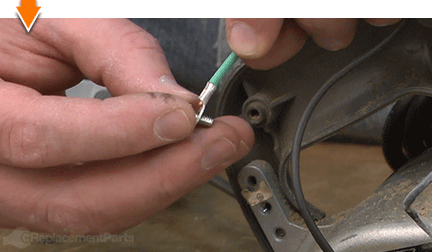
Secure the grounding screw (and wire) to the frame of the sander.
REASSEMBLING THE UNIT [top] 14. Reinstall the switch.
Align the switch with the mounting holes in the handle.
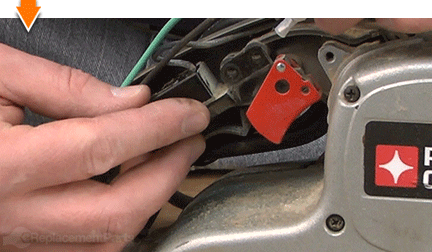
Secure the switch to the handle with the two screws.
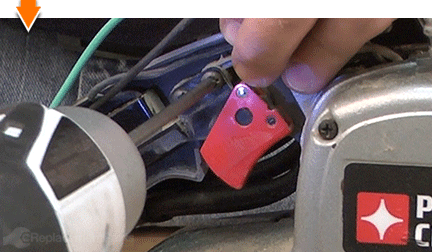 15. Tuck the wires.
Tuck all of the wires into the corresponding tabs or channels along the perimeter of the handle.
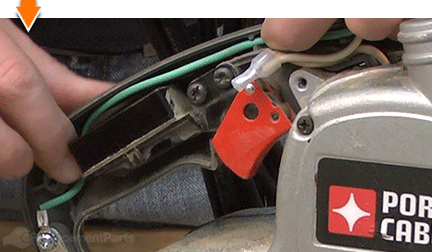 16. Reinstall the handle side cover.
Install the handle side cover.
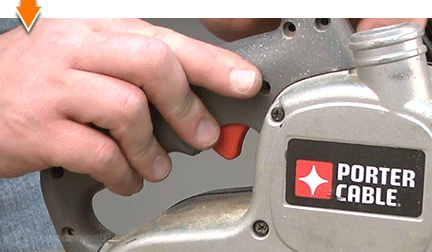
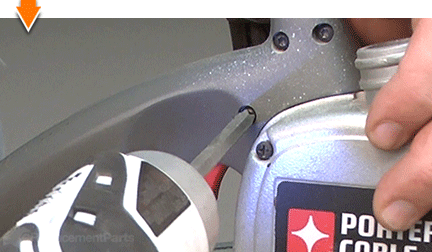
Secure the cover with the screws.

Sanding can be a demanding task. But you don't have to rough-up your accountant to smooth-out your countertops. As you just learned, repairing your own power tools is simple when you follow our step-by-step guides. Not only did you expand sander functionality at a fraction of the cost of replacement; you have taken the edge off all future repairs. Find your next fix here. [top]


