Why Read This Article?
Finish Nailer Repair - Replacing the Driver Guide (Ridgid Part # 79004001022)
Article Breakdown
Finish Nailer Repair - Replacing the Driver Guide (Ridgid Part # 79004001022)
Tools & Materials
- Socket wrench
- Pliers
- Fuel line pliers
- Flathead screwdriver
- Phillips-head screwdriver
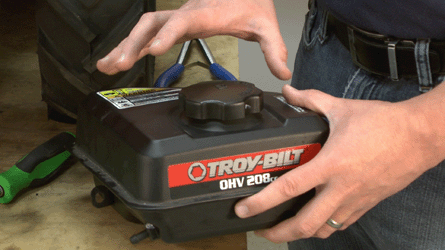 Looking for the gas tank used in this article? We've got it here.
Removing the Fuel Tank
1. Drain the fuel out of the gas tank
Use a siphon pump to remove all of the gas from the fuel tank.
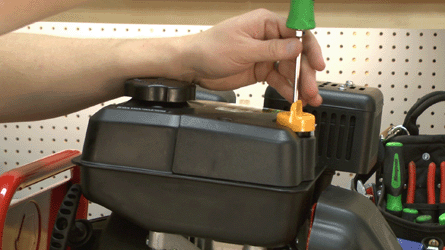
2. Remove the rear cover
Use a screwdriver to remove the two screws on this cover, then set the cover aside.
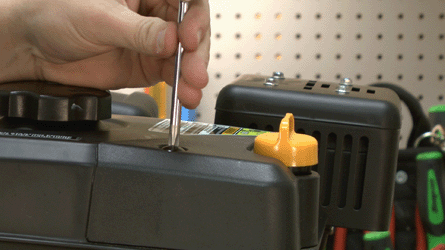
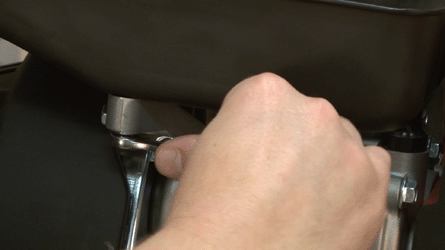
3. Remove the two nuts on the side of engine
Use an open end wrench to remove the two nuts located below the tank on the side of the engine.
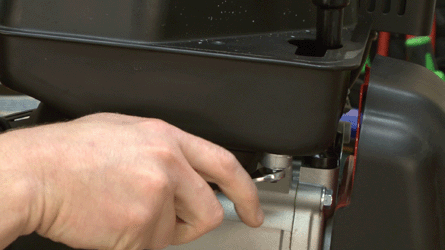
4. Remove the attachment screw
Use a socket wrench to remove the single attachment screw located near the muffler.
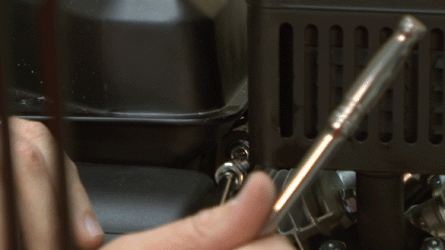
5. Remove the fuel line
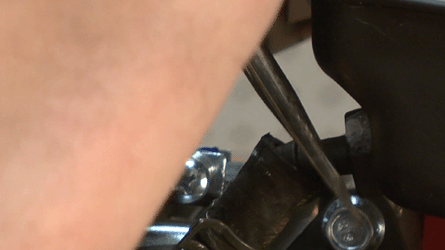
Use a pair of needle-nose pliers to pinch and slide the fuel clamp away from the grommet.
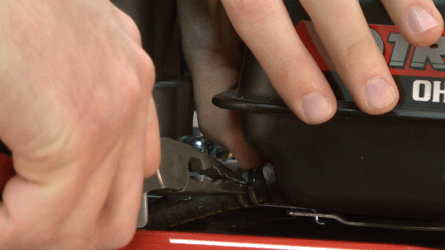
Then pry the hose away from the tank.
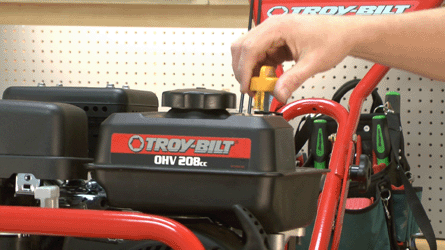
6. Remove the oil dip stick
Twist and remove this from the engine.
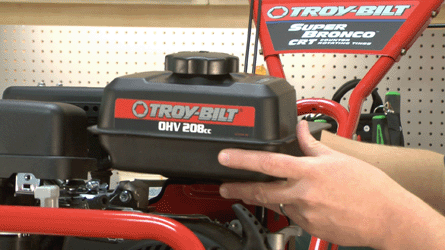
7. Remove the fuel tank
You can now pull the fuel tank off of the engine and set it aside.
8. Replace the oil dip stick
With the fuel tank out of the way, replace the dip stick back into its original location.
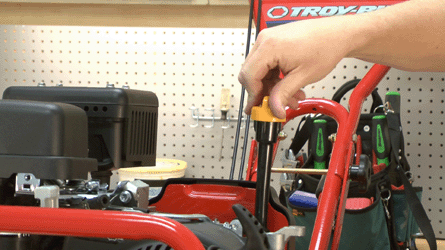
9. Remove the fuel cap, fuel lever indicator and fuel filter from the tank
The new fuel tank will need to be outfitted with a few of the parts from the old tank -- remove the fuel cap, fuel lever indicator and fuel filter from the old tank and set them aside.
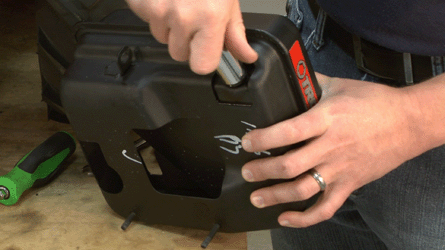
[Back to Top]
Installing the New Fuel Tank
1. Install the fuel filter, fuel lever indicator and fuel cap to the new fuel tank
Screw the fuel filter into the new tank with a socket wrench, set the fuel lever indicator into the opening in the tank and screw the gas cap onto the new tank.
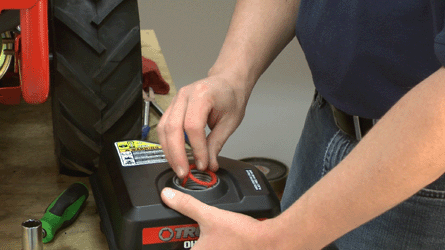
2. Remove the oil dip stick
Remove the dip stick again by unscrewing it and pulling it up and out of the engine.
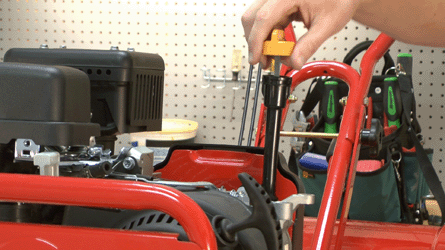
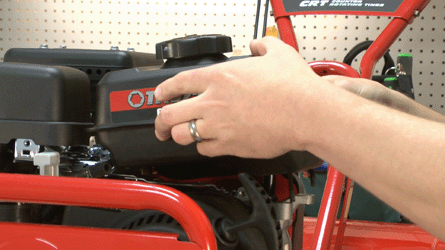
3. Place the tank back onto the engine
Line it up into its original position.
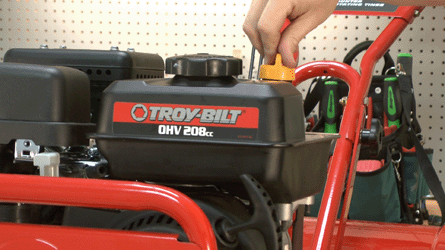
4. Replace the oil dip stick
Reinstall the dip stick back into the engine.
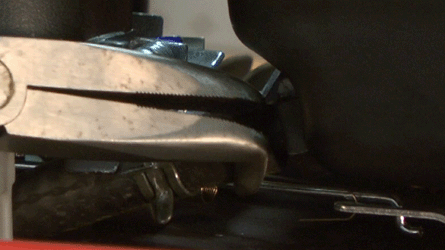
5. Reinstall and secure the fuel line
Use a pair of pliers or fuel line clamps to push the fuel line back onto the grommet on the fuel tank.
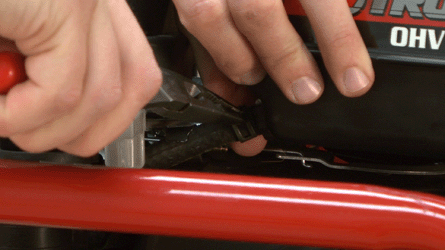
Then slide the fuel line clamp back over the grommet to secure it.
6. Re-secure the tank attachment screw
Replace and re-secure the attachment screw with a socket wrench.
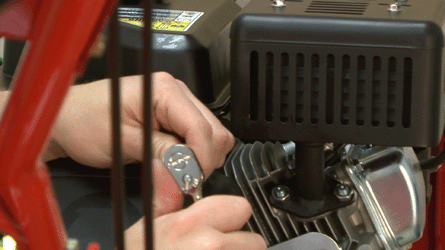
7. Replace and tighten the nuts on the side of the engine
Replace the two nuts on the side of the engine and re-secure them with a socket wrench.
8. Replace the rear cover
Set the rear cover back into it's original position and secure it with the two screws.
[Back to Top]
Conclusion
At this point, your fuel tank should be fixed up and your tiller should be ready to go. If you have other repairs that need to be made on your your tiller or any other outdoor equipment, we recommend searching our Repair Center for a guide. Otherwise, it's time to start up your tiller and get back to work!
Shop for all of our Troy-Bilt tiller parts by browsing our parts pages.
[Back to Top]
What We're About


