


Why Read This Article?
Finish Nailer Repair - Replacing the Driver Guide (Ridgid Part # 79004001022)
Article Breakdown
Finish Nailer Repair - Replacing the Driver Guide (Ridgid Part # 79004001022)
Video
Tools & Materials
- Socket Wrench Set
- Flat-Heat Screwdriver
- Phillips Screwdriver
- Pliers
- Loctite
- Rag
 Find the short block assembly and other parts for your Troy-Bilt blower here!
Removing the Short Block
Find the short block assembly and other parts for your Troy-Bilt blower here!
Removing the Short Block
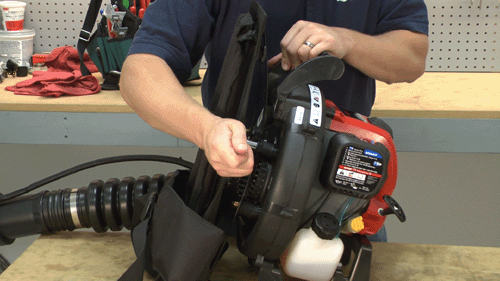
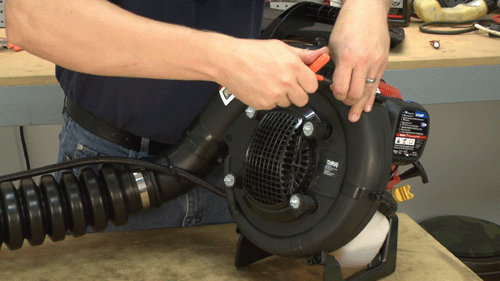
1. Remove the harness
Use a socket wrench to remove the four nuts holding the harness to the blower.
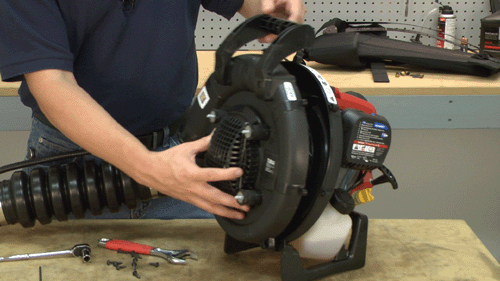
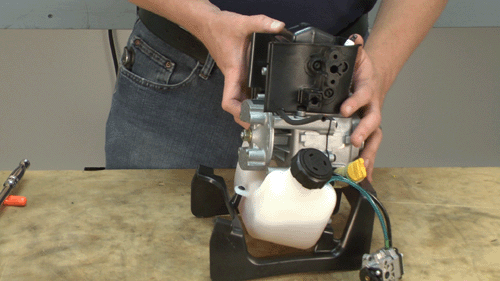
2. Remove the front-half of the impeller housing
Use a screwdriver to remove the six screws on the impeller housing, then set the housing-half aside.
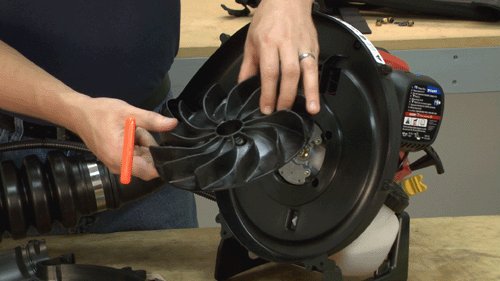
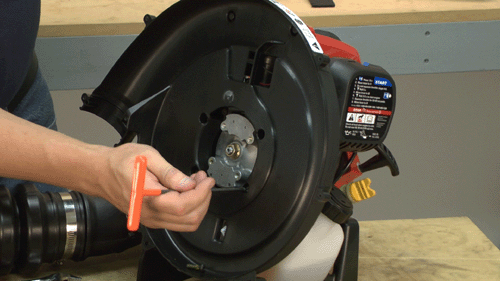
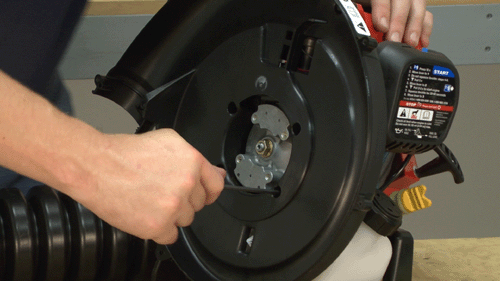
3. Remove the impeller
You'll now have access to the impeller. Remove the four screws that hold this impeller to the blower and then set it aside.
4. Remove the rest of the impeller housing
To remove the other half of the impeller housing, you'll need to remove the four screws on the inside of the housing and three on the outside.
5. Remove the air filter assembly
Pull away the air filter cover and air filter.
Then use a screwdriver to disconnect the air filter base from the blower.
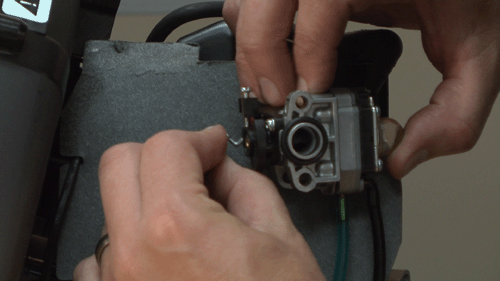
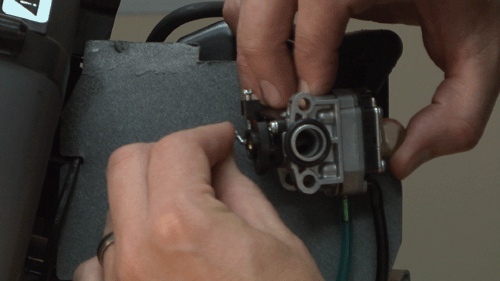
6. Remove the carburetor
Once you've freed up the air filter assembly, the carburetor should just pull away from the blower.
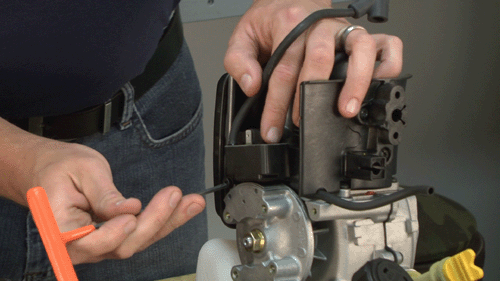
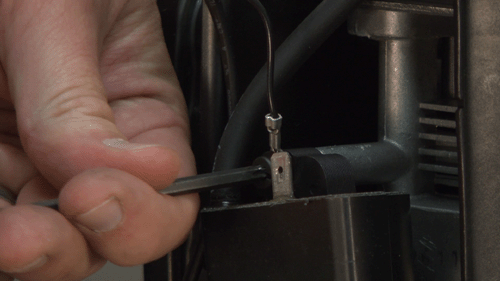
7. Remove the throttle cable
Use a flat-head screwdriver to release the clip that holds the throttle cable to the engine.
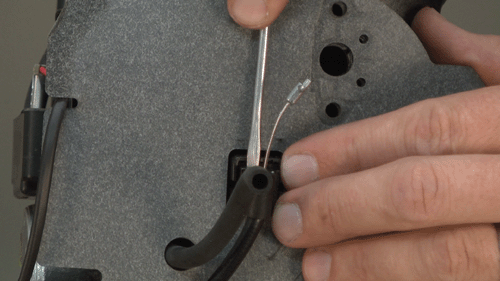
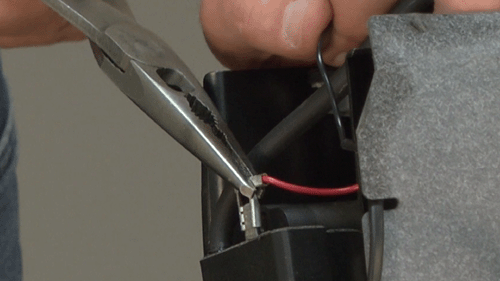
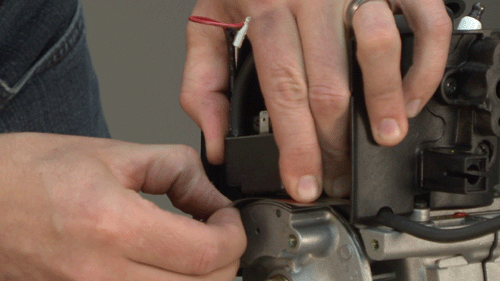
8. Remove the wiring harness from the ignition coil
The last step in separating the blower tube and impeller assembly from the engine, is to remove the wiring harness. Use a screwdriver and pliers to remove the wiring harness.
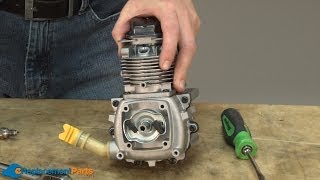
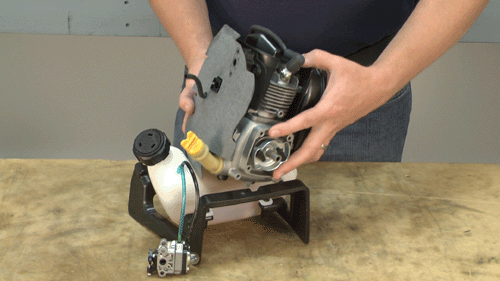
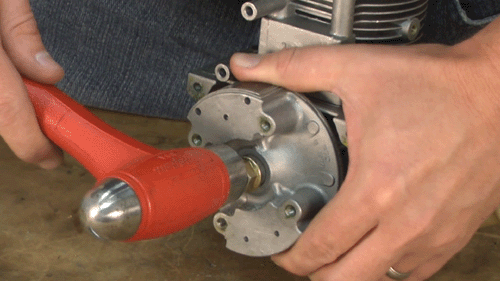
9. Lift the engine off of the base
The engine should now be disconnected from the rest of the blower. Simply lift the engine off of the base to continue this repair.
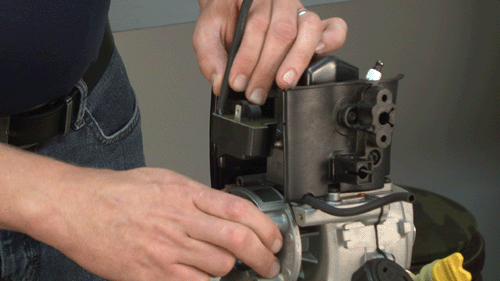
10. Remove the ignition coil
Pull the spark plug wire off of the plug.
Then remove the last screw from the ignition coil and set the ignition coil aside.
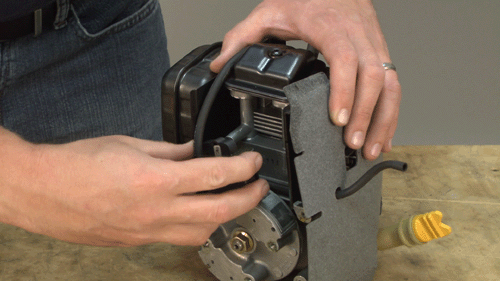
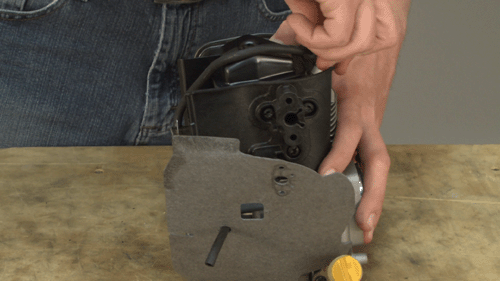
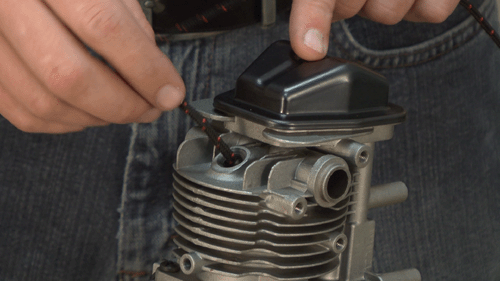
11. Remove the heat shield
This can be easily be pulled away from the engine.
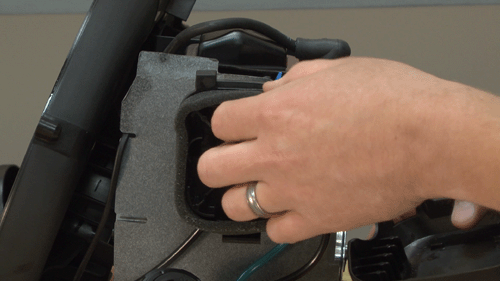
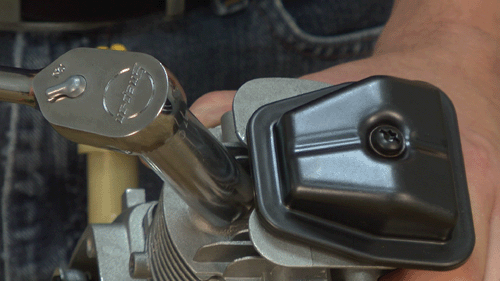
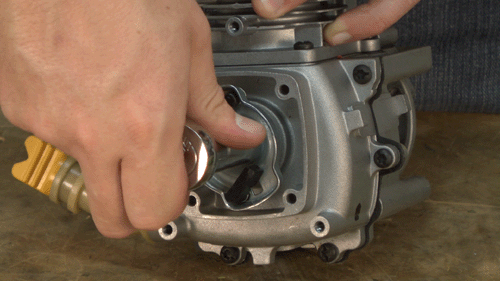
12. Remove the carburetor isolator
Use a screwdriver to remove the three screws that secure the carburetor isolator to the engine, then set the isolator aside.

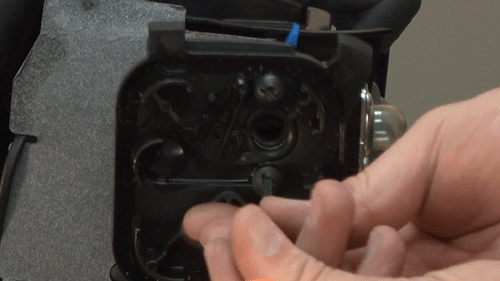
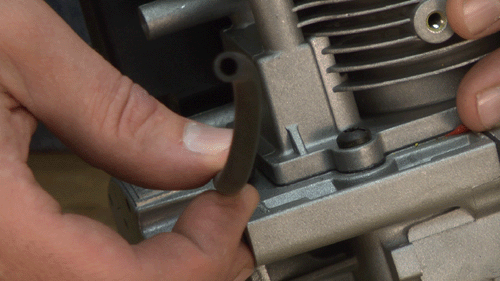
13. Remove the crankcase breather hose
This hose will just slide off of the engine.

14. Remove the muffler
There are three screws that secure the muffler to the engine, remove these screws to separate the muffler from the engine.

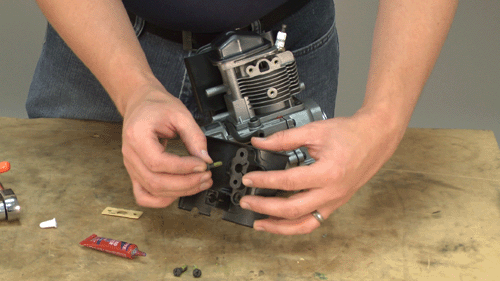
15. Seize up the piston
First use a socket wrench to remove the spark plug.
Then take a short piece of rope and snake it into the piston through the spark plug hole.
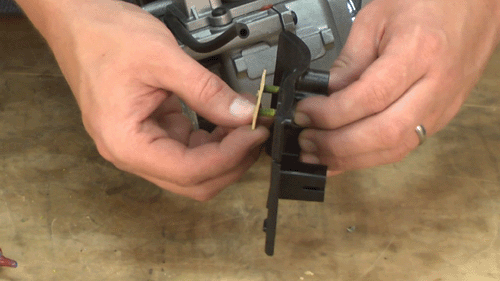
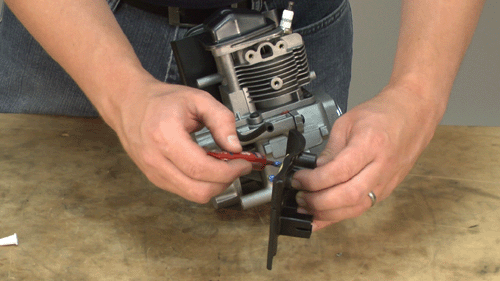
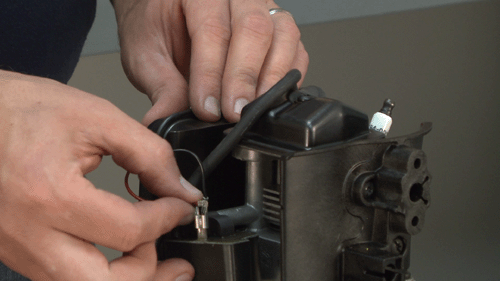
16. Remove the starter pawls
Remove the coupling with a pair of pliers.
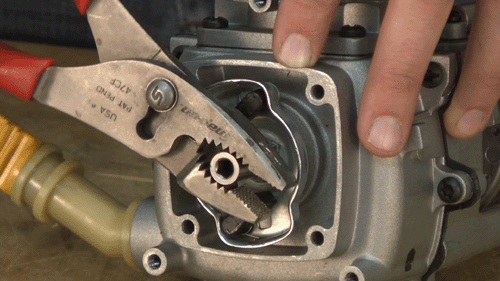
Then use a socket wrench to remove the bolt behind the coupling and pull the starter pawls away.
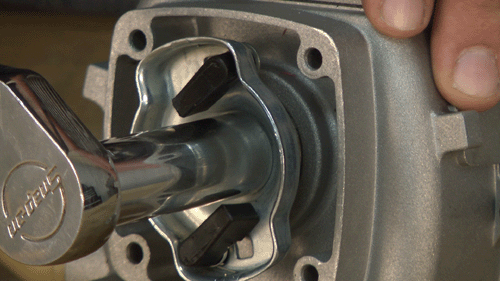
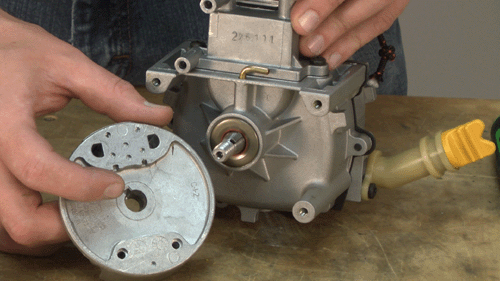
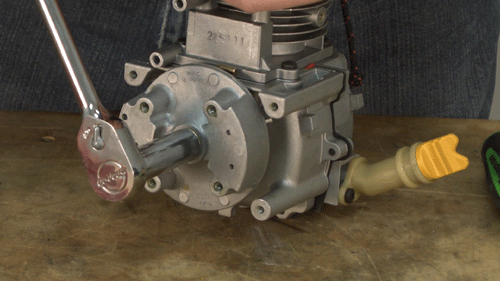
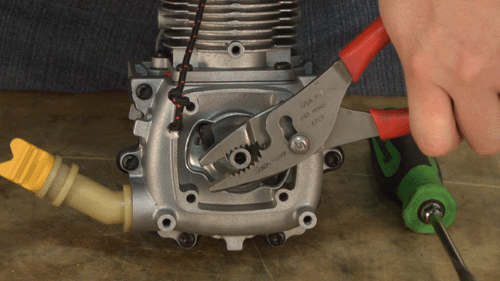
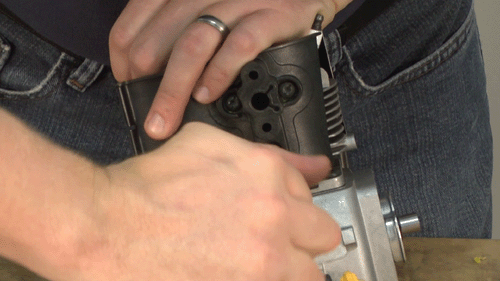
17. Remove the flywheel
Use a socket wrench to remove the nut in the center of the flywheel.
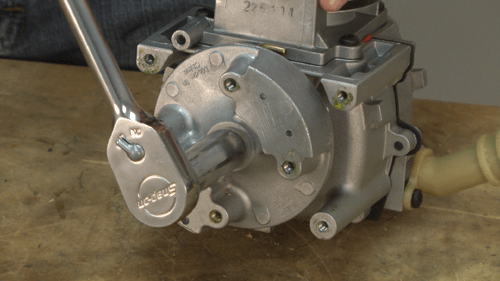
If you're having trouble separating the flywheel from the engine, partially thread the nut back onto the spindle and use a hammer to gently tap on the nut until it's loose.
[Back to Top]
Installing a New Short Block
1. Seize the piston
Remove the spark plug and thread the piece of rope into the cylinder.
2. Install the flywheel
Line up the keys on the flywheel and spindle.
Then slide the flywheel onto the new short block. You'll want to use some Loctite on the threads before securing it with the nut.
3. Install the starter pawls
Thread the starter pawls onto the engine, secure it with the nut.
Then you'll want to put a bit of Loctite onto the threads and re-secure the coupling with pliers.
4. Reinstall the spark plug
Remove the rope from the cylinder and replace the spark plug with a socket wrench.
5. Install the muffler
We recommend replacing the old muffler gasket with a new one.

Then re-secure the muffler with the three screws.
6. Replace the crankcase breather hose
Simply slide this breather hose back into position.
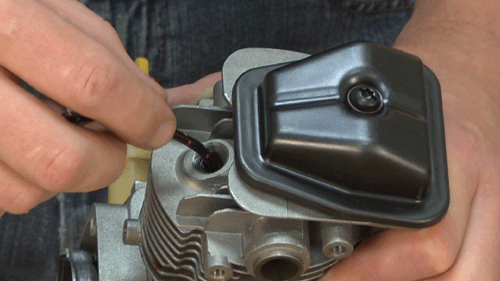
7. Replace the carburetor isolator
First insert the screws into the isolator.
Attach a new gasket.
Apply some Loctite to the screws.
Then re-secure the carburetor isolator by tightening the screws.
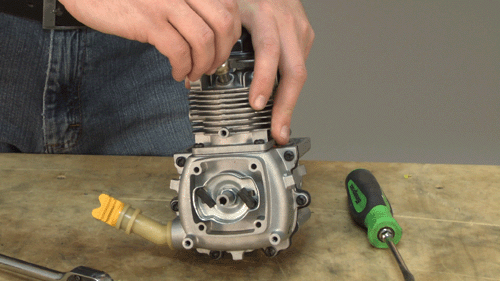
8. Place the engine onto the base
Simply set the engine onto the base the same way it was removed.
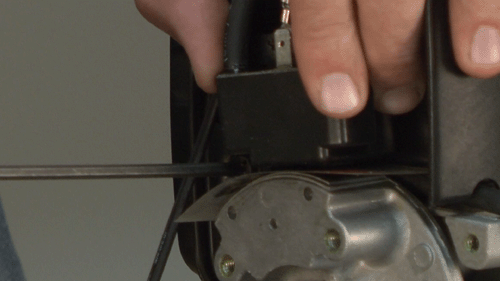
9. Replace the ignition coil
Rotate the magnets on the flywheel to the top position, then align these magnets with the two posts on the ignition coil.
Then loosely replace the bottom screw.
10. Replace the wiring harness
Replace the grounding wire on the wiring harness to the ignition coil, and secure with the screw.
11. Gap the ignition coil
Lift up the ignition coil and slide a gapping tool in between the coil and the flywheel.
Firmly tighten the two screws on the coil and then remove the gapping tool.
12. Replace the spark plug wire
You can now replace the other harness wire and reattach the spark plug wire to the spark plug.
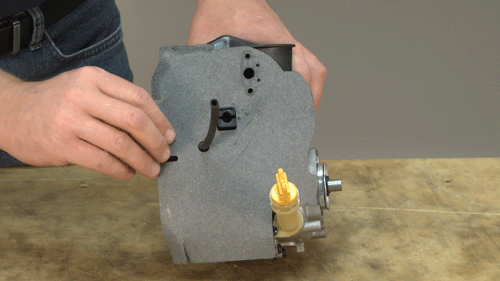
13. Replace the heat shield
Thread the hose and ignition wire through the heat shield, and push it back into position.
14. Replace the throttle cable
Snap the throttle cable back onto the heat shield.

15. Reinstall the carburetor
Thread the throttle cable through the hole in the carburetor.
16. Replace the air cleaner assembly
Reattach the air cleaner base to the carburetor with the two screws.
Then push the air filter and air filter cover back into position.
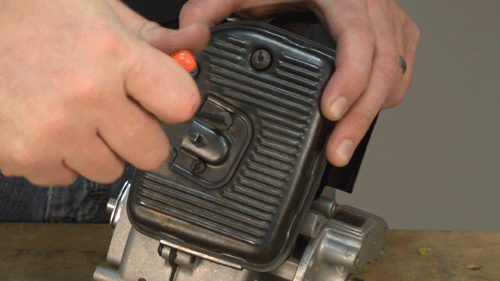
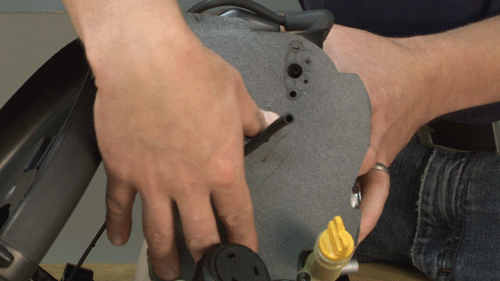
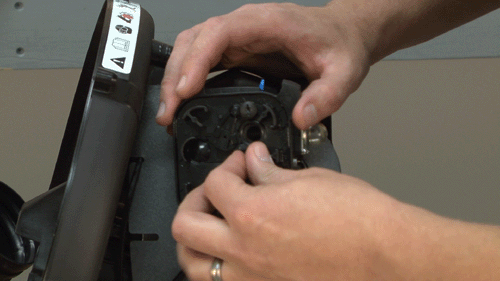
17. Replace the engine cover
Set the cover onto the engine and secure with the three screws.
18. Reinstall impeller housing half
Secure the housing-half with three screws on the outside of the housing. Then, place a little bit of Loctite on the four inside housing screws, and secure them with a screwdriver.
19. Replace the impeller
Place a bit of Loctite on the four impeller screws.
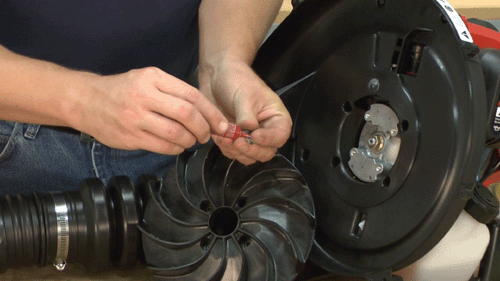
Then secure the impeller back into position.
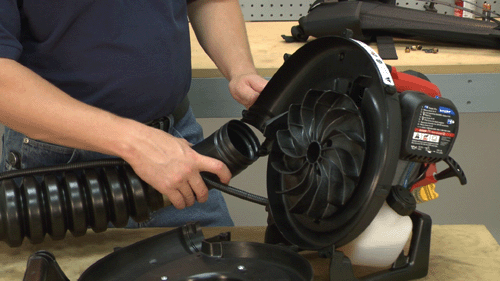
20. Realign blower hose
Push the blower hose back into the blower housing.
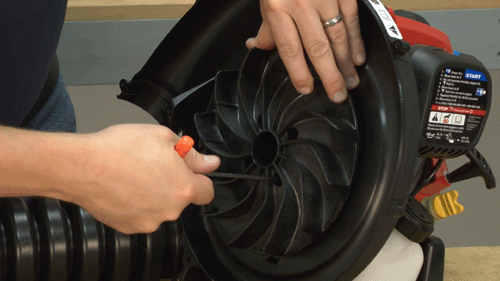
21. Replace the other half of the impeller housing
Push the other half of the impeller housing onto the blower and secure with the four screws.
22. Reinstall the harness
Place the harness back into position and secure it with the nuts that were removed earlier.

[Back to Top]
Conclusion
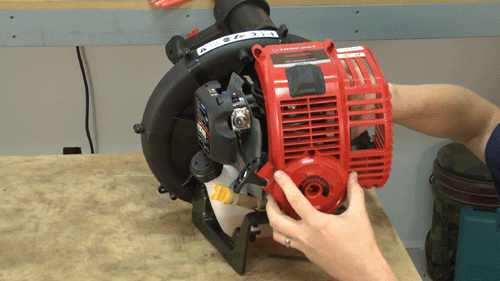
By following the steps listed in this article, anyone with a bit of patience and the right tools can perform this advanced repair. By repairing your products at home, you'll save time and money, plus you'll gain repair knowledge that will be invaluable in the future. So, we'd like to say contratulations! Now start 'er up and see how well you did!
Find parts for all of your lawn equipment by visiting our Lawn Equipment Parts page.
[Back to Top]
What We're About
