


Why Read This Article?
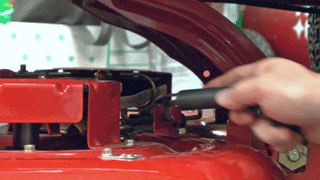
Finish Nailer Repair - Replacing the Driver Guide (Ridgid Part # 79004001022)
Article Breakdown
Finish Nailer Repair - Replacing the Driver Guide (Ridgid Part # 79004001022)
Video
Tools & Materials
- Socket Wrench
- Wrench
- Replacement drive belts
- Screwdriver
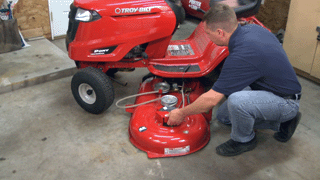
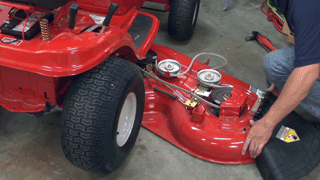
Need Troy-Bilt Pony parts? We've got all of the parts featured in this article and more on our Pony parts page. Removing the deck
1. Lower the deck to its lowest position
Use your tractors lever to move the mower deck to its lowest position.
2. Remove the belt guard
Use a socket wrench to unscrew this from the bottom of the mower.
3. Remove the belt from the pulley
It should be easily removed from the pulley with your hands.
4. Remove the rear of the deck
Remove the two pins on each side of the deck to detach the rear end from the mower.
5. Remove the front of the deck
There is a small pin and bar that will need to be removed to detach the front end of the deck.
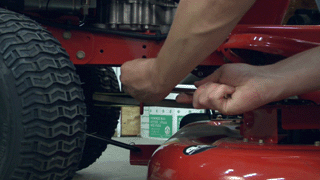
6. Remove the PTO cable
First remove the pin that secures the cable to the deck -- then pull back on the cable to release it.
7. Remove the spring
Lastly, use your fingers to remove the spring near the PTO cable you just removed.
8. Slide the deck out
With the deck detached from the mower, you're free to slide it out of the way.
[Back to Top]
Removing the belts
1. Engage the parking brake
Doing this releases tension from the belts, making it easier for you to remove them.
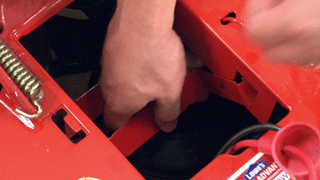
2. Remove the battery
Use a pair of open end wrenches to first remove the negative terminal from the battery, then the positive terminal. Then pull the strap out of the way and set aside the battery.
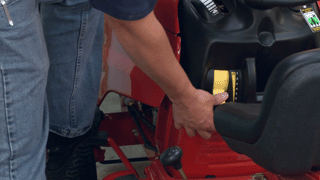
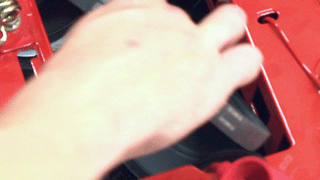
3. Remove the cradle straps
Simply pull these out of the way.
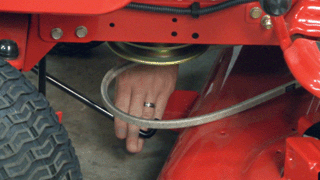
4. Remove the idler spring
Slide a rope into the spring hook to easily remove it. Reference the video for further detail.

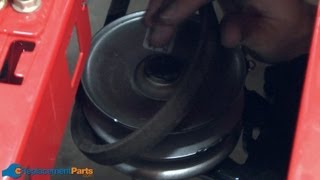
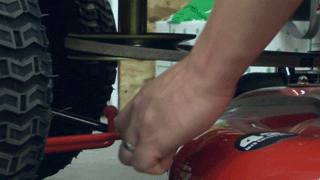
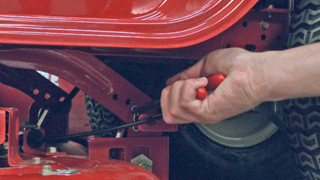
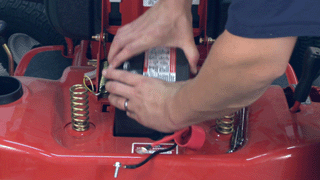
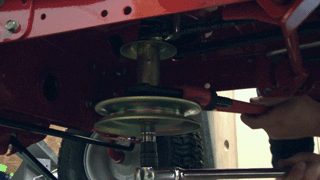
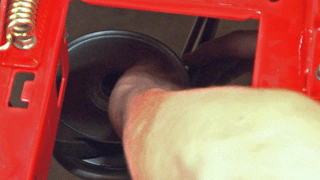
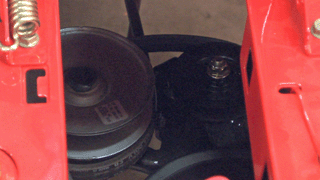
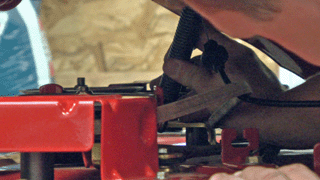
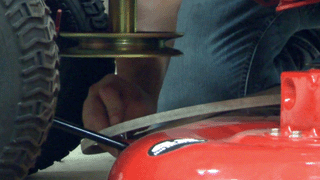
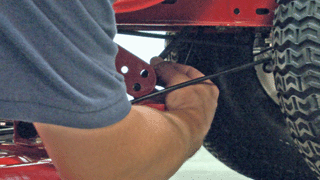
5. Remove the transmission pulley
Use a screwdriver to lock the pulley in place, then use a wrench to remove the nut. Then pull the pulley off of the spindle.
![]()
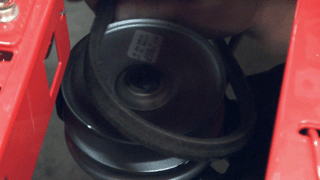
6. Remove the transmission belt
The belt should now just slide off of the pulley.
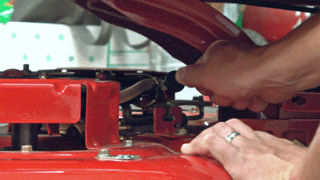
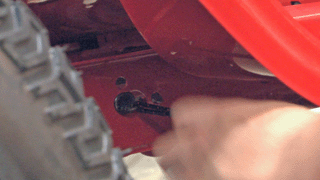
7. Remove the motor pulley
Use a pipe wrench around the spindle to secure it, then use a socket wrench to remove the bolt. The motor pulley can now be removed from the mower.
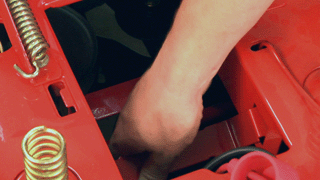
8. Pull the drive belt off
Release the belt from the pulley "keepers" by lifting up on the center section of the pulley while lifting the belt upwards.
[Back to Top]
Installing the new belts
1. Install the new drive belt
Thread the belt through the frame and back around each pulley. Remember to slide the center part of the pulley upwards to make it easier.
2. Replace the motor pulley
Slide the pulley spindle back into its original location with the belt already placed in the upper "keepers". Then secure it with the bolt that was previously removed.

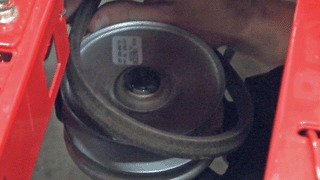
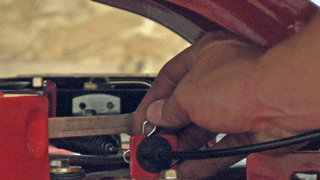
3. Install the upper-drive belt
First, thread it back around the transmission pulley.
![]()
Then line up the teeth on the pulley with the teeth on the hub and secure it with the nut that was previously removed.
![]()
4. Finalize the belt installation
Now simply thread the belt around the variable speed pulley and idler pulley.
5. Replace the idler spring
Use the rope you used in the previous section to re-hook the spring and pull back it through the frame.
6. Replace the cradle straps
Place these back into their original locations.
7. Reinstall the battery
Set the battery back into the mower, secure it with the strap, reattach the positive terminal, and then reattach the negative terminal.

[Back to Top]
Remount the deck
1. Slide the deck back under the mower
Make sure that the discharge chute is pointing out the right side of the mower.
2. Reinstall the PTO cable
Hook the spring to the end of the cable.
3. Reattach the spring
Then reattach the spring and secure it with the pin.
4. Reattach the front of the deck
Place the bar back into the mounts on the front of the deck and secure it with the pin.
5. Reattach the rear of the deck
Place the bars back through the desired mounts and secure them with the pins.
6. Raise the deck
Use the bar control lever on your mower to raise the deck back to your desired position.
[Back to Top]
Conclusion
If you've arrived at this point, your drive belts should be snugly installed and ready to go. Not only will repairing your products save you time and money, it also gives you the skills to tackle bigger projects in the future. Now get out there and put those belts to work by tackling your long grass!
Don't forget to browse our huge inventory of lawn tractor spare parts.
[Back to Top]
What We're About
