Why Read This Article?
Finish Nailer Repair - Replacing the Driver Guide (Ridgid Part # 79004001022)
Article Breakdown
Finish Nailer Repair - Replacing the Driver Guide (Ridgid Part # 79004001022)
Tools & Materials
- Rag
- Oil
- Air filter
- Socket wrench
- Spark plug
- Grinder
- Vise
- Screwdriver
- Pliers
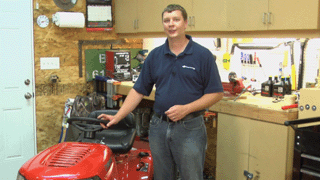 Find the tune up parts for the mower featured in this article by visiting our Troy-Bilt parts page.
Changing the oil
1. Heat the oil in the engine
Start up the lawn mower and run it for about 10 minutes to warm up the oil for easier changing.
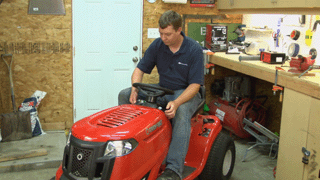
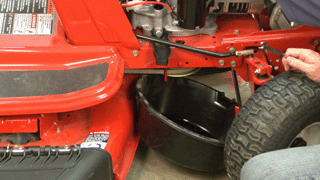
2. Place the drip pan and spout in position The drip pan should be place directly under your mowers oil plug.
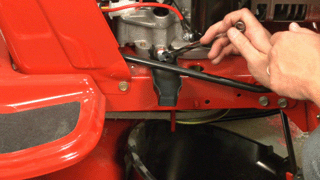
3. Loosen the dipstick and remove oil plug
Use a pair of pliers to remove the oil plug and use your hand to hand-loosen the dipstick cap.
4. Drain the oil Let all of the old oil drain from your mower.
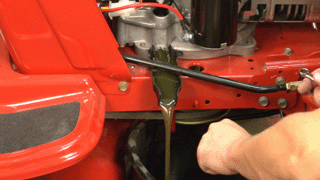
5. Replace the oil plug Once the oil is removed, replace and tighten the oil plug.
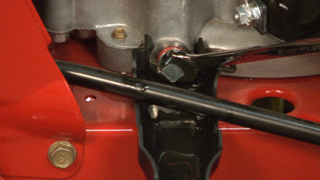
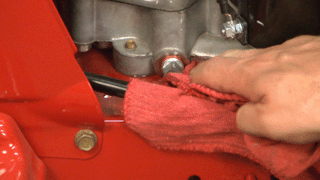
6. Clean any spills Use a rag to clean up any excess oil that spilled onto your mower.
7. Add the new oil
Slowly add the new oil through the dipstick tank, checking the oil level frequently. This ensures you won't overfill the oil reservoir.
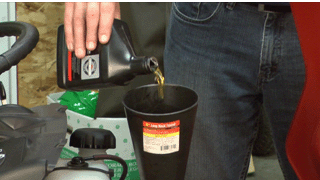
8. Replace the dipstick Screw the dipstick cap back into position.

[Back to Top] Changing the air filter
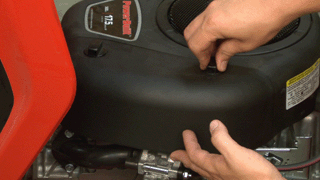
1. Remove the air filter cover
Turn the clips holding the air filter cover to the mower--then remove it and set aside.
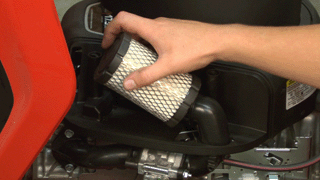
2. Pull the filter away from the engine
It's should just pull away. Check for any ties holding it on if it's difficult to remove.
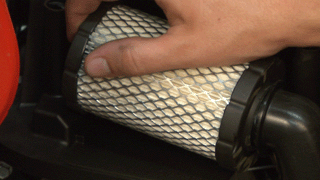
3. Install the new air filter Slide the new air filter into position.
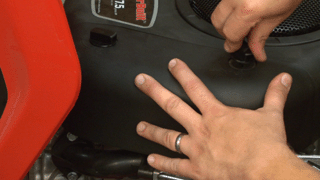
4. Replace the air filter cover Place the air filter cover back into its original spot and secure it with clips.
[Back to Top] Changing the spark plug
1. Locate your spark plug It's located near the exhaust manifold on many mowers.
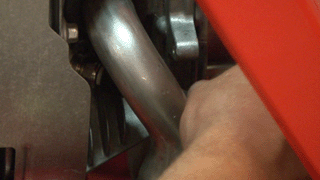
2. Remove the spark plug wire This boot will just pull off of the spark plug.
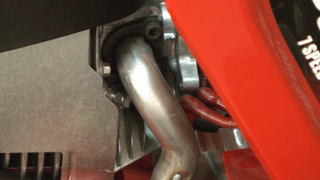
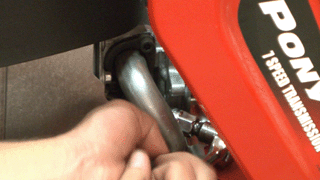
3. Remove the spark plug Use a socket wrench to remove the old spark plug from the mower.
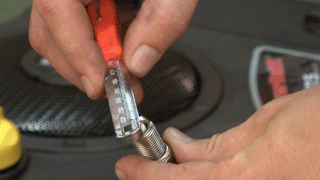
4. Gap the new spark plug
Check your mowers owner's manual to find out how much to gap your new spark plug. Then use a gapping tool to spark the new plug.
5. Install the new spark plug on the engine Use the socket wrench to install the new spark plug.
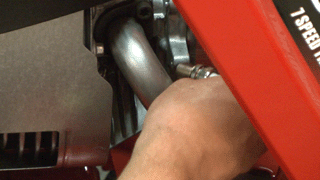
6. Replace spark plug wire Slide the boot of the spark plug wire over the new spark plug.

[Back to Top] Changing the fuel filter
1. Locate the fuel line on your mowers engine It's the line coming off of your carburetor.
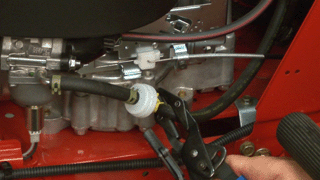
2. Clamp off the fuel line
Use two pairs of fuel line clamps to cinch both sides of the fuel line around the fuel filter.
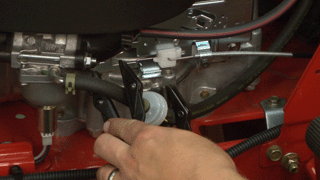
3. Remove the small fuel line clamps
These clamps secure the filter lines to the fuel filter grommet. Slide these off of the grommets with a pair of pliers.
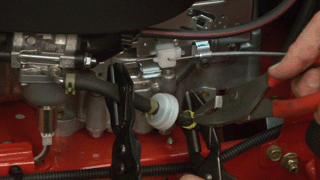
4. Remove the fuel filter Pull the fuel filter away from the fuel lines.
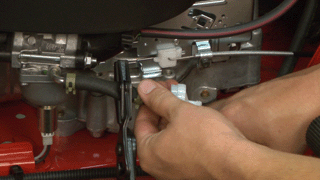
5. Install the new fuel filter Install the new fuel filter the same way it was removed.
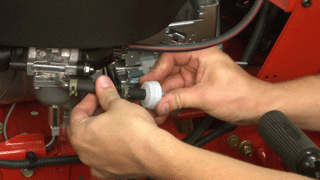
6. Resecure with the small fuel line clamps Use a pair of pliers to replace these onto the fuel filter.
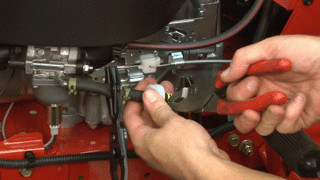
7. Remove the fuel line clamps Remove both pairs of the fuel line clamps from the fuel line.
 [Back to Top]
Sharpening the blades
1. Gain access to the underside of your lawn mower deck We recommend removing it from the lawn mower.
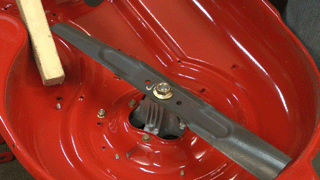
2. Remove the blade
Wedge a piece of wood into the mower deck to keep the lawn mower blade from spinning. Then use a socket wrench to remove the blade from the deck.
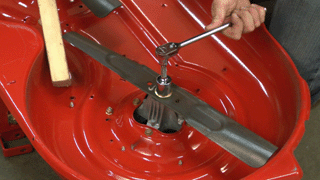
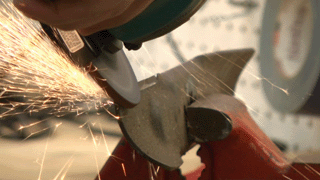
3. Secure the blade in a vise Clamp the blade horizontally across your vise with the edge facing up.
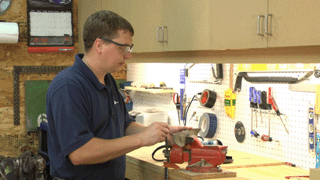
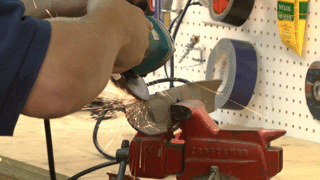
4. Sharpen each side with a handheld grinder
Match the same angle of the blade while grinding. When you've completed sharpening one side, turn it over, re-clamp and sharpen using the same method.
Read about other methods of sharpening your lawn mower blades, here.
5. Reinstall the blade
Use a block of wood to keep the blade from the spinning inside the deck--then use a torque wrench to tighten the bolt to your manufacturer standards.
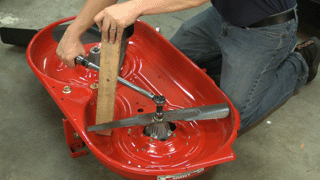
6. Repeat on the other blade If your mower features two blades, repeat this same process on the second.
[Back to Top]
Conclusion
And now you should be all set to tackle all of the spring and summer projects your home throws at you. Don't forget to check the condition of your oil, air filter, fuel filter and lawn mower blade on a frequent basis to get the best cut on your lawn.
Swing by our riding mower parts page to find everything you'll need to keep your mower running like new this spring.
[Back to Top]
What We're About


